
When we left you after part 1 of our built-in Billy bookcase posts, this is how we were lookin’:

Although, Monday, you got a sneak peak of the work we got done over the weekend when we revealed the new window:

Sadly, this is the photo that is going around Pinterest right now–“DIY Built-Ins!!!” It’s sad because they look…so sad in that photo–granted unfinished. Here’s hoping they still inspire someone. In fact, our take on this project was inspired by a few Pinterest finds that lead me to two different tutorials.
This one, from Centsational Girl (Oh wow, her photo edges are round. Nice touch, lady!):

And this one, from a blogger named Ashli:

Both ladies used Billy bookcases (although we are using a few different kinds) and both trimmed them out for a built-in look. With these great examples in mind, we set out on our own built-in project and last night was operation trim fest.
Below is a better photo of where we started last night. We got all the bookcases up and secure on the right side of the glass doors over the weekend (you can see we got the one for the left built, but not secure…it still is sitting just like that this morning).
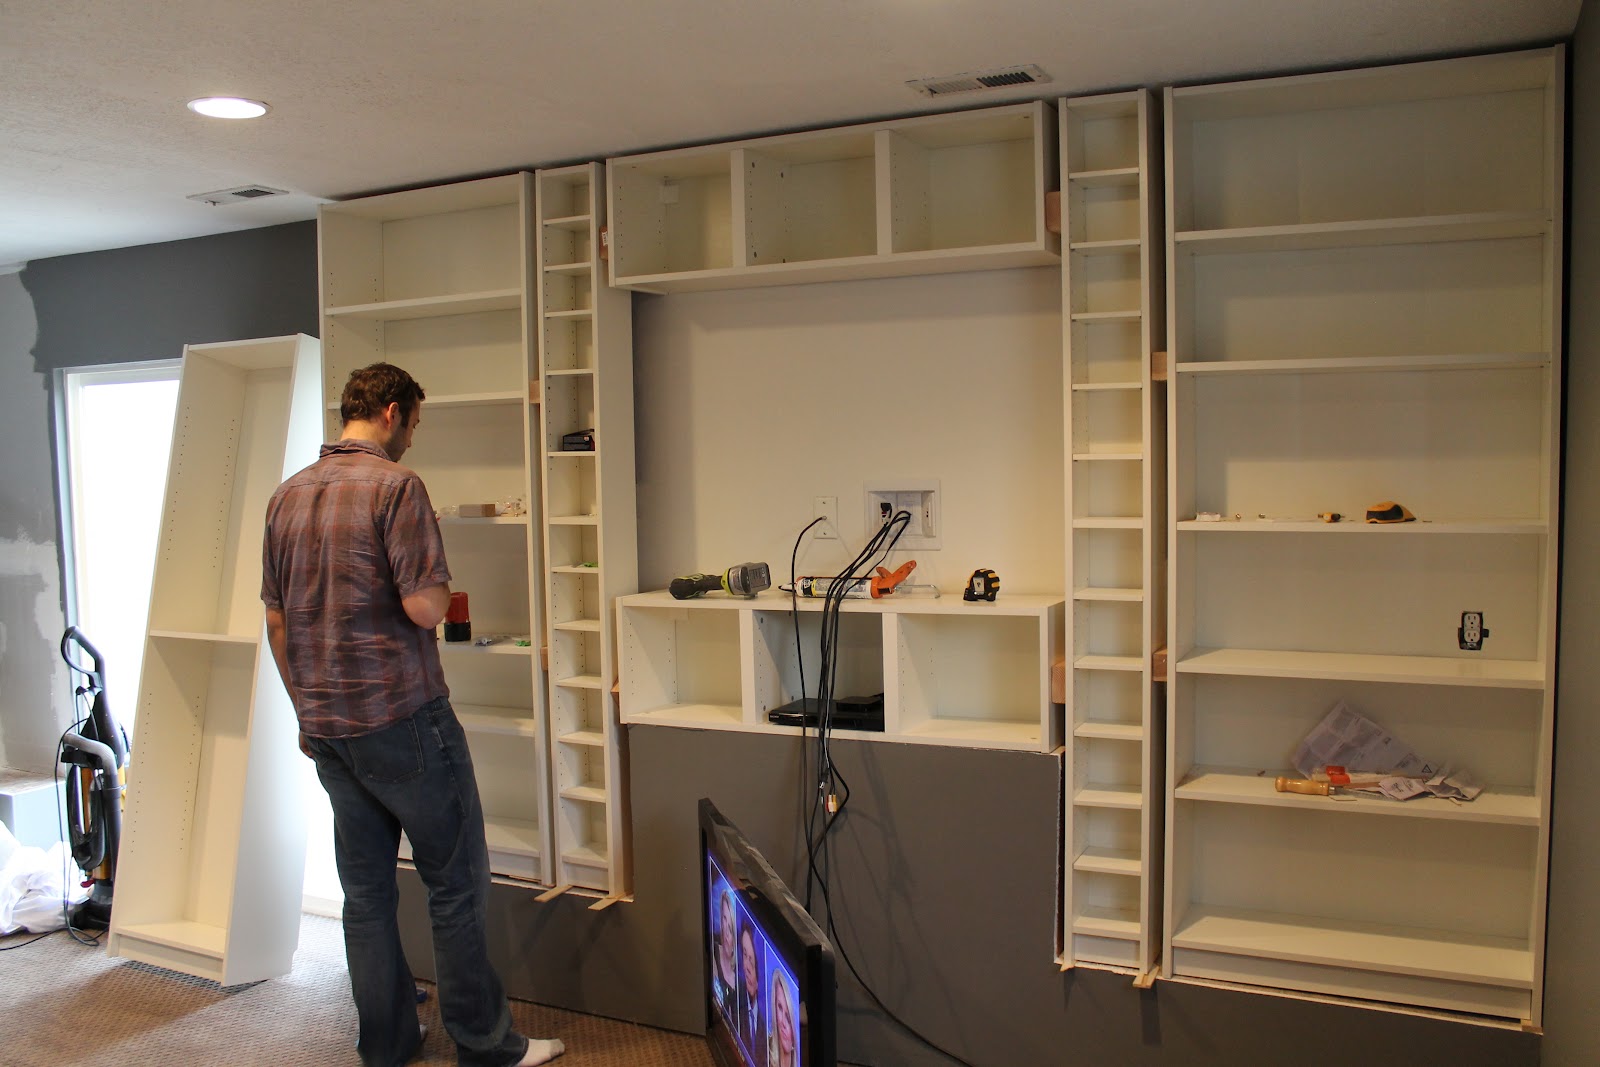
We continued to use our method of 2x4s for spacing the top shelf. We were lucky to get into one stud, but we also used 2–100lb anchors and screws to insure it isn’t going anywhere. We decided to start with the crown molding (head’s up–not the right place to start). So Simple Crown graciously sent us this crown molding to try out. Let’s just say–their name was chosen well. It is incredibly DIY friendly. As you can see below, the corners arrive pre-cut so it really takes the guess work and math out of cutting the molding yourself. Considering cutting crown-molding is, by far, the hardest part of installing crown molding, and these arrive pre-cut–the whole thing was a piece of cake. We chose the “Cove Molding” style and couldn’t be happier with its clean-lined and sophisticated look.

So Simple Crown’s molding is made of styrofoam (read more about that here), which honestly threw us for a loop when it arrived, but once painted and mounted–you would never be able to tell. We’re sold on their lightweight, easy, affordable product. Because they are so lightweight, they are installed with caulk and not nails–that also means no filling pesky nail holes. Woot.
Here’s Chris putting a bead of caulk along the back of the crown molding:

Here’s me pressing it into place. You don’t have to hold it until it dries or anything. It just…stayed. This is also the part where I said, “Chris! We should have trimmed out the front of these bookcases first!” Oops. So we pulled the crown molding down in 5 seconds. Once again, we were happy we didn’t have to deal with removing nails.


After we got the top of the fronts trimmed out, we added a little more caulk to the back of our crown molding and set it up top…again.

The only cuts we made were straight cuts to fit the molding in the space. What a luxury!

Then we tackled more trim-work. We used 5 1/2″ baseboards (the same we used in our guest room and will also be around the perimeter of this room) to trim out the base of the bookcases. After all of the molding and trim was in place, Chris and I started caulking all the cracks and spackling all the small nail holes left by our nail gun.


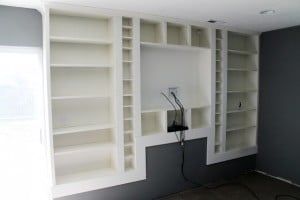
We hoped to get everything primed last night, too, but we didn’t want to rush the caulk drying…and we were tired. :) So this morning, were’ left with this:

It might look a little crazy right now–with 4 different kinds of trim, all different colors and sizes–but we are pretty sure once everything is painted to match the bookcase color, it will look uniform and schmancy.

I actually did give the crown molding a coat of paint before we installed it (per recommendation of So Simple Crown), but it isn’t as close a match to the bookcase as I initially thought–so we’ll try again tonight when we get all the other trim painted.
And although it isn’t much of an “after”, here’s a look at how far we came in an evening.

Update: Read part 3–how it looks after we painted the trim and cleared the shelves of tools here.


This content is very interesting but it took me a long time to find it in google.
I found it on 19 spot, you should focus on quality backlinks building, it will help you to increase traffic.
And i know how to help you, just type in google – k2 seo
tips
I am attempting a similar project and am totally stuck: I can’t find trim to use between the billy bookcases. Lowe’s couldn’t find me anything that was totally flat. Any suggestions? Thanks for your help!
They are going to look AMAZING! I would love to do something similar in my house, but I’m too overwhelmed at the thought of it! You always inspire with the way you take on changes with ease! I’ve made MUCH smaller changes to my house recently: http://futuredukes.blogspot.com/2012/03/little-house-updates_15.html
The bookshelves look great! Even though your tape peeled some of your paint off, I still think it saved you time. Either that or I’m terribly slow at cutting in without tape. Either way, it looks awesome!!
Oh my goodness. You guys are so talented! I can’t wait to see the finished project :)