
Granted, the gallery wall was short-lived and we didn’t even share it with you until after we took it down and moved the majority to the laundry room. And for a real shocker, here’s how the room looked a couple months ago before we decided to embark on this revamp.


Ha! I can’t help but think, after looking at that picture snapped in August, that we have crossed over to the dark side. Although, I think we prefer “sophisticated.” Here’s how our living room is lookin’ today, donning its new wainscoting :

The room feels so much larger. And…taller. And more sophisticated with a casual twist–which is how we like it. When it came to painting the panels, I used a small foam roller for all of the fronts and my handy Wooster shortcut brush to get in the inside edges.
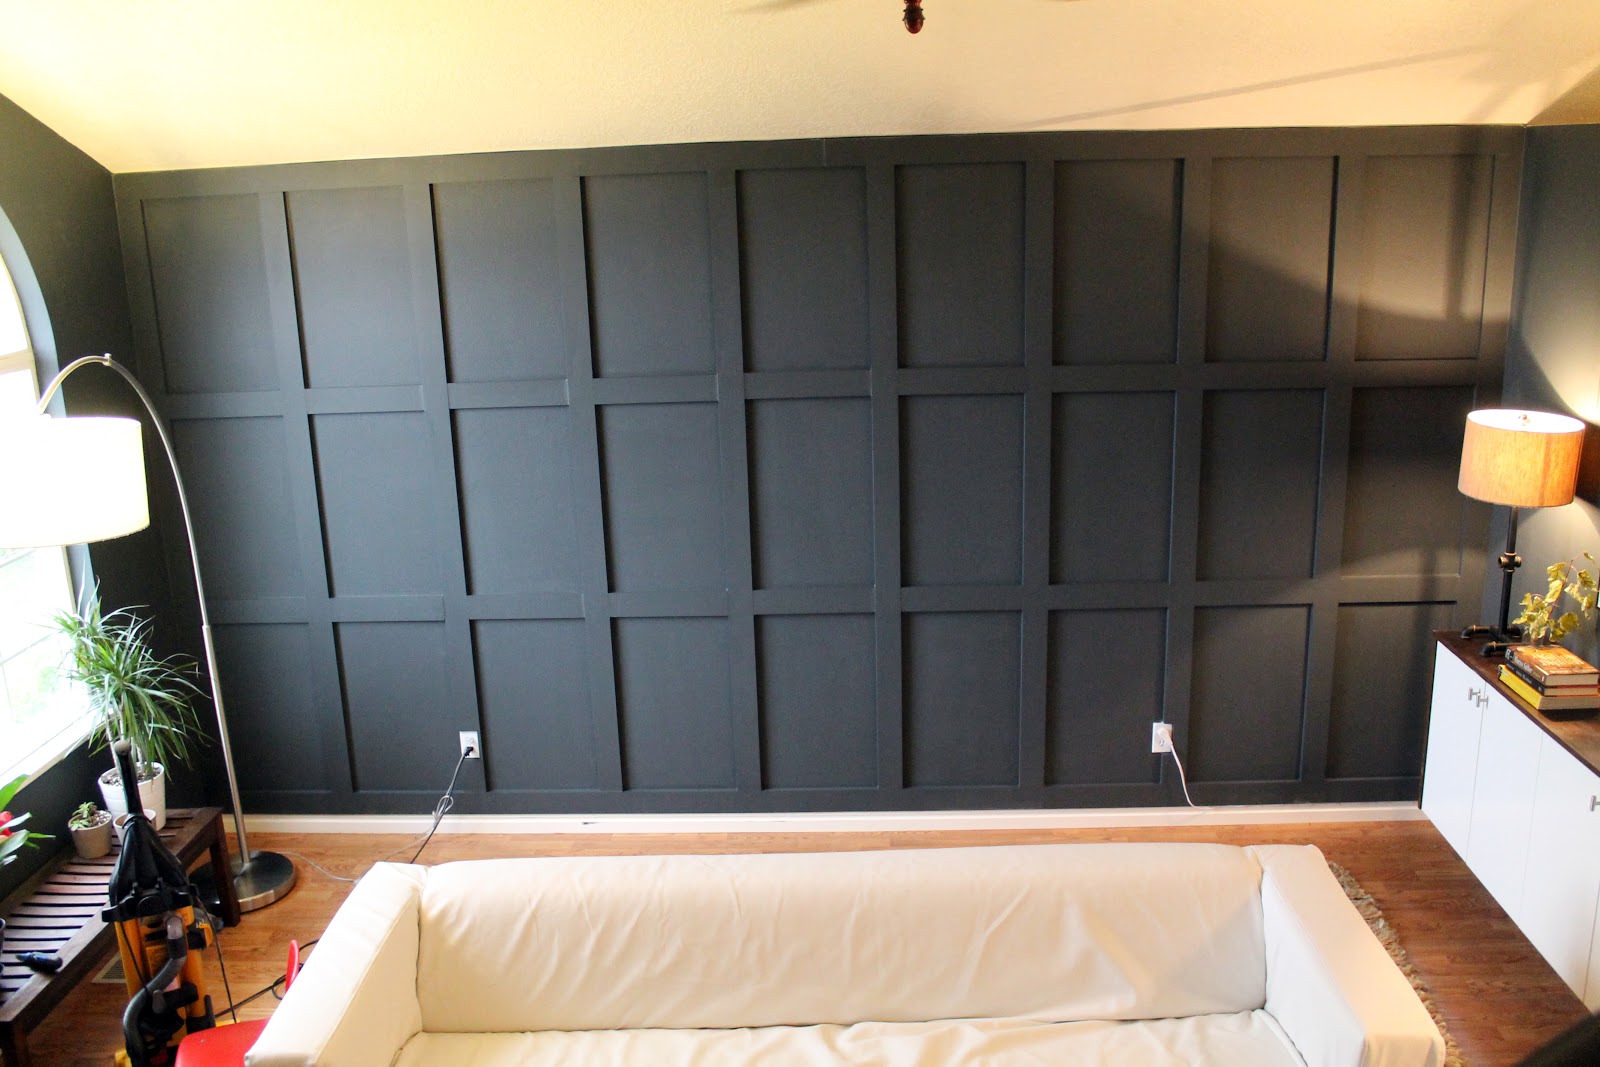
Luckily (and magically) we still had enough in the gallon of paint we purchased when we painted the room to cover the wainscoting–all 2 and a half coats it took. For reference sake, the color is from Kwal Paints and it is called Crave. We went with a matte finish which gets bonus points for hiding wall imperfections–we especially love it because it disguises the slight orange peel texture of our walls.

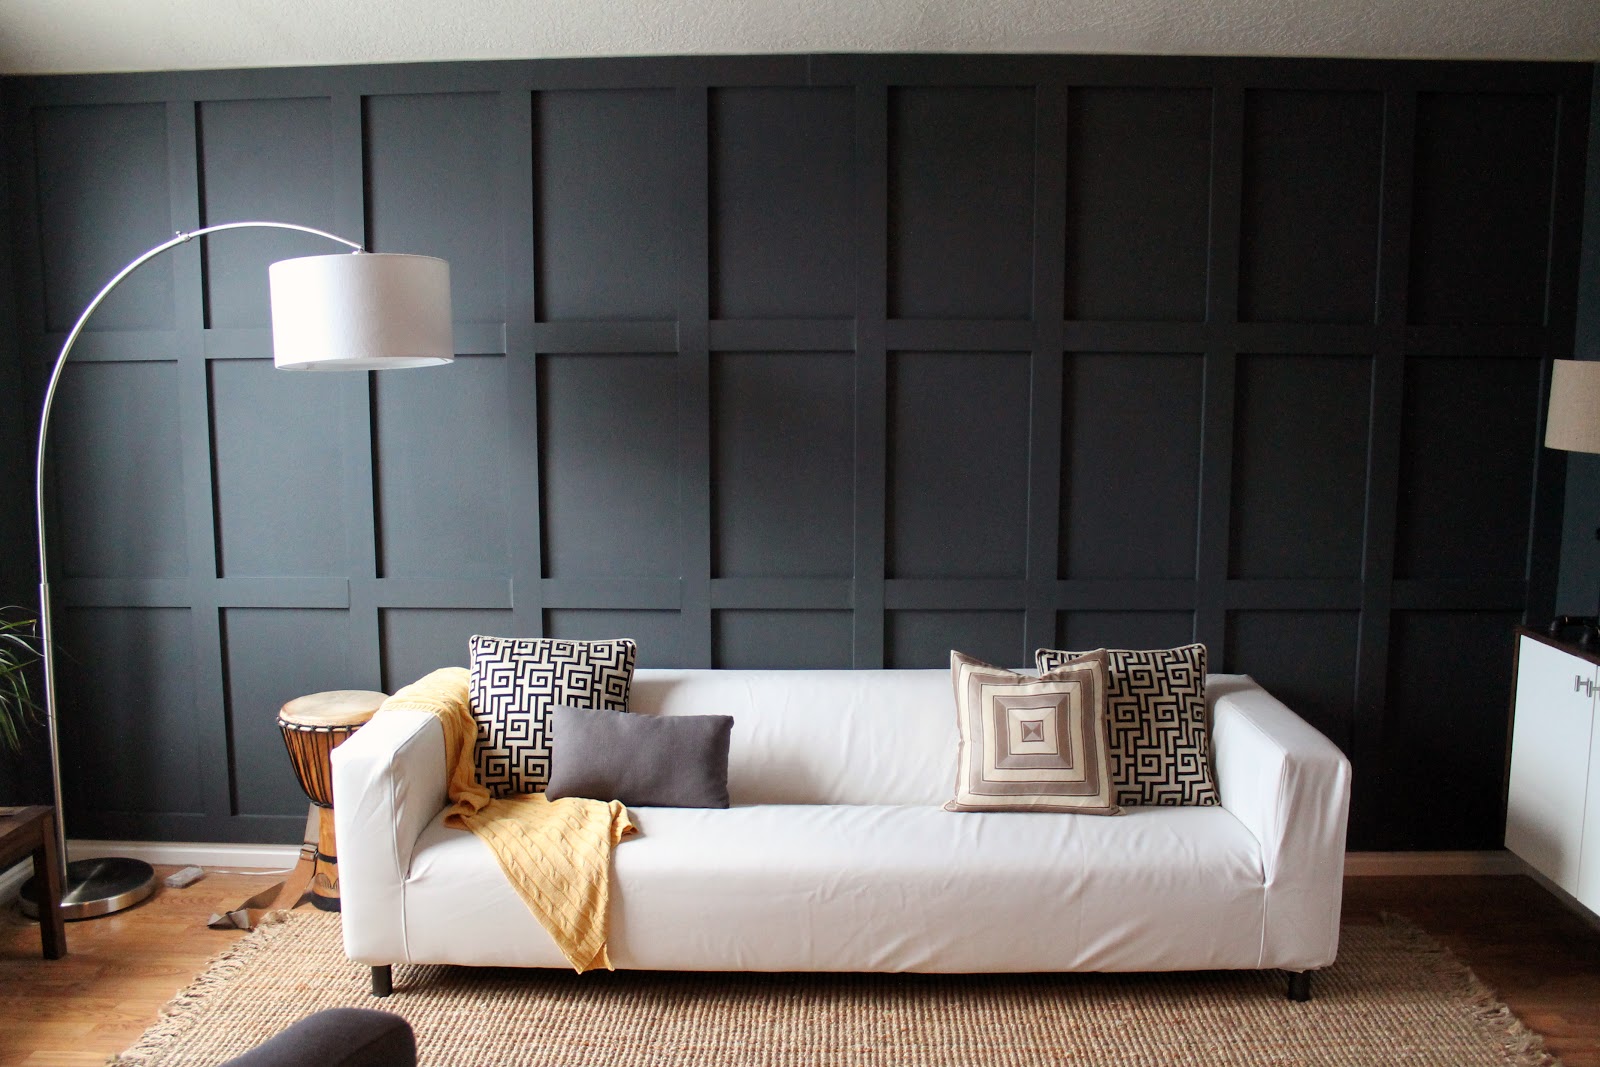
At night, the paint transforms into a soft black and between our lamps on the fauxdenza and our arc floor lamp, the wainscoting is well lit and the details are still very much present. We worried about the details getting lost in all of the shadows with such a dark paint color, but maybe (we don’t really have anything to compare it to) the darker paint color accentuates the wainscoting and makes for a bigger contrast? Who knows. Point is–it works and we have zero regrets going dark in this room. In fact, we may just start advocating for dark paint. Too many white walls in this world (says the girl who painted her studio white this summer)!!!

Budget wise, the project cost us $117.86. That includes all the lumber and the bottle of liquid nails we used to adhere the boards to the wall before following up with a nail gun. Everything else, including the nail gun, paint, spackle and caulk we had on hand.
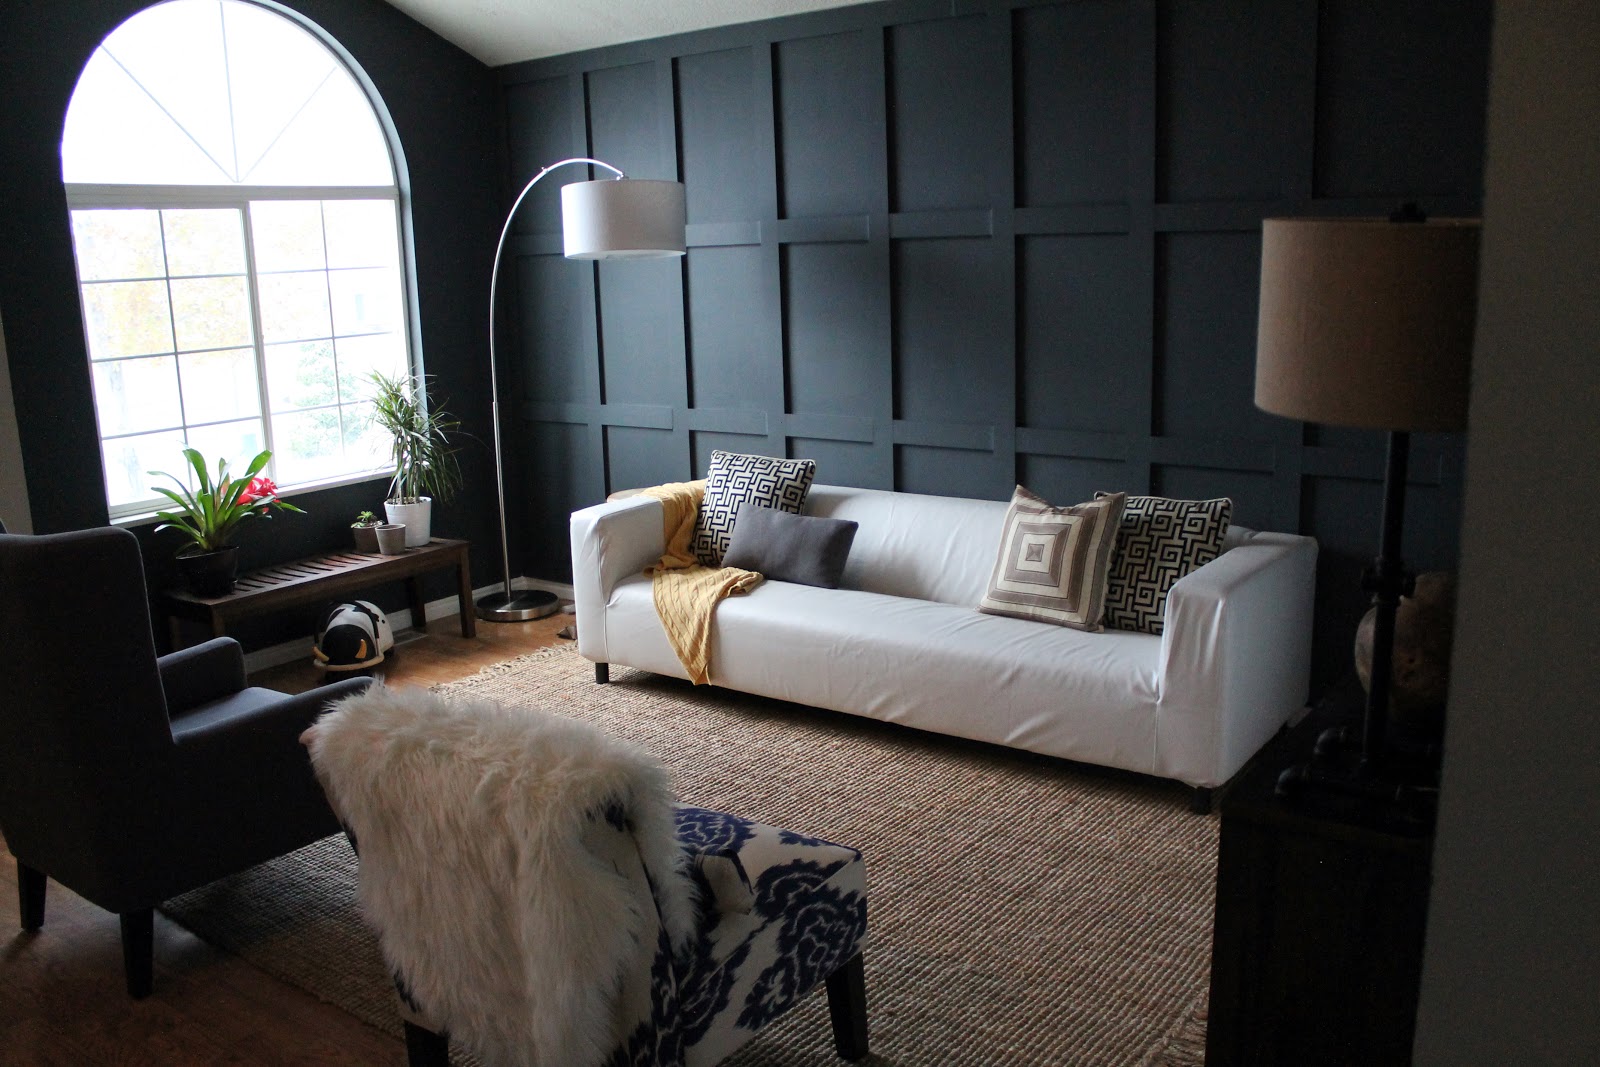


What a fantastic transformation! I love the added texture it brings to the room and I adore the sophisticated intrigue that the darker colour introduces in the room. You guys did a stellar job.
[…] Chris Loves Julia […]
[…] PROJECT #1 – Guest Room Accent Wall (based on Chris Loves Julia’s old living room!) […]
[…] To see more on their project, click here. […]
Hi,
Love your dark full wall wainscoting design and featured it on our list of fabulous wainscoting design ideas here:
http://visualresistance.org/20-fabulous-wainscoting-ideas.html
Do drop by and let us know what you think. :)