When we initially planned the shoe shelves, we thought they'd be angled. But the more we sat with this decision (and the more DMs we got), we decided flat shelves would be more versatile. What if we wanted to put boxes or baskets on the shelves, for example?
For this project, we used:
• 1 project board for each shelf
- in store Lowe's had 1-in x 24-in x 6-ft, which is what we used - not sure why it's not showing on their site
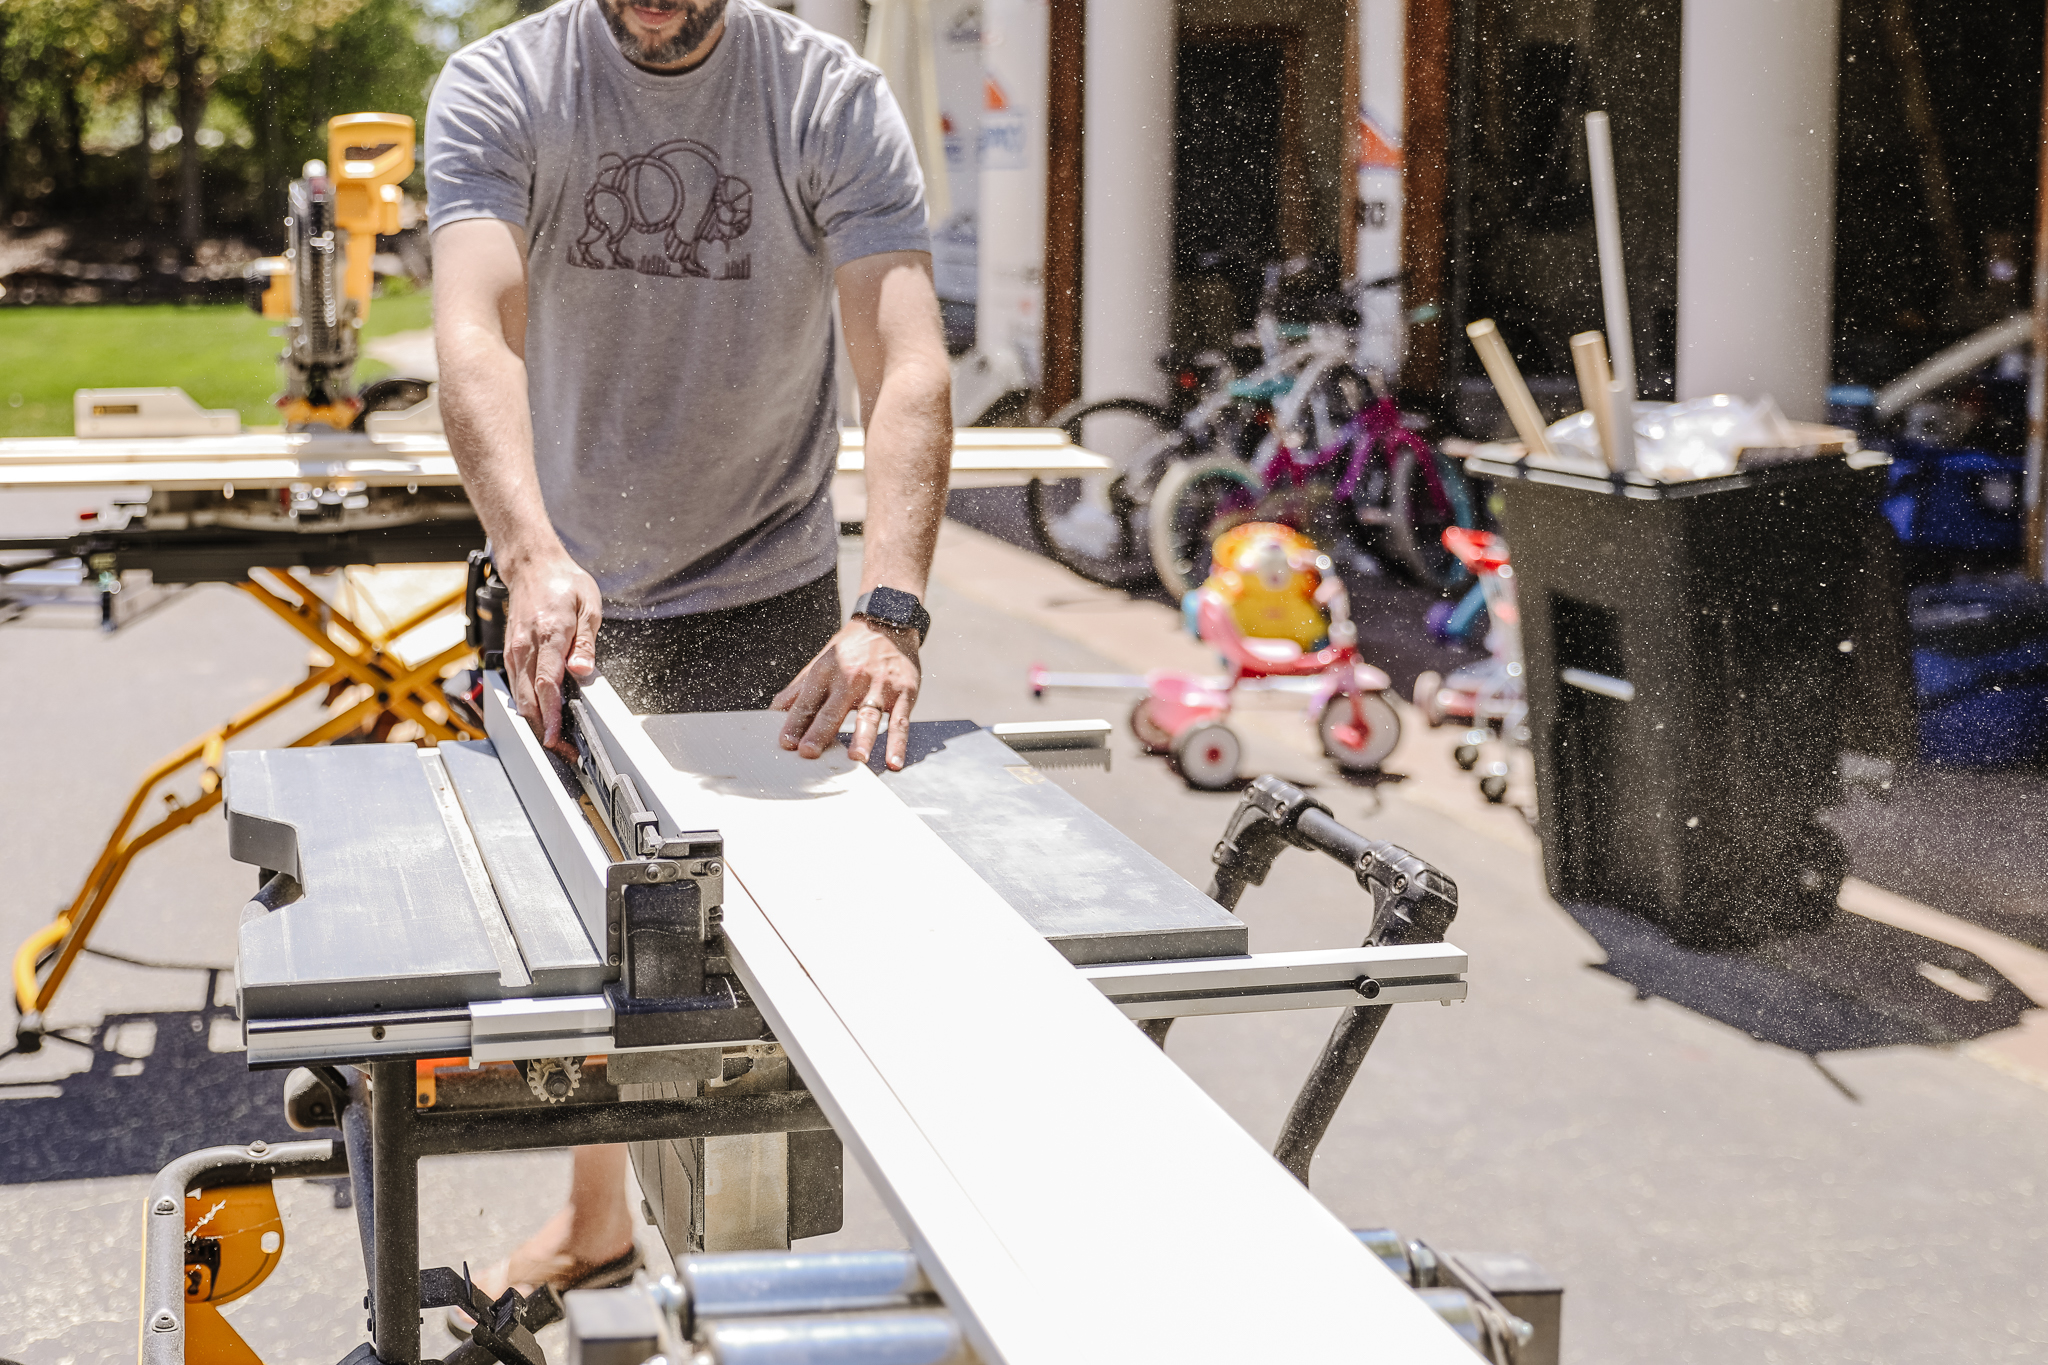
• Table saw
• 3-inch wood screws
• 1 5/8-inch wood screws
• 1 5/8-inch trim screws
• 24-inch wood clamps
• Wood filler
• Spackle knife
• Sanding block
• A stud finder
• A level
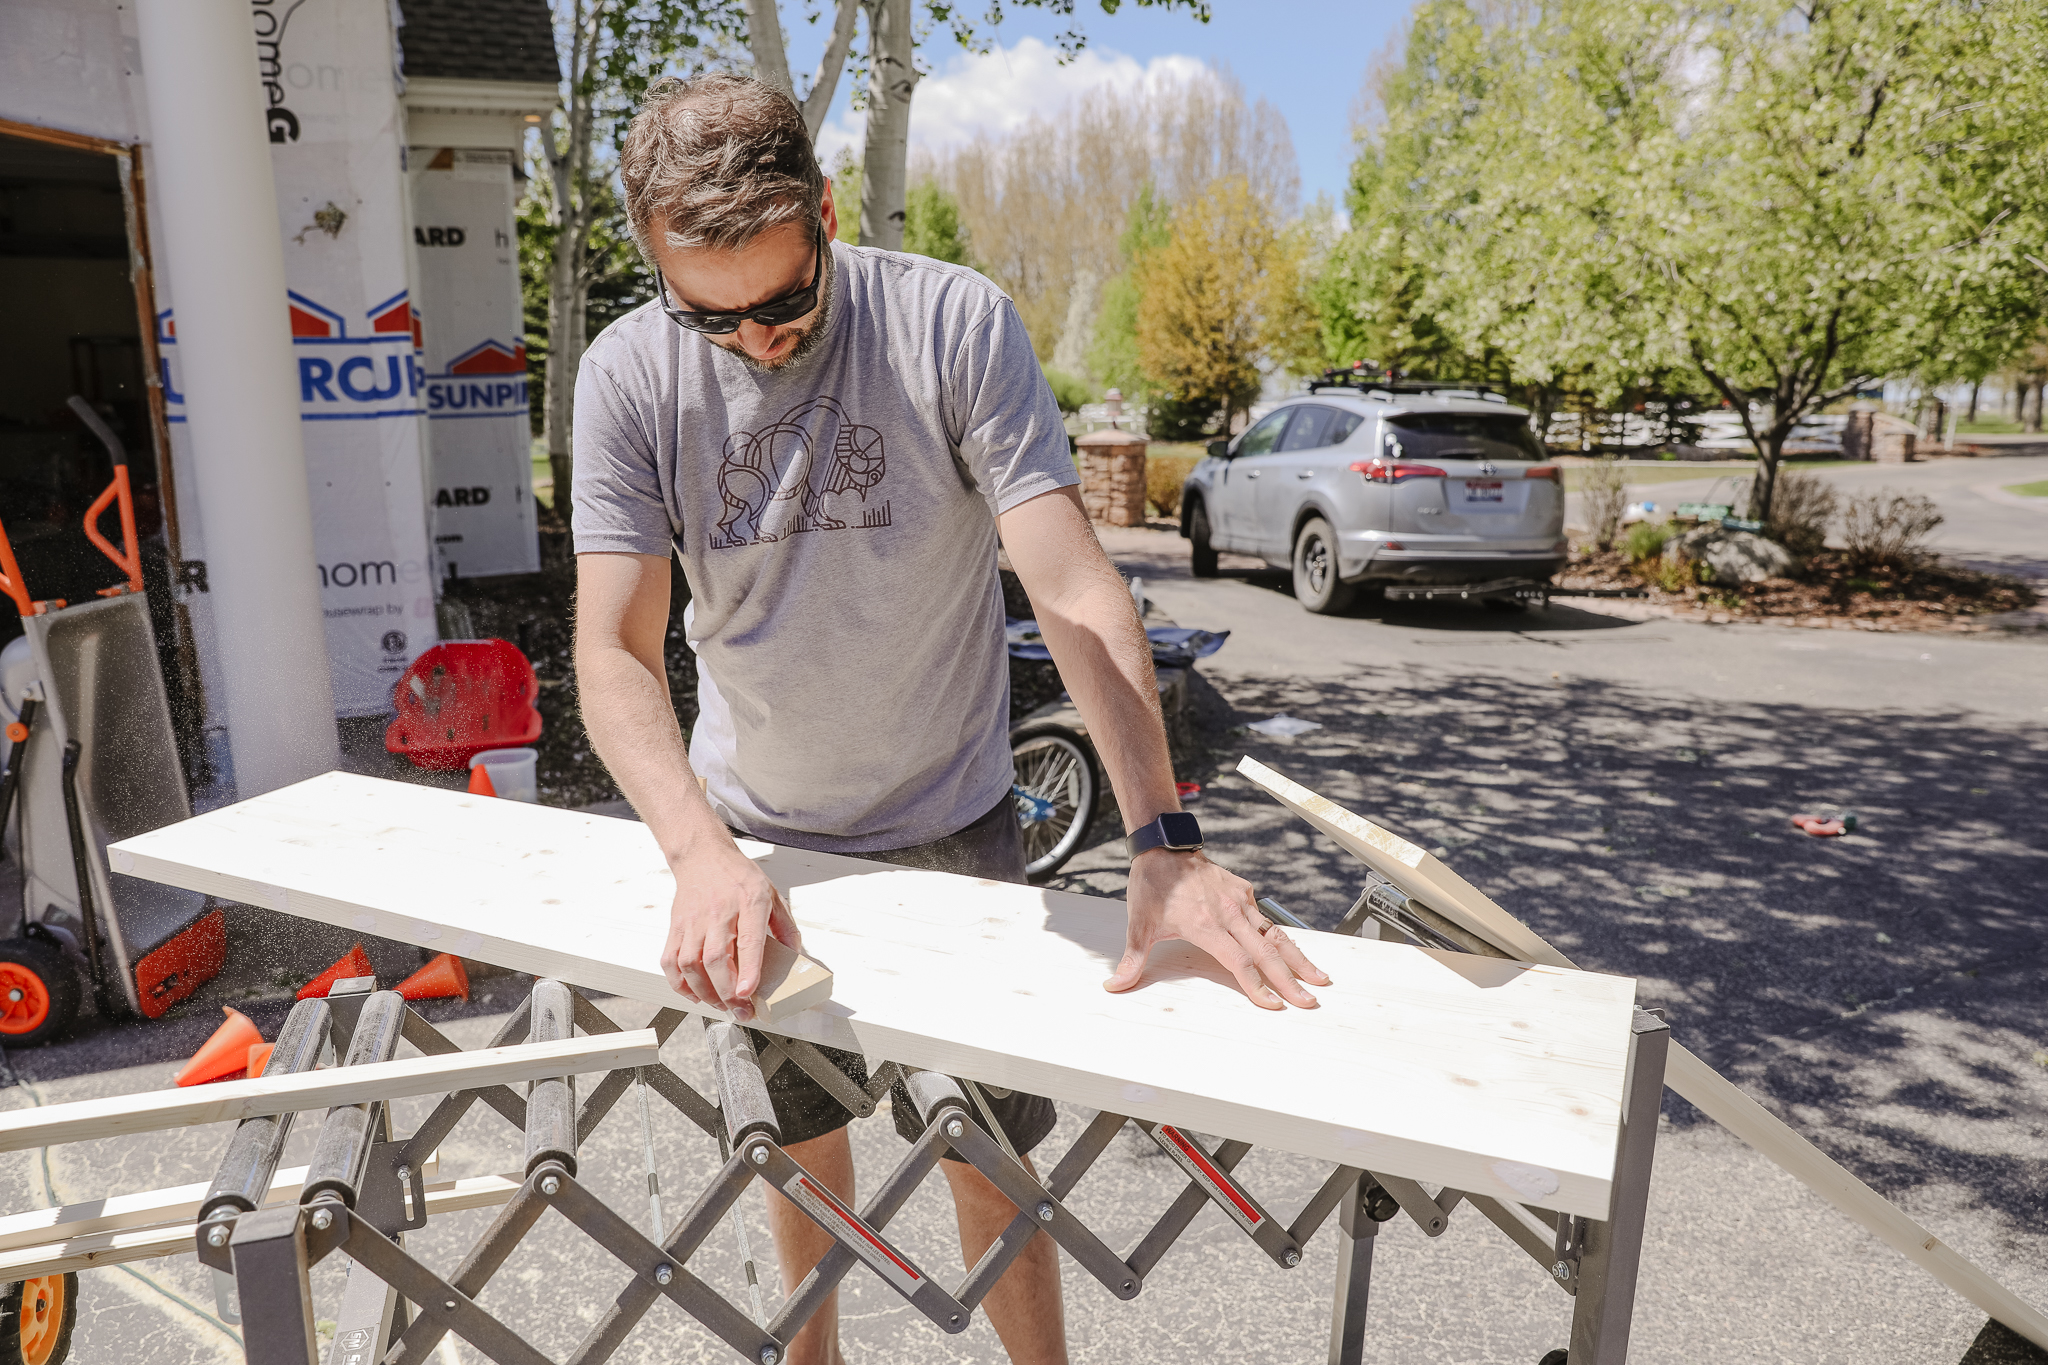
Mill Your Lumber
Using a table saw, we cut four pieces out of each project board. The widths of those pieces were:
- 12in (1)
- 1.25in (x3)
The 12in piece would make up the shelf top, while the 1.25in pieces would be used to stabilize the shelf from underneath, as well as trim out the front. (We'll install LED lighting behind the lip of the front trim)
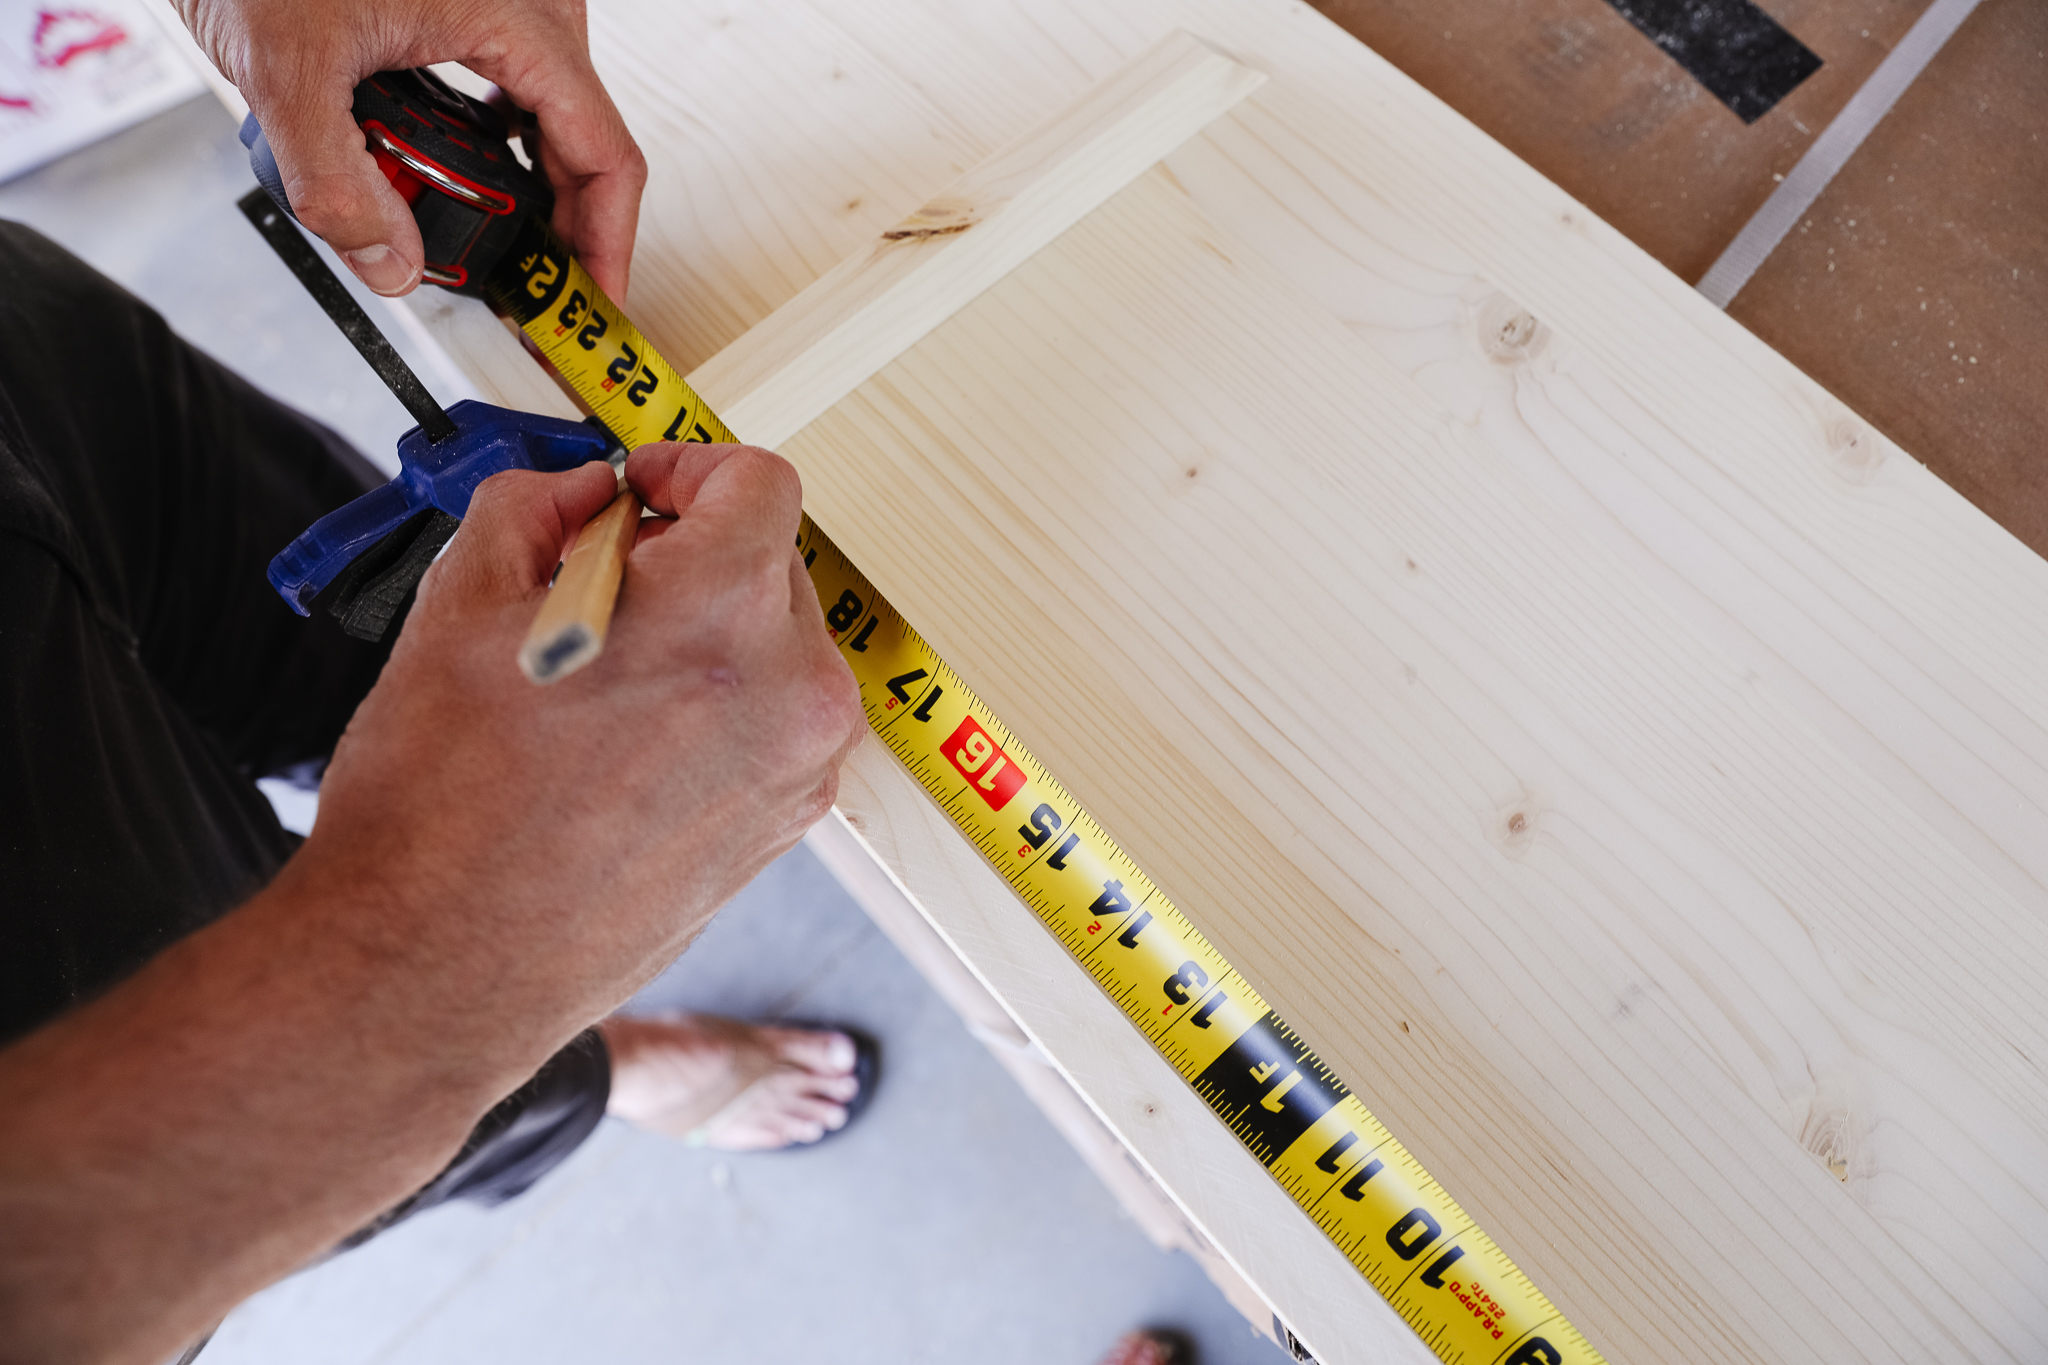
Once the pieces were ripped to their respective widths, we cut them to length. The recess on our wall is 65.5in, so the 12in piece and two of the 1.25in pieces were cut to that.

The 3rd 1.25in piece was used to cut the supports for under the shelf. I added a 45 degree angle to one end and cut 4 supports to a 10in total length.

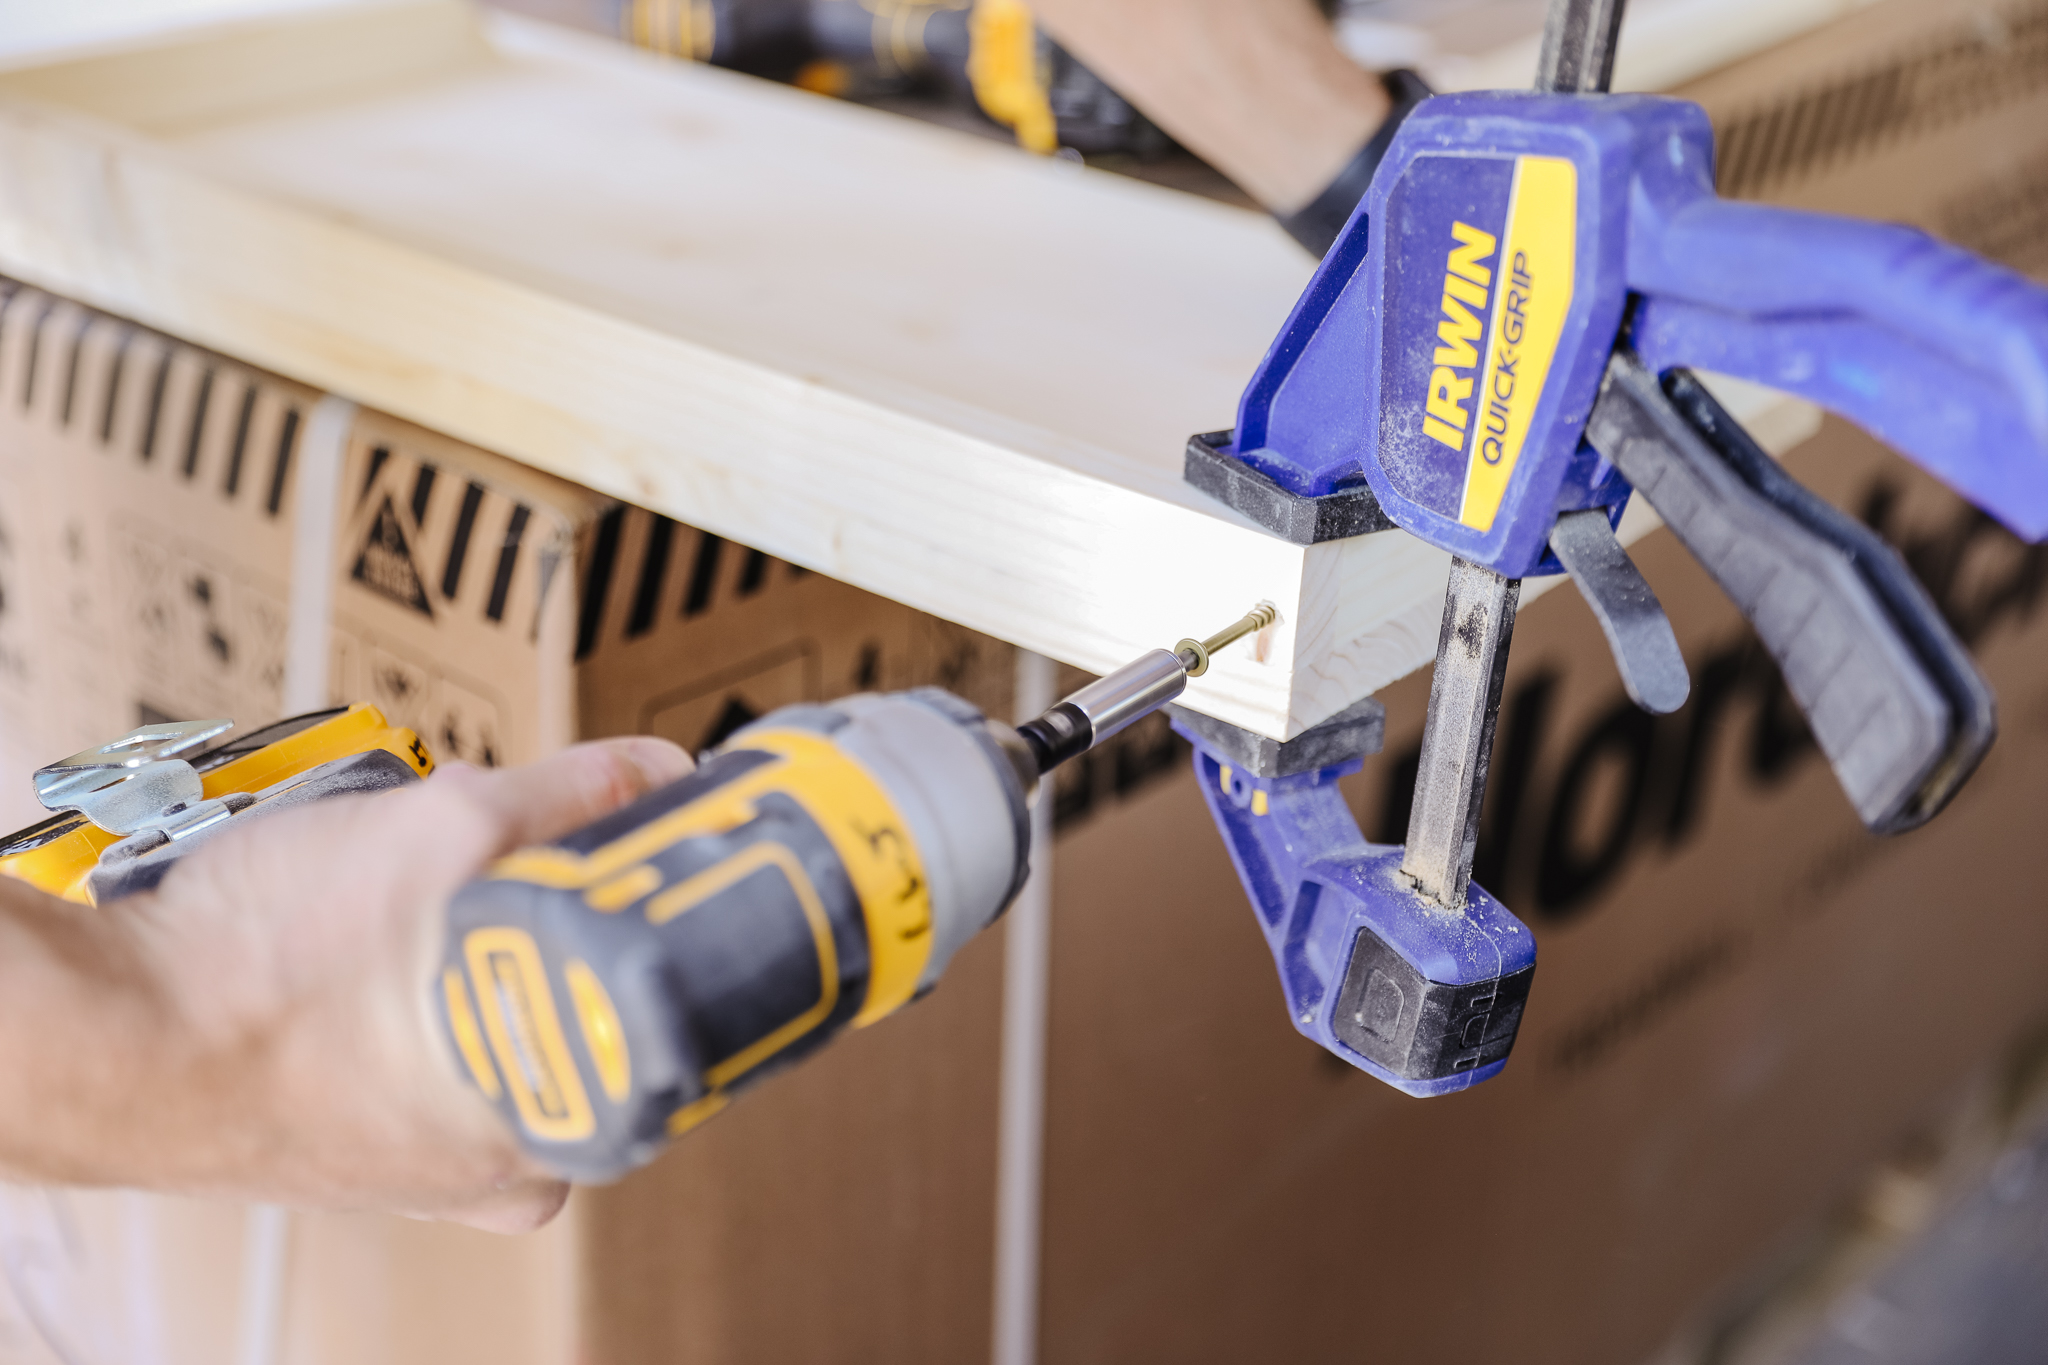
Attach the shelf to the base pieces
We clamped all of the underside supports in place, ensuring there was no more than 24in between each of the support arms (our shelf width gave us four, spaced about 21in apart). We pre-drilled every place we wanted to add a screw, because pine can be prone to splitting and pre-drilled helps prevent that.
We used two (1 5/8-inch) wood screws in each underside support, from below, up into the shelf. We used 3-inch wood screws to attach the supports to the back piece.
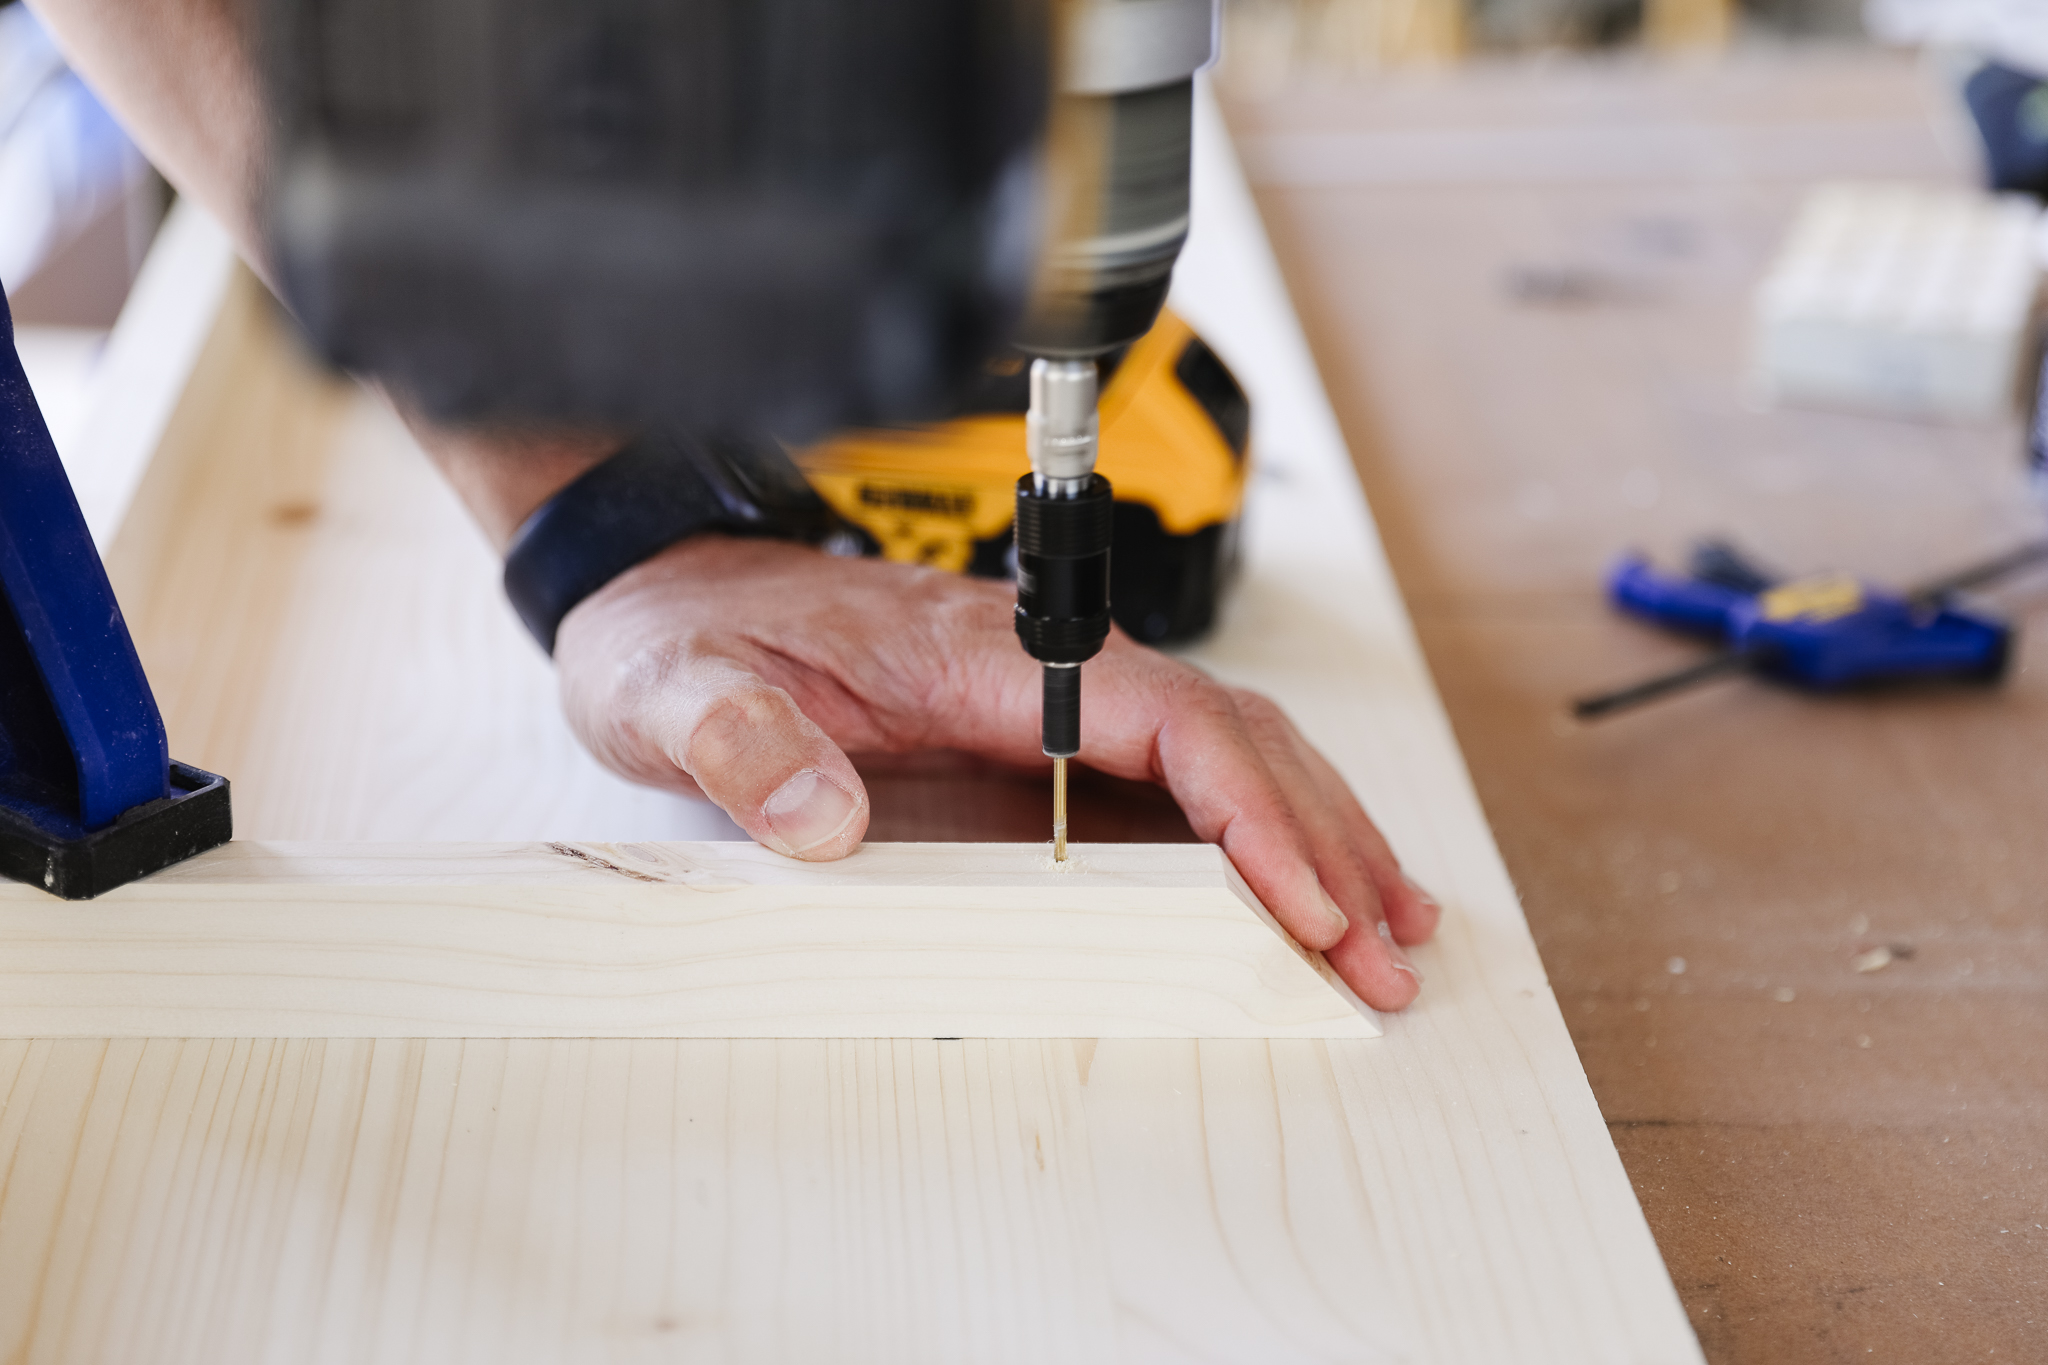
Add the front trim piece
Clamp the front trim piece is place, pre-drill and attach using a 1 5/8 trim screw. Trim screws have a smaller head, leaving less repair work to do.

Wood fill and sand
Speaking of repair work. Once the shelf was assembled, we added wood filler over all of the screws and to the seams where the trim pieces lined up. We let it dry (about an hour), and then sanded each shelf smooth, until it looked and felt like seamless.

Mark placement and mount the shelves
For our wall we decided on six shelves. The bottom shelf starts 12" off the floor, and the first shelf has 16 inches of height to accommodate taller boots. The rest of the shelves are 14 inches apart.
We leveled each shelf before drilling it into the wall. Chris pre-drilled all of the screws into the backs of the shelves, so that when the shelf was level, the screw was ready to go in. One 3-inch wood screw went into each stud. With all of this prep work, putting up the shelves took only 17 minutes, followed up with a piece of trim along the top to integrate the shoe shelves into the rest of the storage in the room.
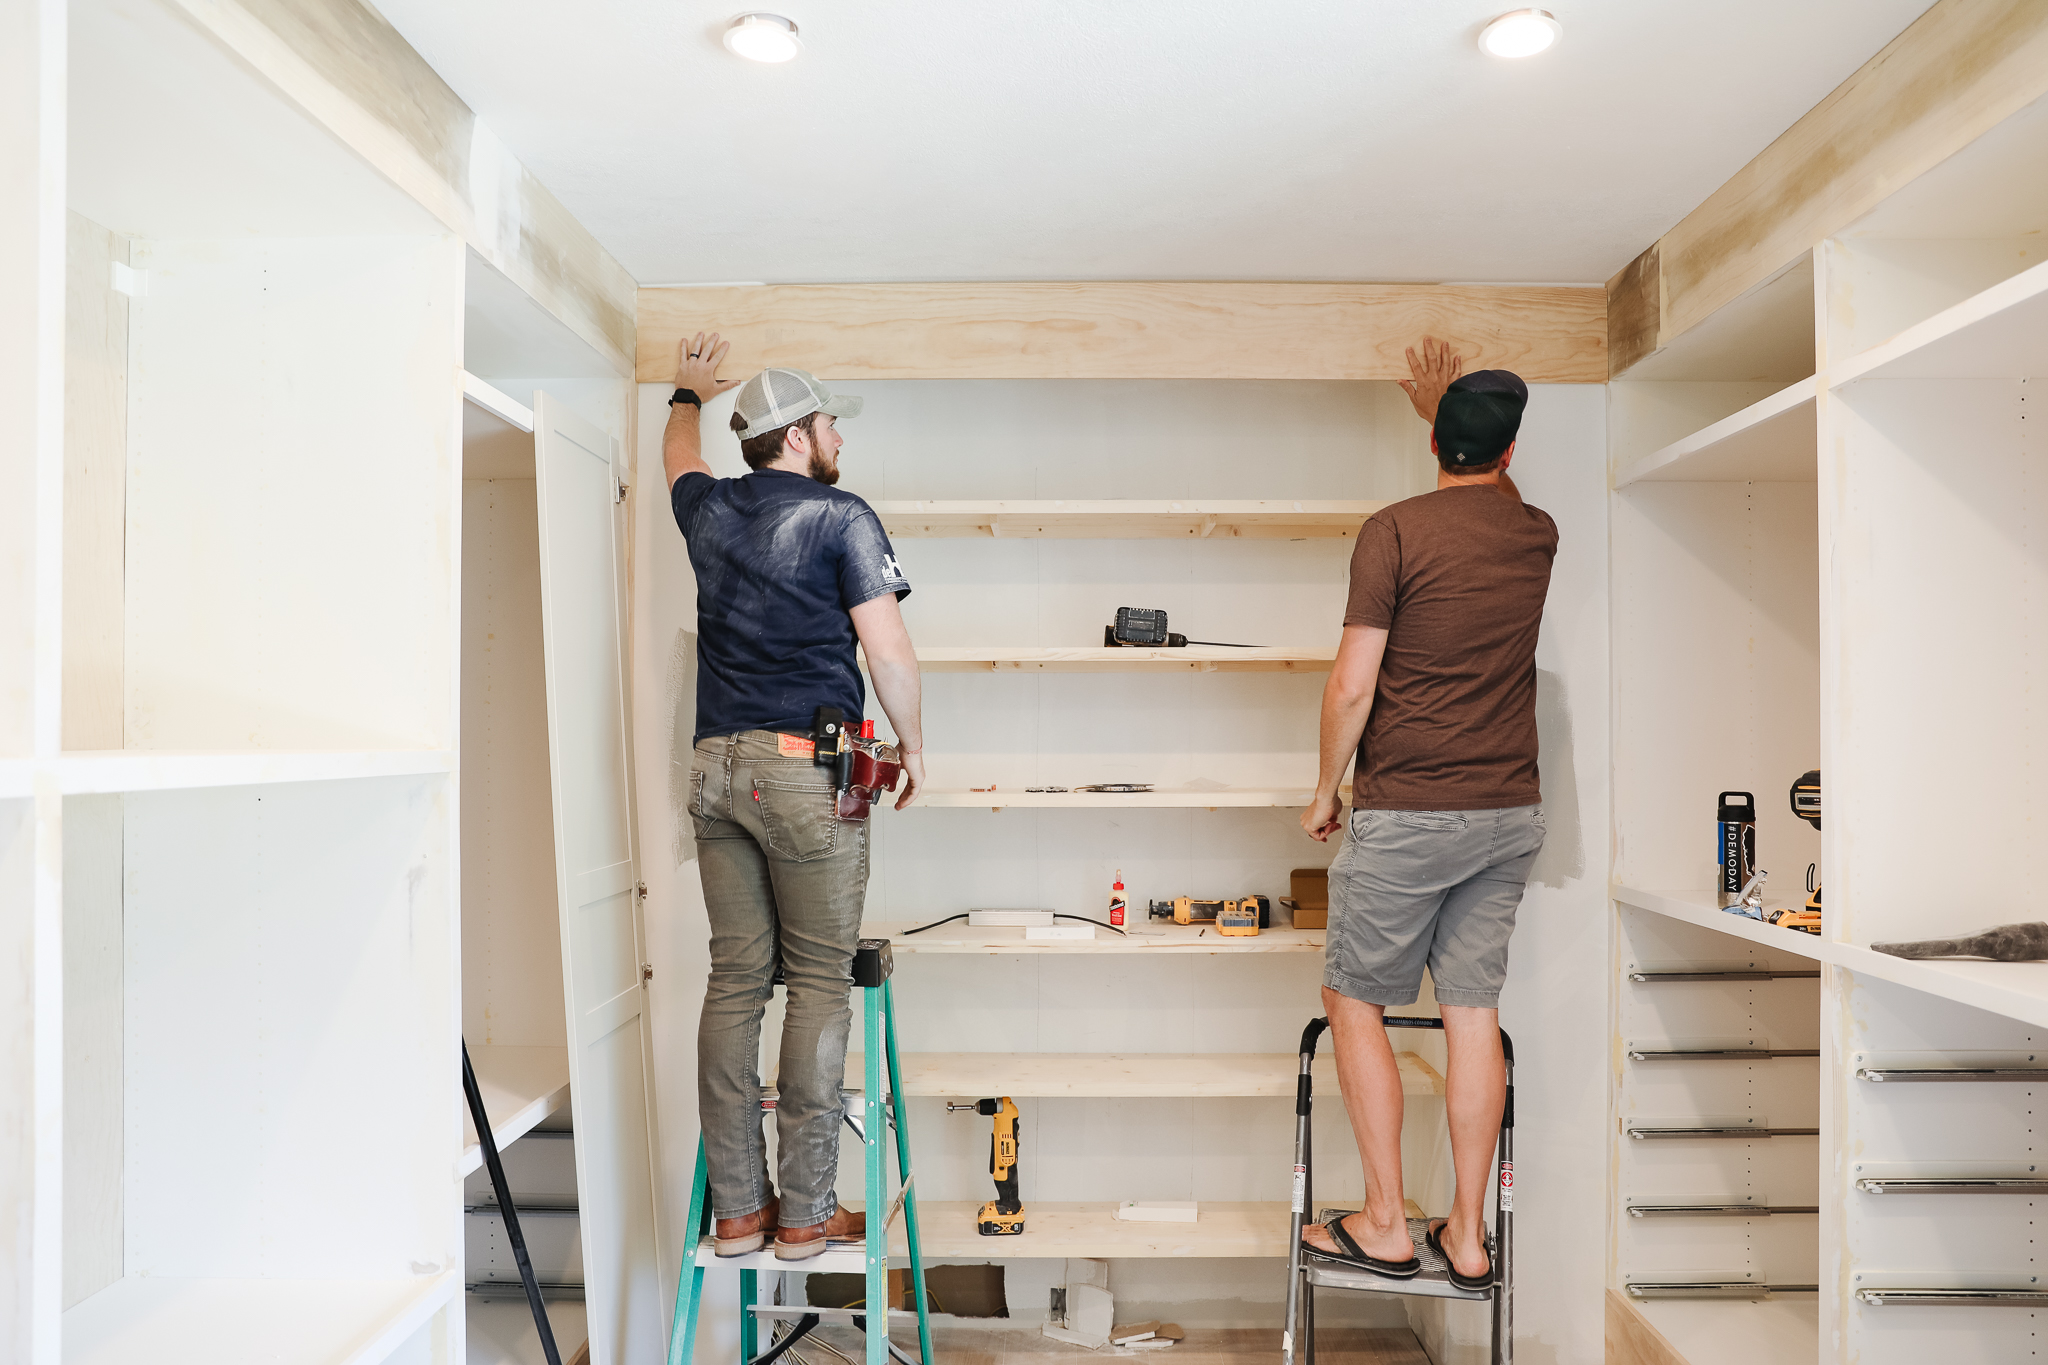
Meet Tristan! He's super handy and helps Chris with a lot of projects like this and has been able to come in with Idaho's phased reopening! You'll see him around a lot, because he's also Brooke's husband, haha!
So now we have shoe shelves! Let's look back on how things were a month-ish ago (who even knows what day it is anymore?):
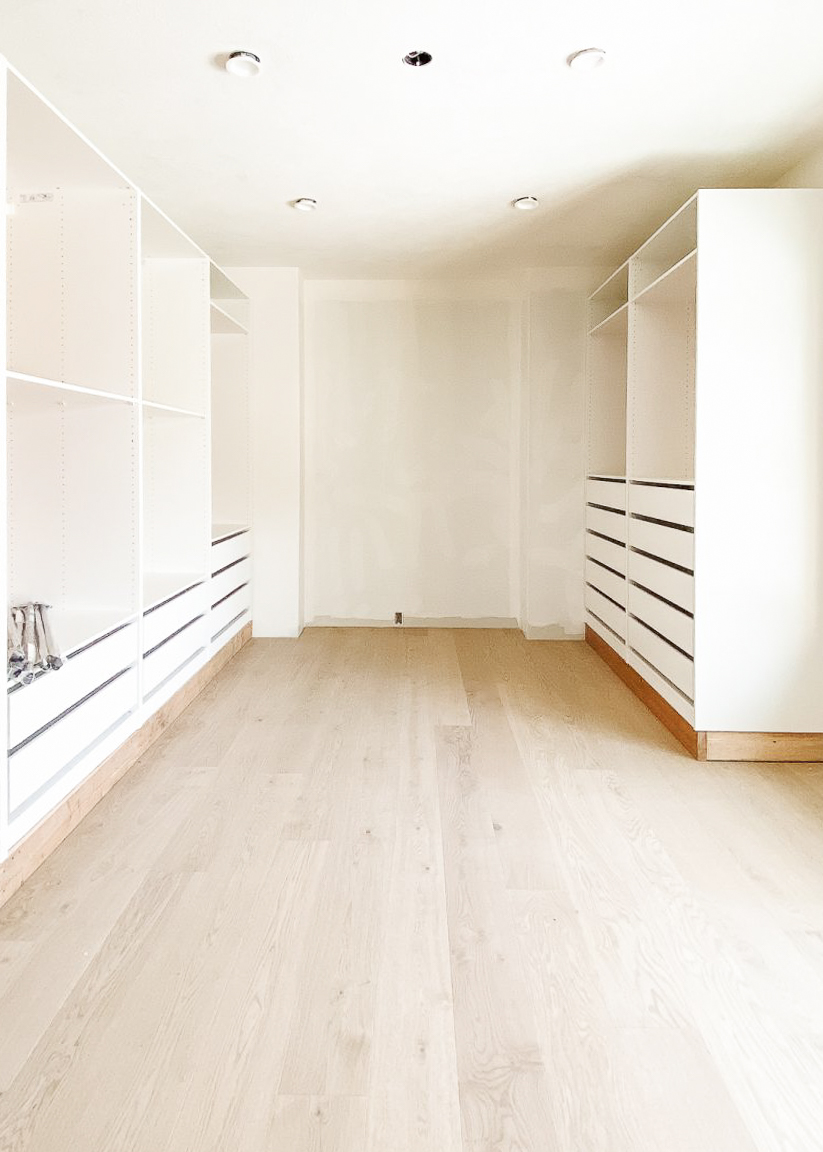
And where we are now:
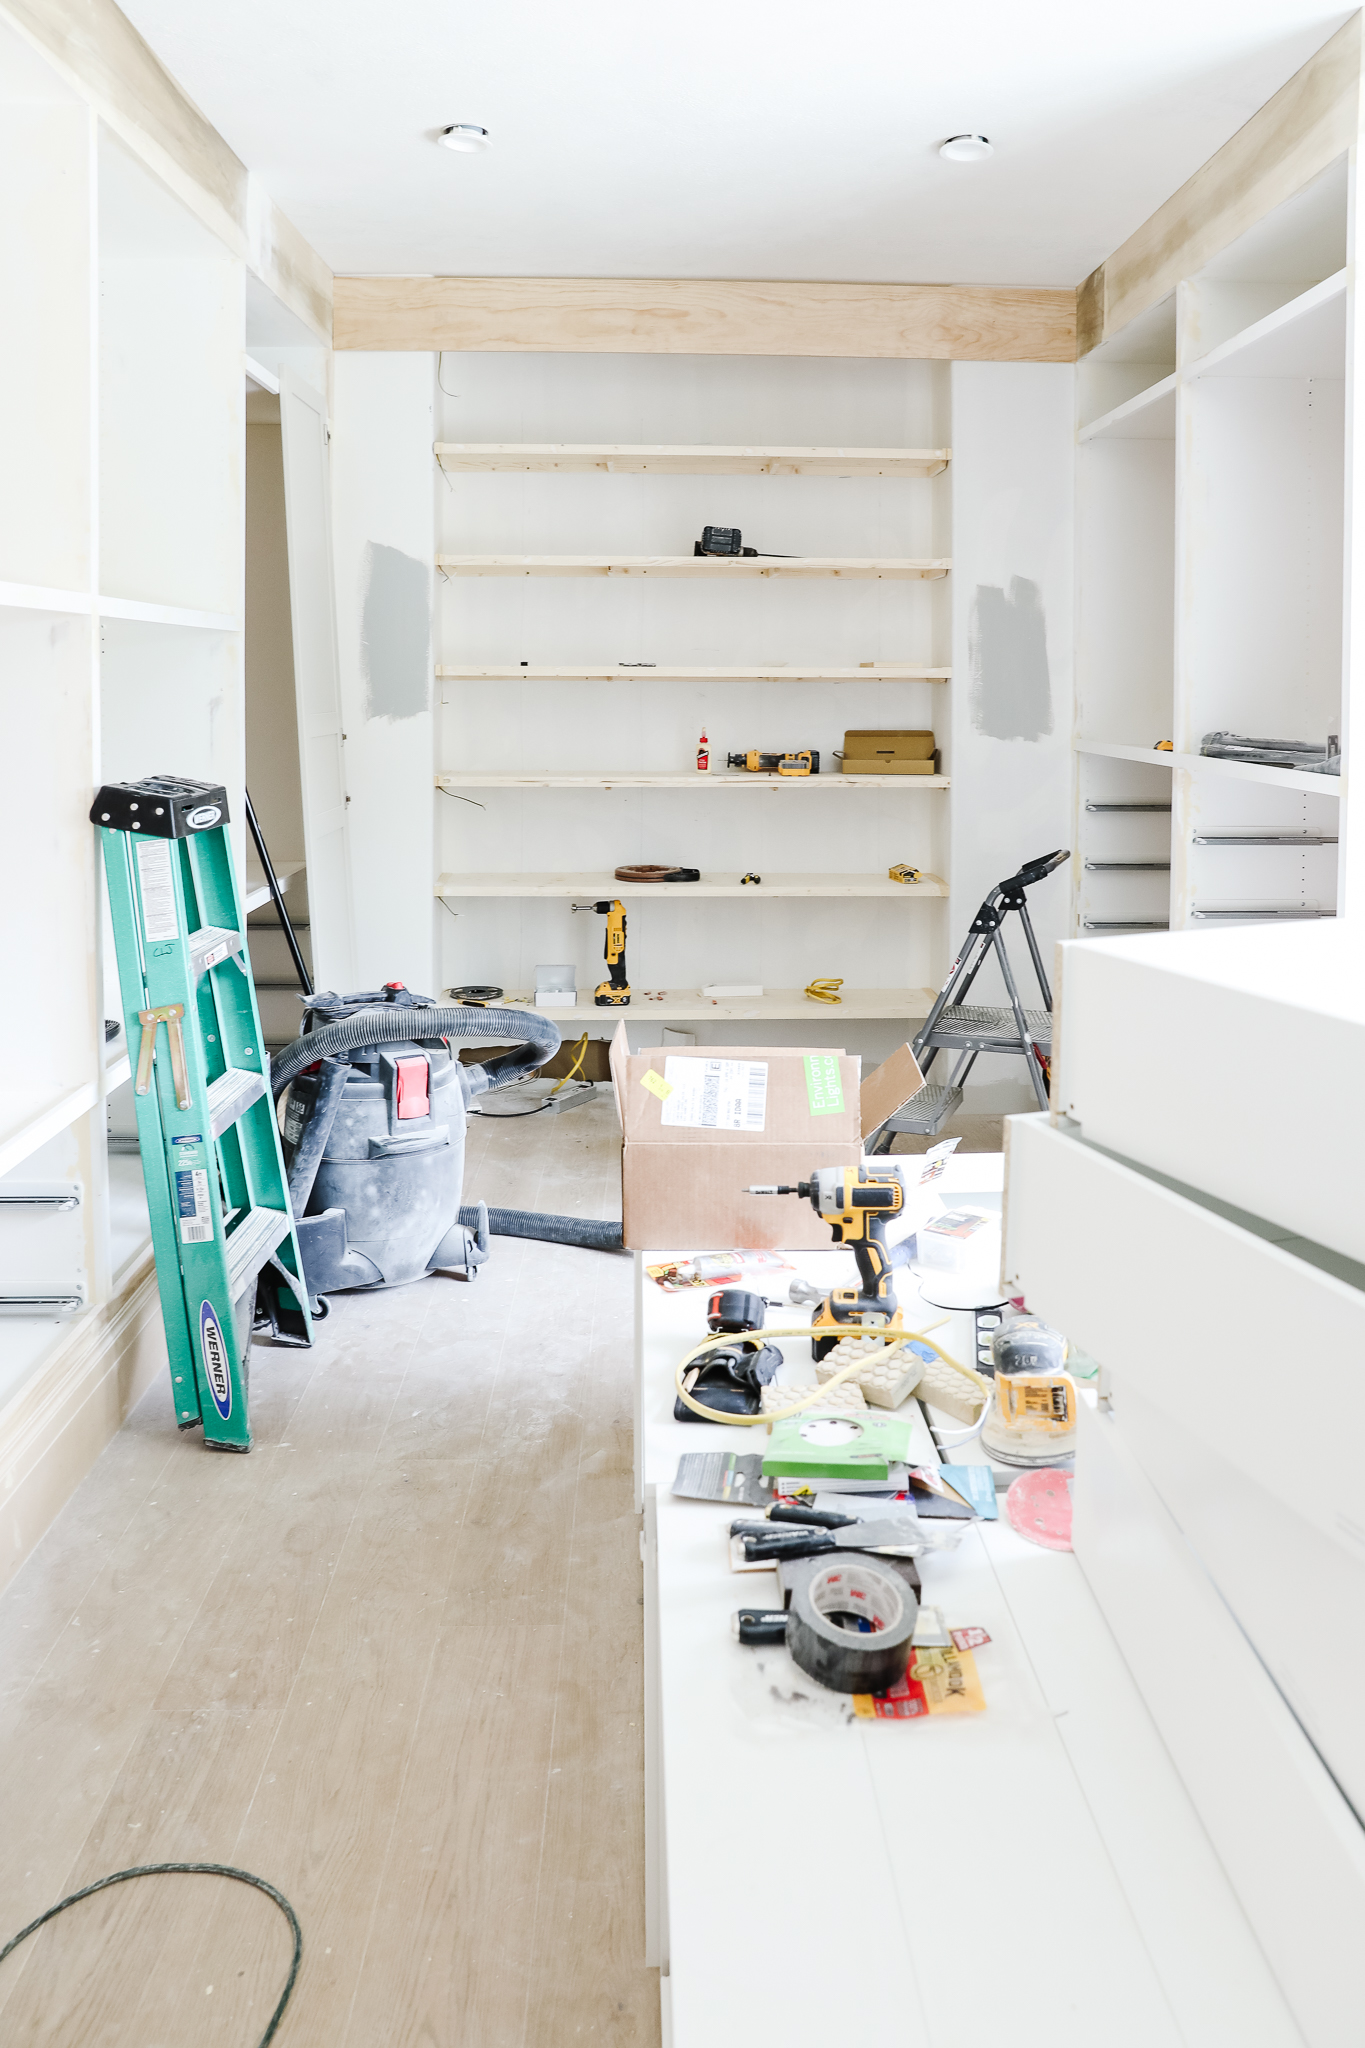
Haha! The progress looks a bit of a mess right now, but if you squint you can really see it, and it's gonna be so good! And I can't wait to show you how the ceiling turns out - starting on that tomorrow!
Leave a Reply


WE'RE CHRIS + JULIA

Portfolio
Projects


How much weight do you think the shelves can hold? Do you think the design could be used for bookshleves?
Looks great!
LOVE... LOVE...
It looks so lovely! Do you think the same boards/technique could be used in a L- shaped pantry?
Looks great! I think your decision to go with straight shelves was the right move. Not only will they be more versatile, they'll also allow for some styling, too. Can't wait see your ceiling update.
I’m so happy you guys decided to turn this room into a master closet; it’s going to be amazing! What is the retractable metal thing on wheels that’s Chris used when cutting the shelves to size? I tried googling “accordion metal table”, but no luck. ????
I’m so happy you guys decided to turn this room into a master closet; it’s going to be amazing! What is the retractable metal thing on wheels that Chris used when cutting the shelves to size? I tried googling “accordion metal table”, but no luck. ????
It's insane to me how just adding in the header and the shelves on the back instantly made this feel all connected and built in. I mean it was already on its way there, but suddenly became visible with those updates. It's going to look stellar you guys!!
It looks great!! It's crazy how this looks so well proportioned for a closet now when it looked insanely huge at first. Definitely meant to be!!
Can we talk about the tool Chris is using in the 9th photo? Like, an accordion roller thing? I'm pretty sure I need that in my life.
Now that the shelves aren't tilted, do you wish you had done the front edge the same thickness as the back to hide the supports?
Your closet is coming out great! Really inspired by this whole project and looking to start our own PAX master soon.