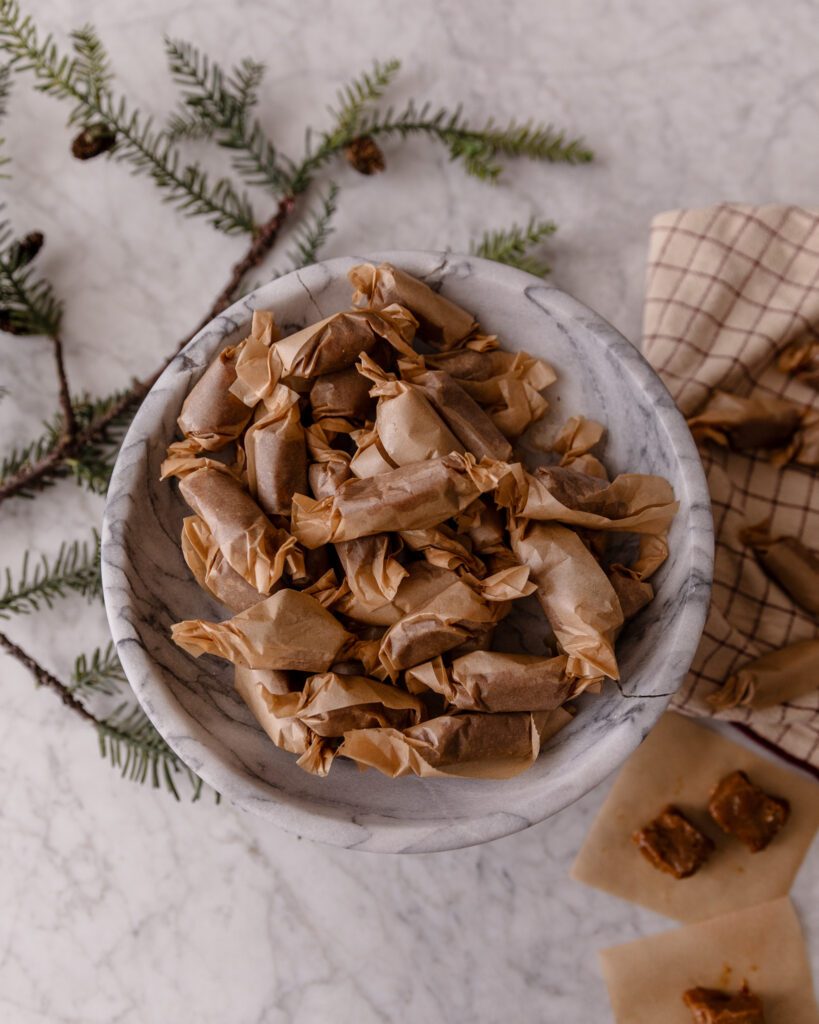
'Tis the season for sweets and snackable treats to share with others in those cool tins. My mom (whom you met in my dinner roll recipe video) always used to make soft, chewy caramels around Christmas that would be some of the first things to go at any holiday gathering. Her recipe probably had butter and evaporated milk in them—the traditional way! These days, we have some people in our family with food restrictions, so I wanted to make dairy-free chewy caramels we could all enjoy this time of year.

So if you're looking for a dairy-free soft caramel candy recipe that you can share with everyone you love, give this dessert a try!
Watch the Dairy-Free Soft Caramels Video
This recipe has some slightly more visual elements for those complicated questions, like "What should my caramel look like when it's ready?" and "How do I roll a caramel candy?" The video comes in handy for how to tackle these cooking conundrums.
How to Make These Soft Coconut Caramels
The key to making these is a candy thermometer, because you need the caramel at the right temperature so you can have the right consistency. I use a stainless steel saucepan and add some vegan butter, vanilla extract, coconut sugar (or brown sugar), coconut cream, sweetened condensed coconut milk and stir to mix.
Why coconut sugar? It has the molasses flavor that I love, but it has a much lower glycemic index.
I put the saucepan on the stovetop over medium high heat with the candy thermometer in there the whole time. Everything will melt and start bubbling rapidly—so keep an eye on the thermometer until it gets to 235-240 degrees. The mixture will be a dark honey color and have very active bubbles across the top. Remove it from the heat once it reaches our target temperature.
Prep the Optional Add-In and Set Caramel

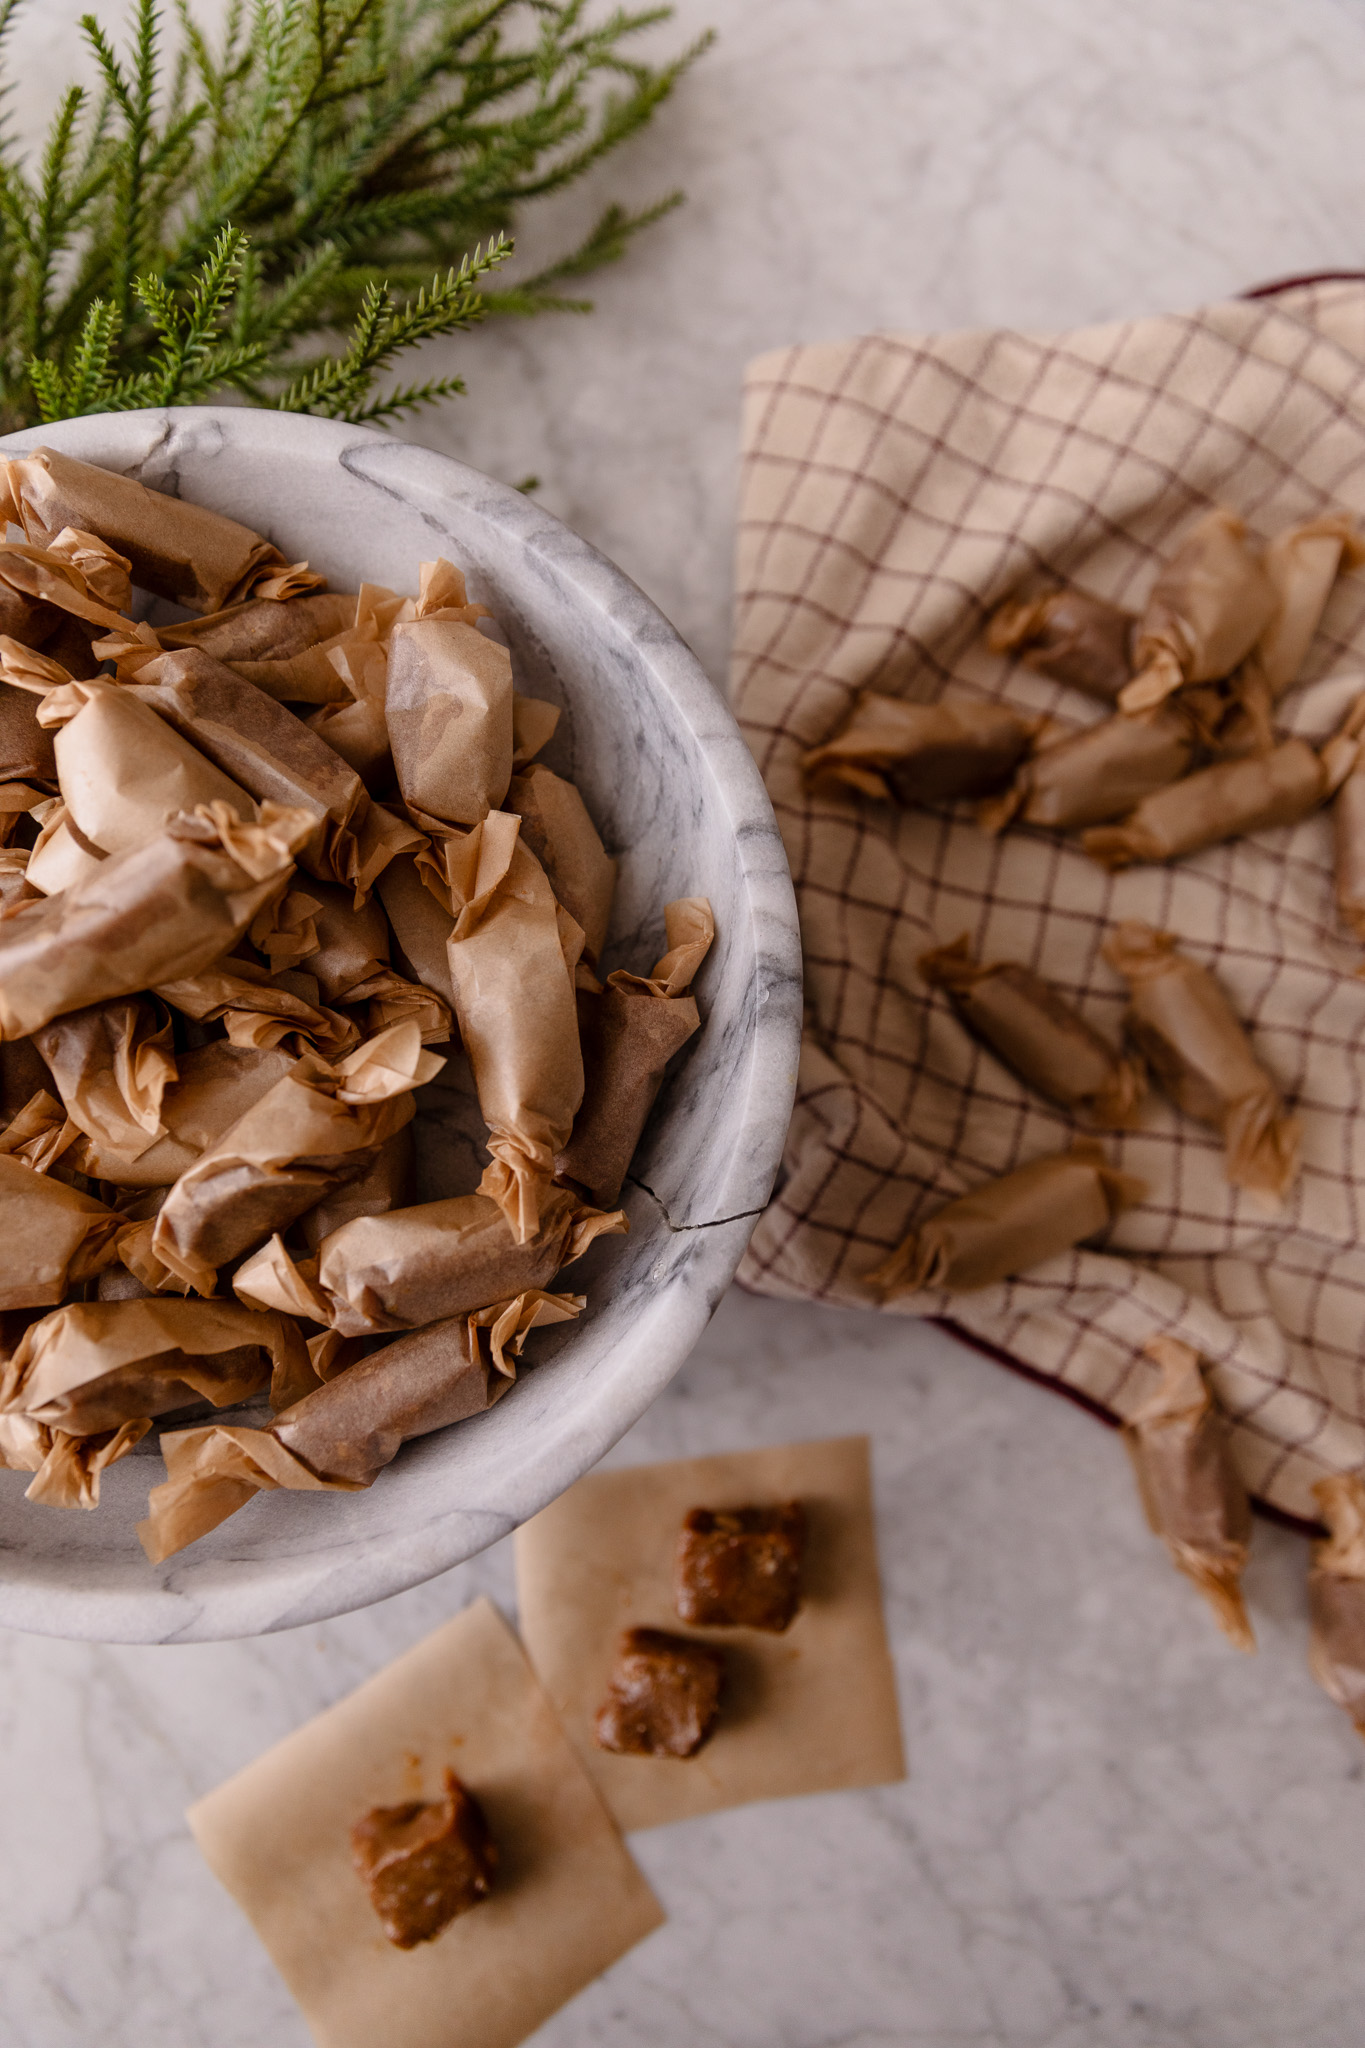
Marble Bowl | Dish Towel (similar) | Cedar Stem
I like to add a little bit of salty crunch to my caramels to balance out the sweetness. Lightly salted almonds roughly chopped and added into a heatproof dish. You could also try pecans or hazelnuts if you want to switch it up.
Add those chopped almonds to a casserole dish. Carefully pour the caramel on top (it's very hot) over the almonds add a little texture and extra savory note. I lightly sprinkle flaky sea salt over top and let it cool for 30 minutes.
How to Wrap Homemade Caramels
I put these in the fridge overnight to set....and life got busy. So I finally got to them a week later to wrap them, and man, it was like the flavor intensified and the texture got even better. They do need to set for at least 24 hours. You can serve them as small squares straight out of the pan, but let's get a bit more festive for the holidays.

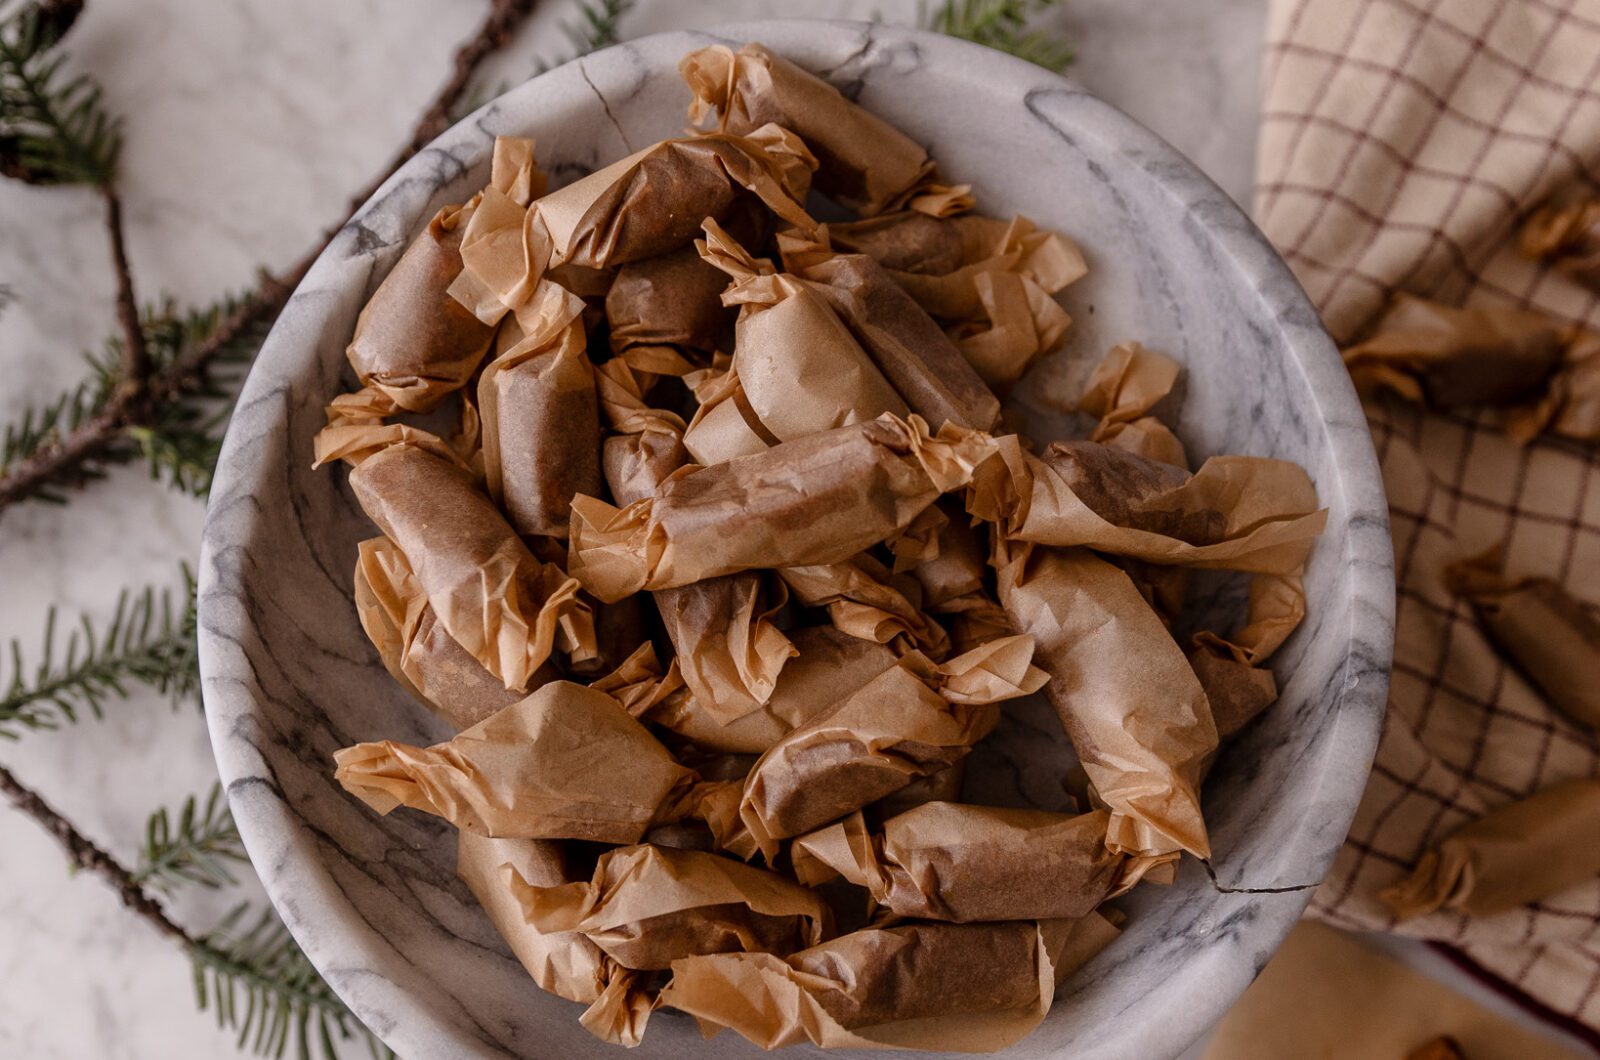
So to wrap the caramels, first I put on gloves to prevent any stickiness. Next, take a stack of wax paper cut into rectangular square pieces and a sharp knife. I cut the caramels into approximately 2-inch by 1-inch rectangles and then roll them up with my hands into cylinders. Each one goes into their wax paper piece, and I roll the middle like a log and then twist the two sides to enclose the caramel. This part is very meditative (read: long), so just put on some Christmas music and carry on until they're all done.
The Review
What a fun treat. These caramels are so smooth, chewy, and buttery (even with no butter!). The almond and salt flakes add so much complexity. Bonus: These never get stuck in your teeth like those harder caramels. Store them in the fridge for the best texture—a chilled caramel is so tasty. It's so great to bring back something nostalgic from my childhood.
I hope these are your new favorite Christmas treat. And if you want some more gluten-free, dairy-free holiday sweets, try my Peppermint Brownies recipe or my Vegan Holiday Brittle recipe.
Leave a Reply

WE'RE CHRIS + JULIA

Portfolio

Projects


These turned out amazing, so thankful for a gluten free vegan treat! Recipe turned out perfect for our Christmas party, thank you! Serving size said 4, however these could have served 40!
I put them in the fridge overnight, and it looks like the caramel separated in the refrigerator. I mixed it, covered it, and placed it in the freezer. I'm not sure if that will work, but here's hoping!
Do these taste very coconut-y? :)
Making these for neighborhood holiday gifts for sure! What size would you say the parchment pieces are cut to? Thx!!
You're looking for probably 4"x5" or 5"x5" pieces of wax paper! You can find them precut online to save time.