It’s been a few weeks since we checked in with the laundry room. Our small, but mighty, sink that we ordered to fit into that 15″ wide base cabinet was on backorder and it finally got here last week! We celebrated because this was the last thing we needed to wrap up this laundry room.
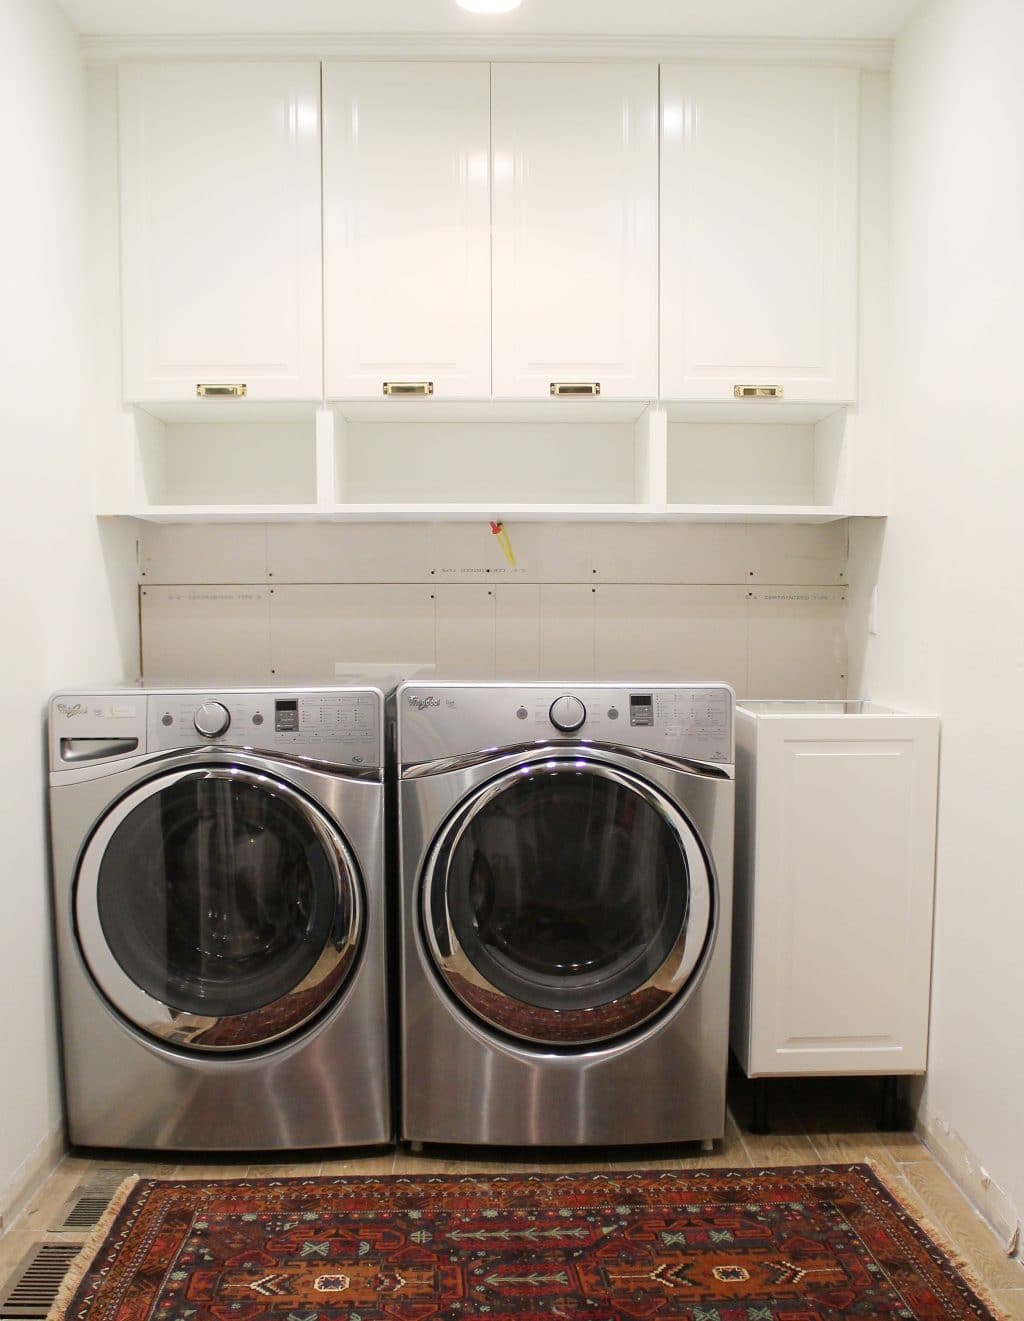
Once the sink got here, we unwrapped our countertops that arrived awhile ago and got excited all over again. In our last home’s kitchen remodel (that we finished just days before unexpectedly moving–days!) we installed really beautiful Black Walnut Edge Style countertops we got from Craft Art (you can read all about that here). They have DIY products that aren’t completely finished, but as long as you can sand and apply a few coats of sealer, it cuts down on price.


For the few weeks we were able to use those countertops, we were absolutely in love. They were warm and smooth and had loads of character. And they were gone out of our lives too soon. We knew we really wanted to use a rich, wood countertop in the laundry room–with all that white and stainless, the room was calling for something organic and warm. We checked back in with Craft Art, and were originally set on using the same exact Black Walnut Edge style countertop, but then I noticed they had a “plank style” in the same species. I looked at a few photos and loved the thicker planks that felt less busy and showed some truly lovely grain. And it was surprisingly cheaper than the edge grain–sold. We ordered a DIY countertop and backsplash that will fill the space from the counter all the way up to the bottom of the cabinets–a few of you have asked, why the wall wasn’t finished back there. It will be covered with pretty wood soon enough!
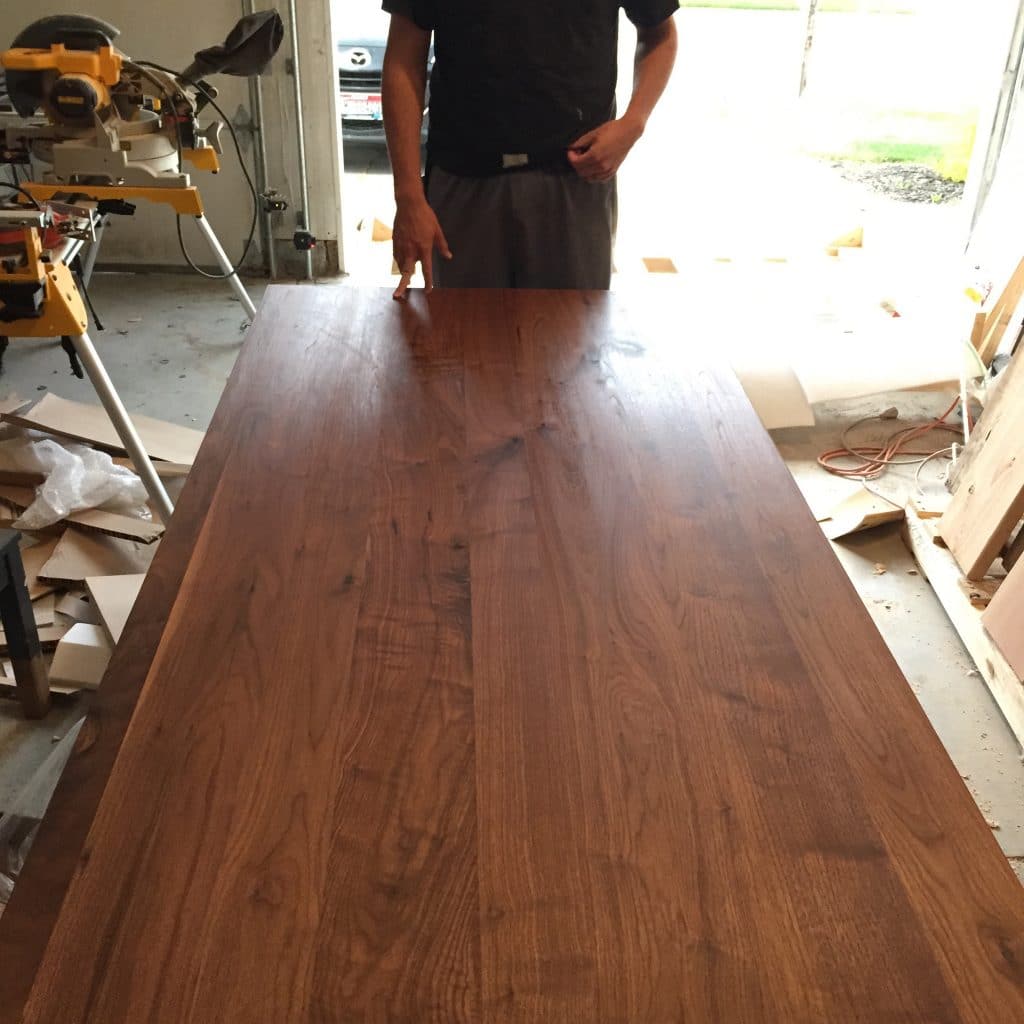
This is when we initially unboxed it. I apologize the rest of these photos are with my phone, with all the dust flying around, I didn’t want to risk destroying our nice camera during this dirty work. The counter and backsplash came with one or two coats of Waterlox on it, but we’ll get into the sealing process in a later post. Our first, and scariest task was cutting out the hole for the sink. The sink, an undermount, came with a nice solid template (are paper templates the worst or what), that we traced and got to it with our jig saw.


After the hole was cut, we took turns sanding, with increasingly higher grit sandpaper, until the freshly cut wood felt smooth.


This is when we realized, we probably should have drilled the faucet hole while we cut the sink so we could have knocked out all that sanding at once. Faucet hole coming! Install coming! Sealant coming! But isn’t she a beaut? I couldn’t wait one more day to share it with you. I’ll be sure to break out the real camera this weekend and have photos of it installed in the laundry room next week!


Do you happen to remember the company or name of the sink? I’m needing one of the same size, and yours seems pretty deep too. I absolutely love this laundry room!
Thank you. You did a great job!
This is beautiful! We are in the process of doing this to our laundry room. Your space is exactly the same as ours. We were looking for counter top ideas when we came across your blog. Would you be able to provide a link to where we can find the laundry room counter top? Thank so much!
Yeah! They are from right here.
Thank you so much! Do you have a picture of the final project? I’m curious so see how you covered up the portion of the sink that didn’t fit down into the cabinet. We are running into that problem as well!
Laundry Room Before and Afters. right there.
Thank you! What size top (from back of the wall to front of the washer and dryer) did you use to account for the hoses in the back in order to still make it come out flush with the washer and dryer?
Ours is 34″ deep.
So pretty! Can’t wait to see more :)
Really great job. It’s look so nice Julia.