
This post is not sponsored and all opinions are my own.
You know when someone recommends something, and you can’t get it out of your head? Well after a friend got the Ninja SLUSHi drink machine and said it’s her most-used appliance, I was sold. We decided the slushie maker would be worthwhile because 1) we entertain a lot, and 2) we love our Ninja CREAMi so much. This felt like something you could use even faster with no wait time!
If you’re here for the butterbeer, jump to the recipe!
Shop The Ninja SLUSHi
$349 from Ninja Kitchen | $349 from Target | $349 from Amazon (as of publish date)
Plus, while the Ninja CREAMi makes like 1-2 servings, you can put up to 88 oz of liquid in the Ninja SLUSHi, which means you can serve 8-10 people a slushie or milkshake within 30 minutes!
If you’re tight on space or don’t need to serve quite as many people, there’s also a 72 oz version that serves 5-6 people.
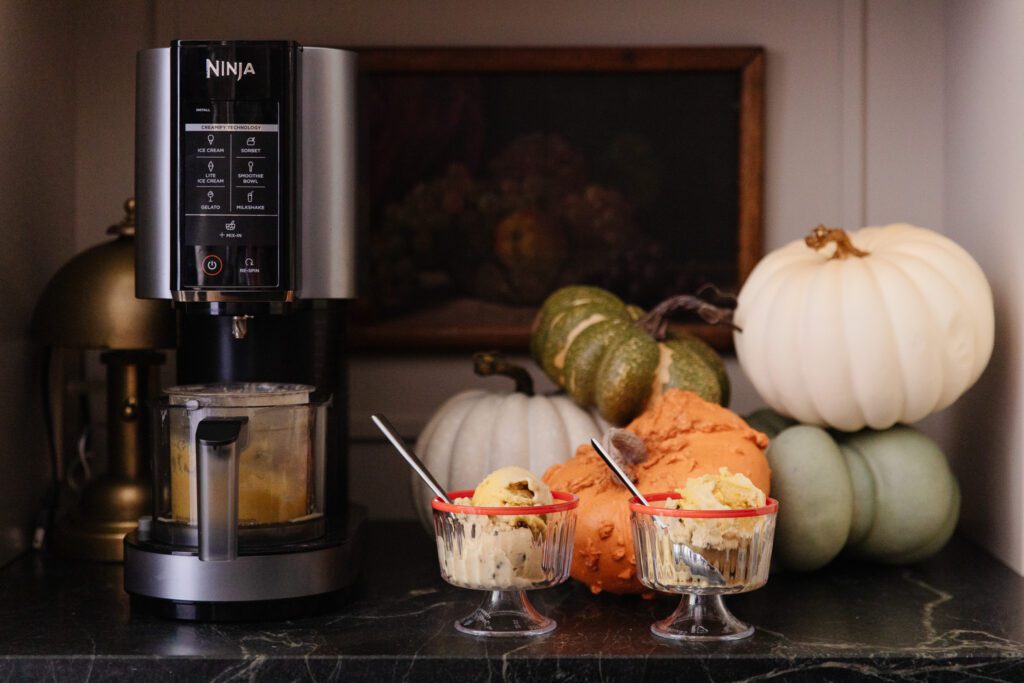
The Ninja SLUSHi is pretty new to the market, so I get a lot of questions about it whenever I show it making slushies in our kitchen. I’m giving you all of my pros and cons to see if it’s worth adding this frozen drink maker to your kitchen collection!
How to Use the Ninja SLUSHi

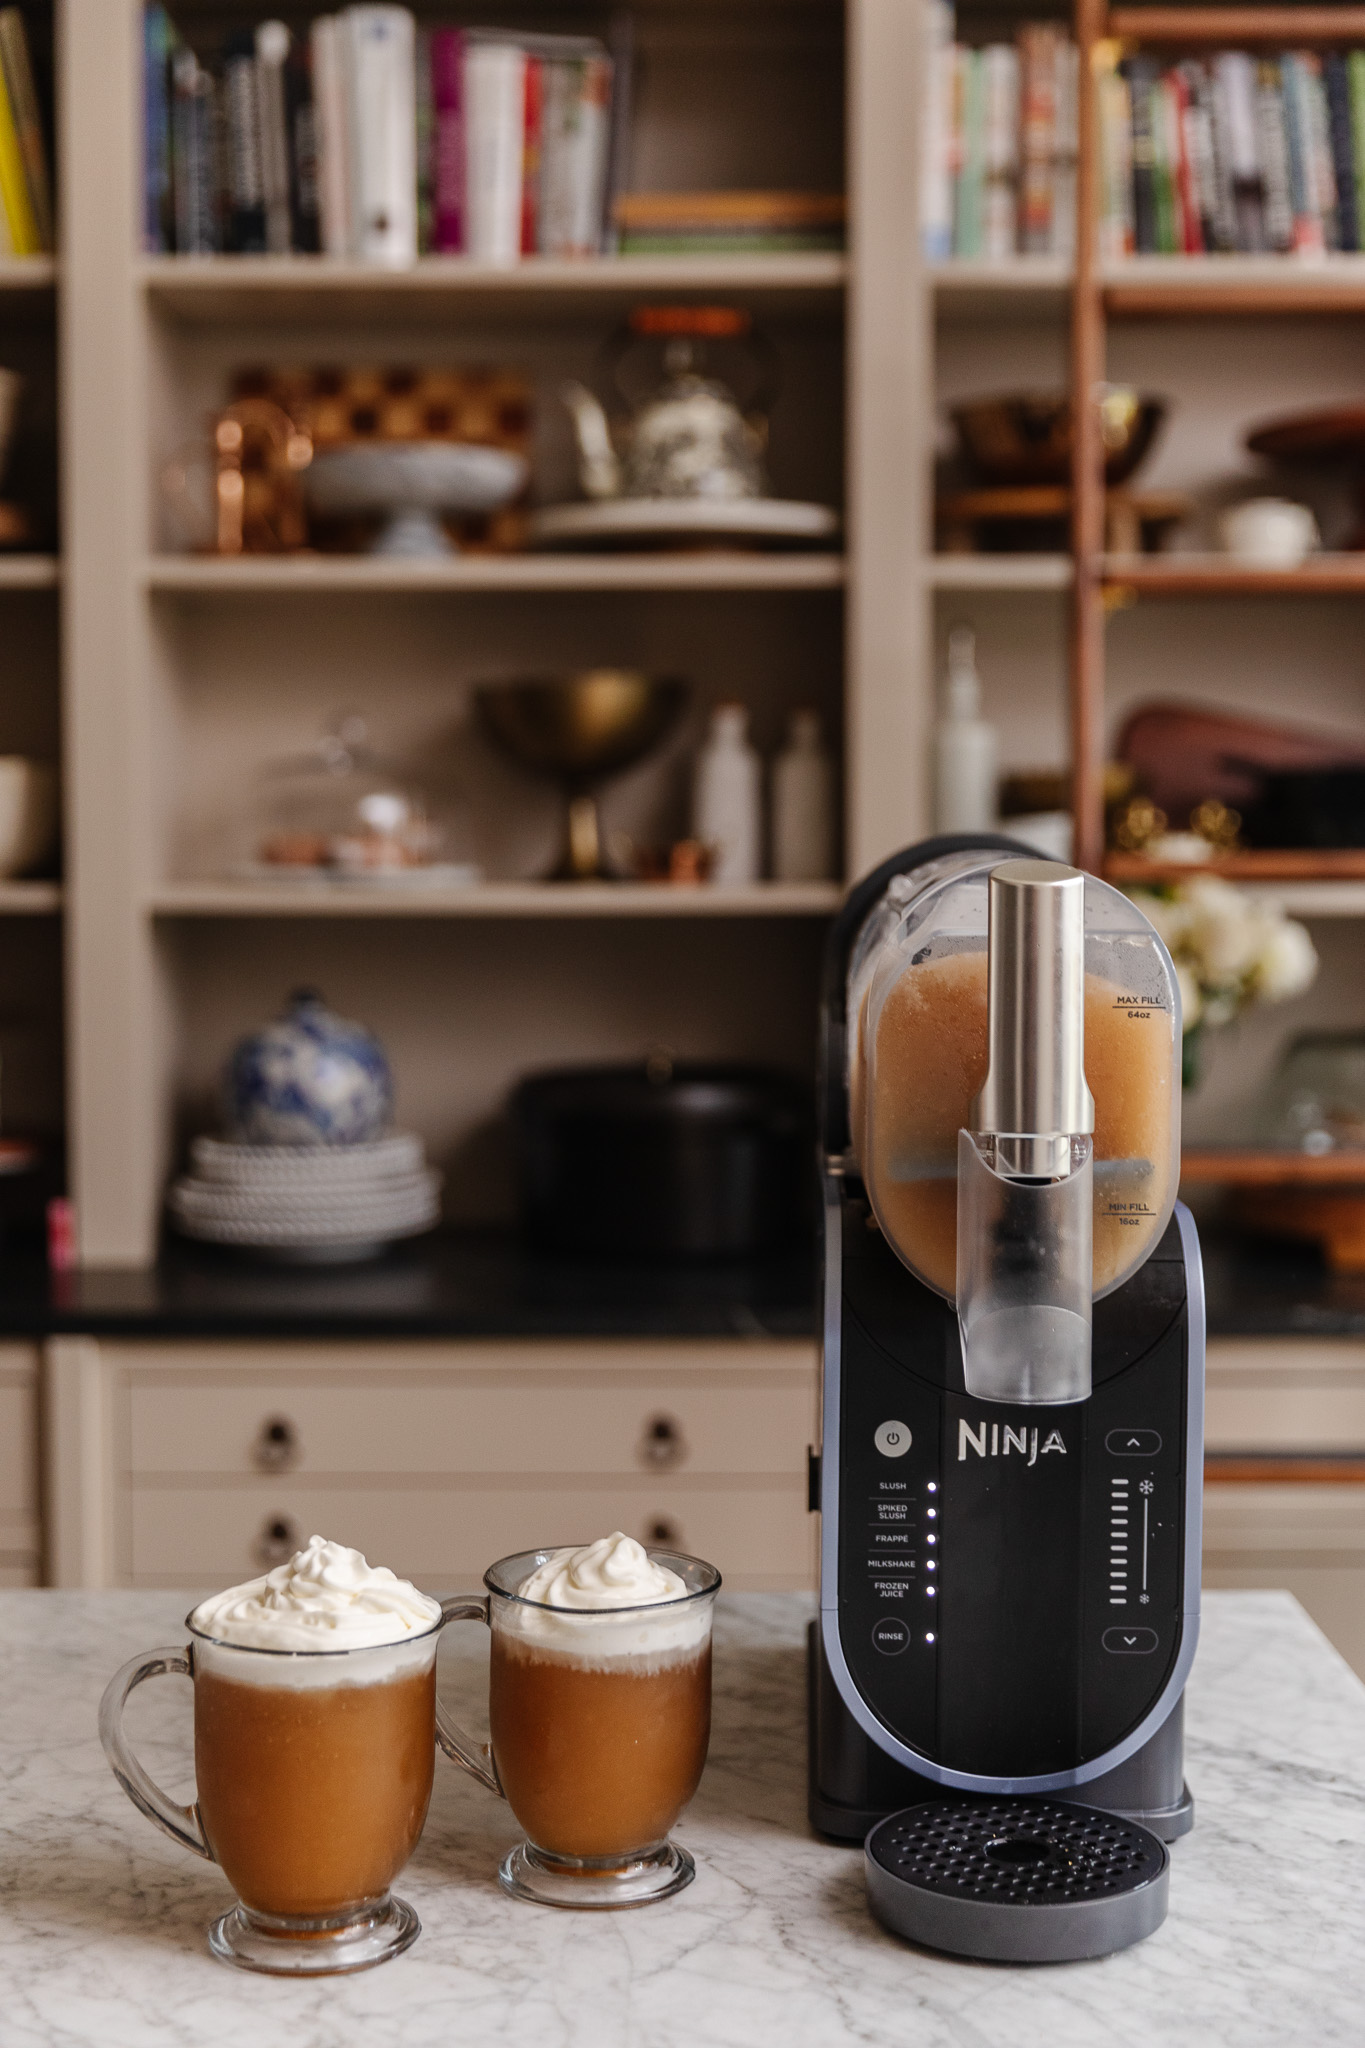
We’ve already used the SLUSHi 3 times since we got it. The first thing we made was a butterbeer slushie (sharing the recipe below). Chris just poured liquids into the clear barrel. You don’t have to put anything else in it!
The second thing we made was an apple cider slushie (with just a gallon of apple cider). Then we put that over ice cream and topped it with a caramel syrup. It was amazing. Around Christmas, we got some eggnog, and there was no question about what we were going to do for dessert. We made an eggnog milkshake, and we topped it with peppermint whipped cream. It took no time at all, and it felt like such a treat!
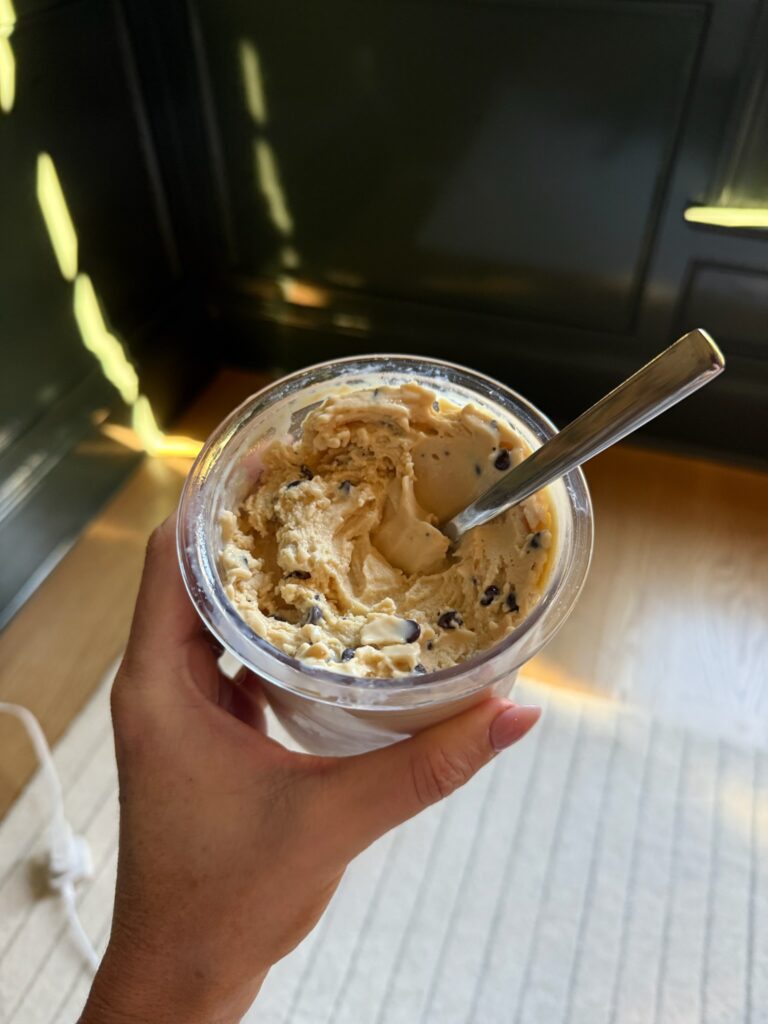
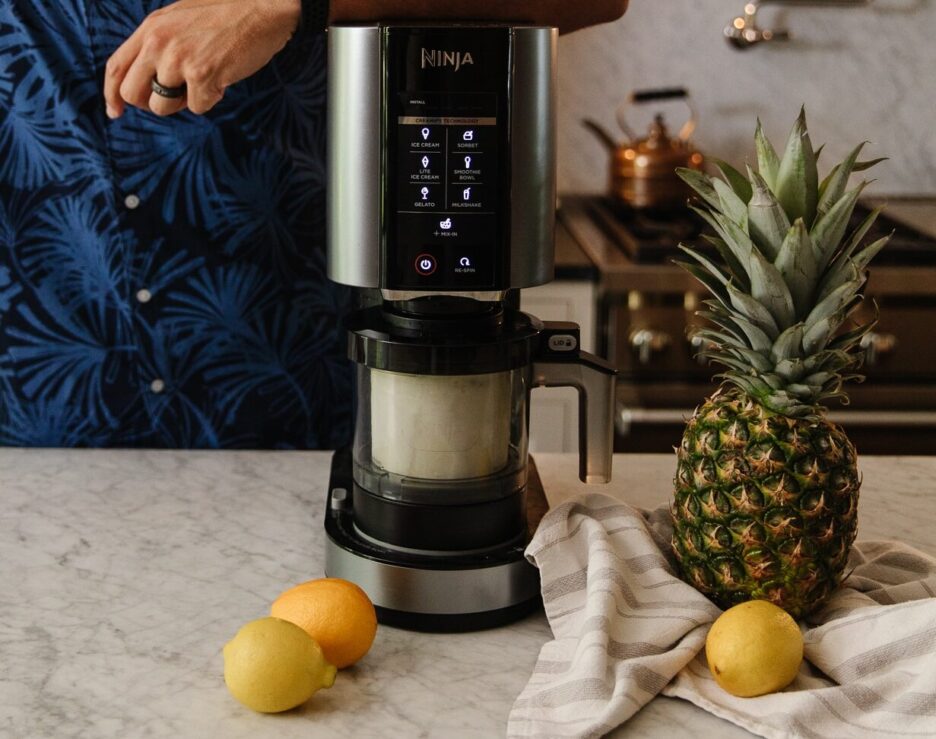
The Ninja SLUSHi doesn’t require a ton of prep ahead, unlike the Ninja CREAMi. I still love the Ninja CREAMi because I make high-protein ice creams as my personal treat at night. (See my go-to chocolate chip cookie dough ice cream recipe.)
How to Clean the Ninja SLUSHi
The cleanup is insanely easy: You pour hot water in the same barrel, and there’s a rinse button. Then you dispense the water as if you were just serving a drink, and then it’s clean. The machine does take up some room, but we have a pretty tall cabinet in the mudroom over the door, so we’ve kept it up there.
Our Review?
We haven’t had any problems with the slushie machine so far. There are multiple options for drinks on the side of the machine: slushie, spiked slushie, milkshake, and frozen juice.
Now, sugar content of the ingredients does matter in how it works to blend the outcome. But I do want to try something that has a sugar substitute. There’s a trick I found online to use a tablespoon of monk fruit sweetener for every cup of sugar-free drink. Maybe I can use it to make frozen Diet Dr. Pepper for our next game night!!
The SLUSHi is so easy to clean and fast to use. Plus, it’s quiet, not like a blender. And it feels so special—like a carnival treat. I can see the girls’ birthdays making this a central theme for their birthdays! And it’s great for entertaining. I mean, how fun is a “soft-serve” handle you can use at home??
The Ninja SLUSHi is a high-ticket item at around $350, but it’s an amazing machine—we are just really obsessed with it. It sometimes goes in and out of stock, so if you’re interested and it’s available, be sure to grab it quick!
Our New Favorite Slushie Recipe
Of all the recipes so far, this one has been a real standout. Chris’s butterbeer slushie recipe was as good as Universal Studios’ Harry Potter World version, I’m not kidding. I hope you make it for your favorite group of kids or friends!

Butterbeer Slushie in the Ninja SLUSHi
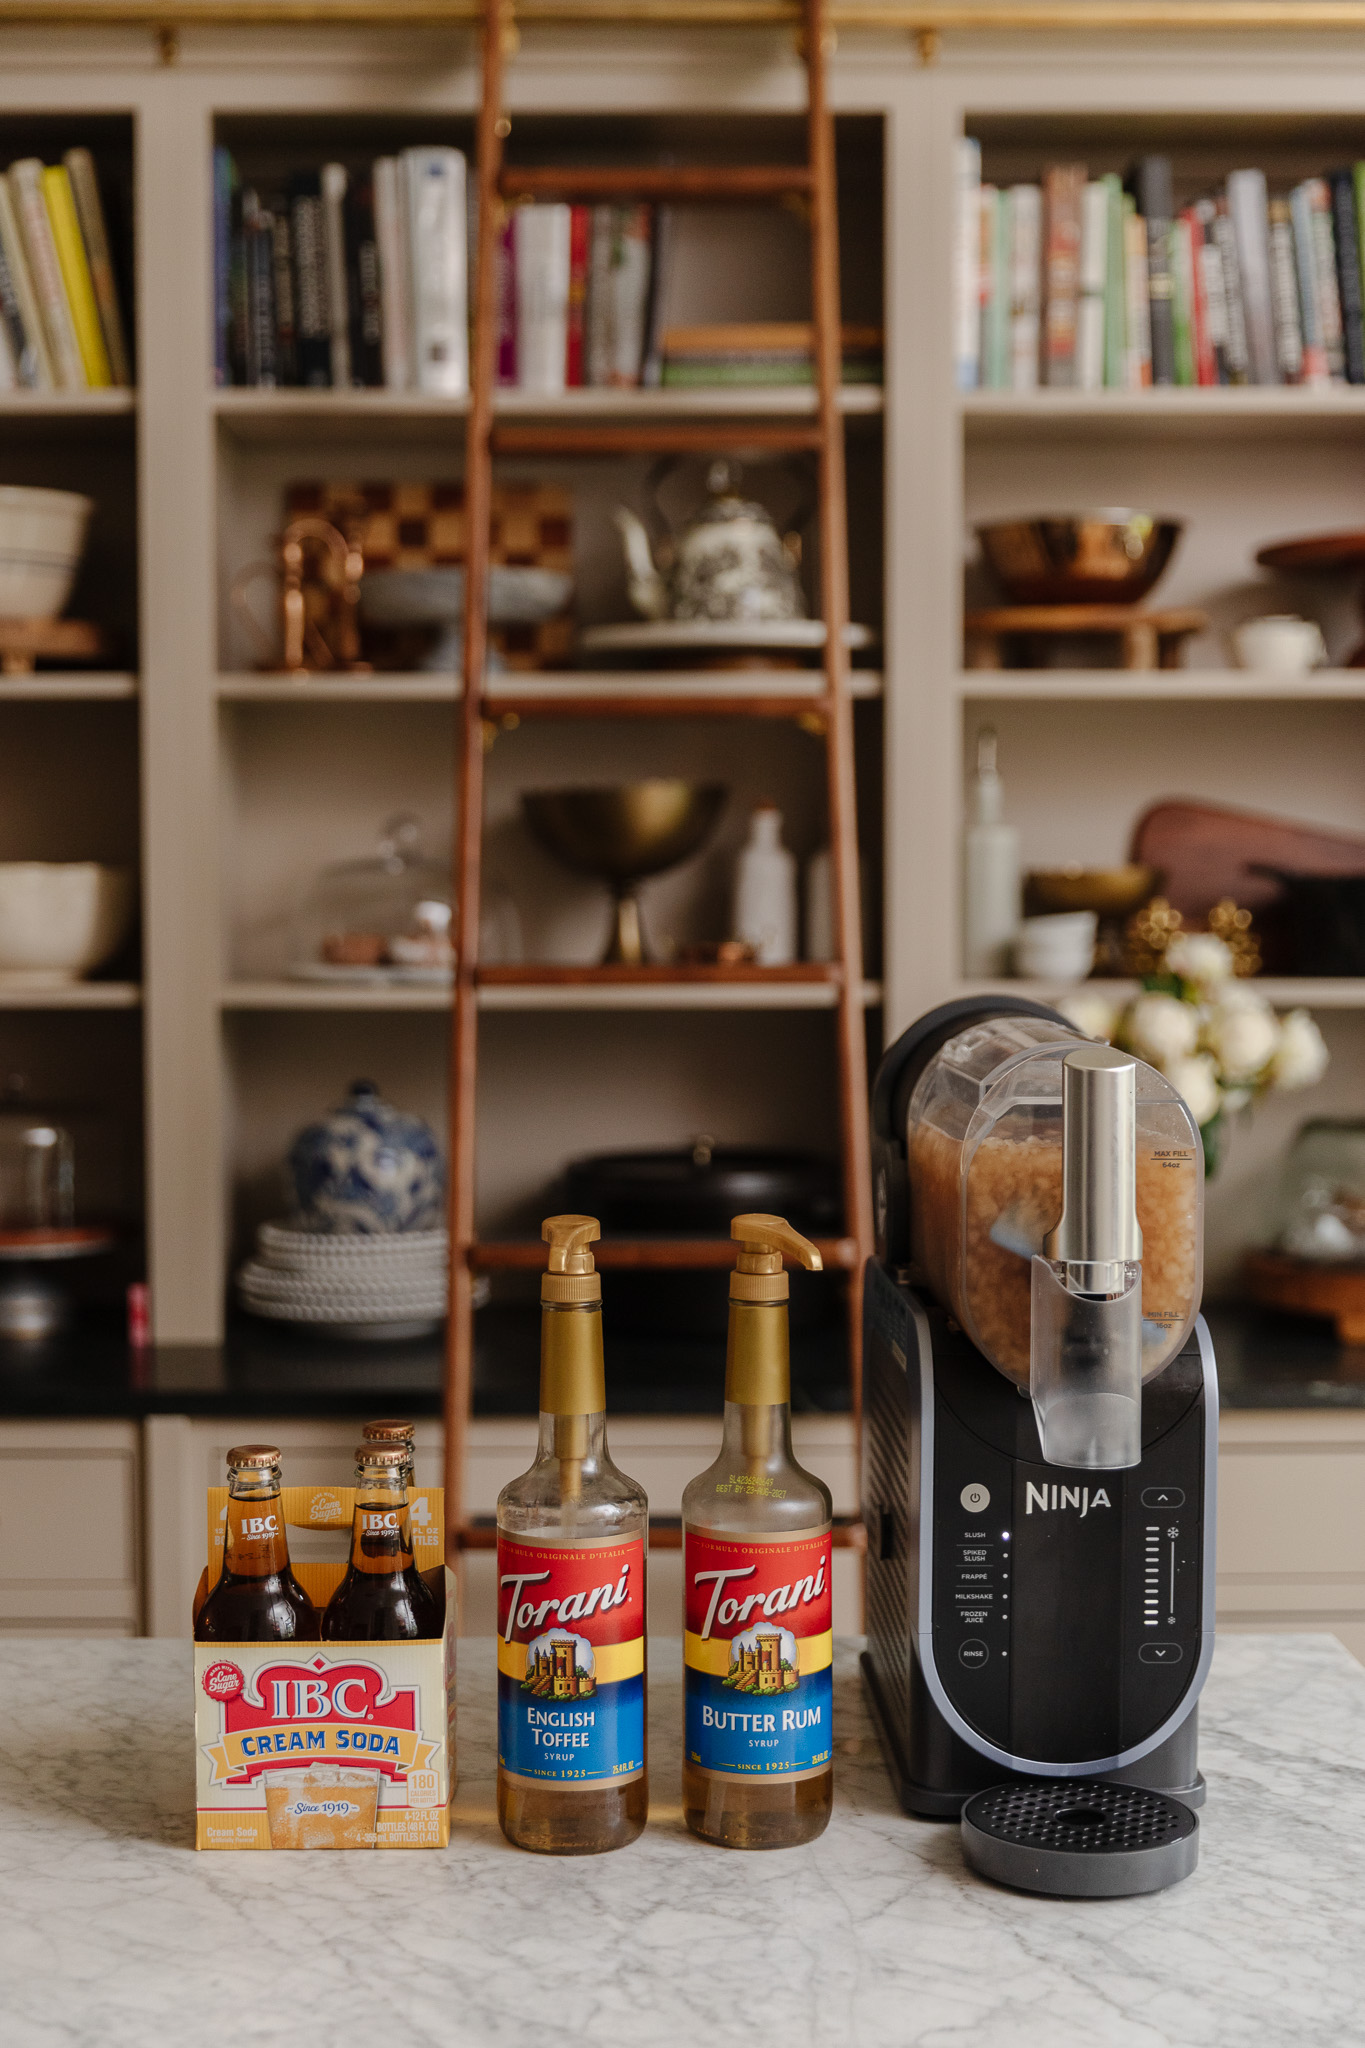
Ingredients:
- 5 12-oz bottles of cream soda (IBC Cream Soda)
- 4 pumps Torani English Toffee Syrup
- 6 pumps Torani Butter Rum Syrup
- whipped cream to taste (coconut if dairy-free!)
Directions:
- Add all of the ingredients to the Ninja SLUSHi machine and turn the machine on to the slushie setting. I like to set it to level 3, which I think is the perfect iciness for a slushie.
- Let the machine run for at least 20-30 minutes until it’s icy enough, but you can keep it running for hours if you would like.
- Dispense your slushie to a cup and top with whipped cream.
You know we love a good product test! See what else we’ve reviewed:
- Testing 15 Brass Cabinet Knobs to Find The Best!
- The Quest For the Best Hair Towel Wrap
- Unwrapping The Best: Putting Gift Wrap Cutters to The Test
- We Tested Tons of Shaker Bottles For Protein Drinks &”Sexy Water”—Here Are the Winners
- The Ultimate Test: The Best Waterproof Doormats
- The Ultimate Test: The Best Steam Mops
- My Tell-All Review of Composite Cutting Boards
- The Ultimate Test: Finding the Best Nugget Ice Maker
- Tried & Tested Dripless Tapered Candles
- Ask Julia: What is the best self tanner?
- Let’s Cut to the Chase: The Best Knife Sharpeners
- Which Holiday Window Candles Are Right for You?
- Quest for the Best Gold Spray Paint
- Hunting For The Best Can Opener
- Product Test: Portable Phone Chargers
- We tested 8 rug pads–here’s our favorite!
- We Tested 30 Hand Soaps to find the best of the best!
- Putting Bed Pillows to the Test
- Ranking the Top 7 Duvet Inserts on Amazon
- Putting Kitchen Towels to the Test
- Finding The Best Air Mattress!
- Testing 17 of The Softest Plush Blankets (Perfect for Snuggling)
- The 9 Best Chef’s Knives, According to Chris — Home Cook And Knife Connoisseur
- The Ultimate Cordless Stick Vacuum Test
- We Tested the Top 5 Amazon Pillow Inserts–Here’s my favorite!
- Our Samsung Frame TV – An Unsolicited Review
- Blender Wars! Testing and Ranking 7 of the Best Blenders
- Finding My Perfect White Tee: An A-Z Product Test & Reviews
- We Found The 10 Best Bluetooth Portable Speakers To Use At Every Party


Leave A Reply
Your email address will not be published. Required fields are marked *