
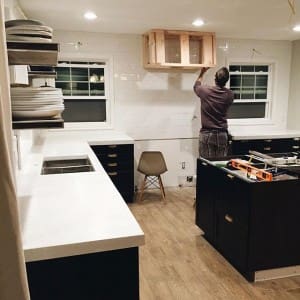
We hung open shelving in the kitchen this week! It was a decision I touched on in this post, and we’re so glad we went this route. After living in a construction zone for the past 5 1/2 weeks, it felt so good to have real plates and glasses accessible and pretty fresh cut (as in cut the day we ordered them!) flowers to admire. I needed this.
The open shelving project was easy and relatively inexpensive for the punch it packs in the kitchen. We settled on these brackets because of their low profile and ability to hold a 12″ shelf (a little deeper than most standard opened shelving)–which we needed for our larger plates and pots we wanted to store on the shelves. We got silver, as opposed to their other black option, in hopes they would tie into the stainless appliances and they do–so perfectly! For the shelves themselves, we found an old reclaimed piece of pine at the lumber yard. We loved the scars and imperfections and, lucky for us, it had been sitting outside for so long, they didn’t even charge us for the wood! We had them plane it down to 1″ thickness and a 12″ depth and 36″ width (that did cost us about $40).


The planing down to size took the natural weathering color away, but left behind all the best marks. We tested a bunch of stains and settled on two coats of Provincial stain after a coat of wood conditioner. It felt aged but still warm.

I picked up one of these staining pads for $2 at Ace and I am thrilled with how painless (and lint free!) the process was.

We got at least one bracket from every shelf into a stud, but the other side we used heavy duty anchors that will hold over 100 pounds, so we can feel confident our dishware will stay put.

We actually tackled this project on Chris’s lunch break, and as soon as he headed back to work I couldn’t help but load up the shelves with a few plates, glasses, pots and bakeware. It’s not necessarily what will be here when the kitchen is done, but it’s perfect for getting an idea of how things will look–complete with flowers. May we always have fresh flowers in the kitchen!
I think it’s one of those things, for me, that’s easier once you are happy with the space you have. Like, it’s easier to fix my bed every day now that our bedroom is coming together. It’s even more enjoyable to do laundry now that our laundry room is done. And while it has been a goal of mine to always have fresh flowers in our home since 2013 (!!!), I know it will be easier now that our kitchen is just about done and I want it always to look its best.


When The Bouqs Company reached out about sponsoring one of our kitchen projects, I was thrilled with their concept. The flowers are cut the day you order and shipped the next day, so you’ll receive them sooner and they’ll last longer. They were shipped directly to our front door (in Idaho!) from a sustainable, eco-friendly farm on the side of a mineral rich, active volcano in Equador.

We’ve had this Marshmallow bouq, with the prettiest white Ranunculus flowers and Larkspur accents, for over a week now and there is no drooping–it seems like the blooms just keep getting bigger! I love that there’s no teddy bears or cheap candy and the pricing is flat and affordable with free shipping–always. I’m already planning on ordering another bouq for the kitchen reveal, and another and another just because.
Special thanks to Bouqs.com for sponsoring this project. If you’d like to try the fresh flower delivery service, they are offering our readers 20% off your order using code GETBLOOMS. (offer expires 9/17)


We’re getting ready to install some open shelving in our kitchen above a coffee bar we’re adding to a currently unused corner. I’ve been referring to your blog for inspiration! Could you share how far above the counter did you hang the lowest shelf and then how far above that did you hang the highest shelf? Thanks!
I believe the lowest is about 18″-20″ above the counter and there is probably 12″ between the shelves.
Hello, Just came across your blog. Love your kitchen! Where did you find your brackets that are holding up your open shelving. Looking for cool silver or gold brackets. Thank you!!
Blue stone shelving.com
Since this post is from two years ago, I’m not even sure you will see the comment, but can you tell us what kind of heavy-duty anchors you used? I am planning on doing open shelves in my kitchen for a similar purpose to yours, with a similar length and depth, but I have plaster walls. I just want to make use I use the right kind of anchor because I also think we will only be able to get into one stud. Thank you!
We really like the metal anchors that screw into place.
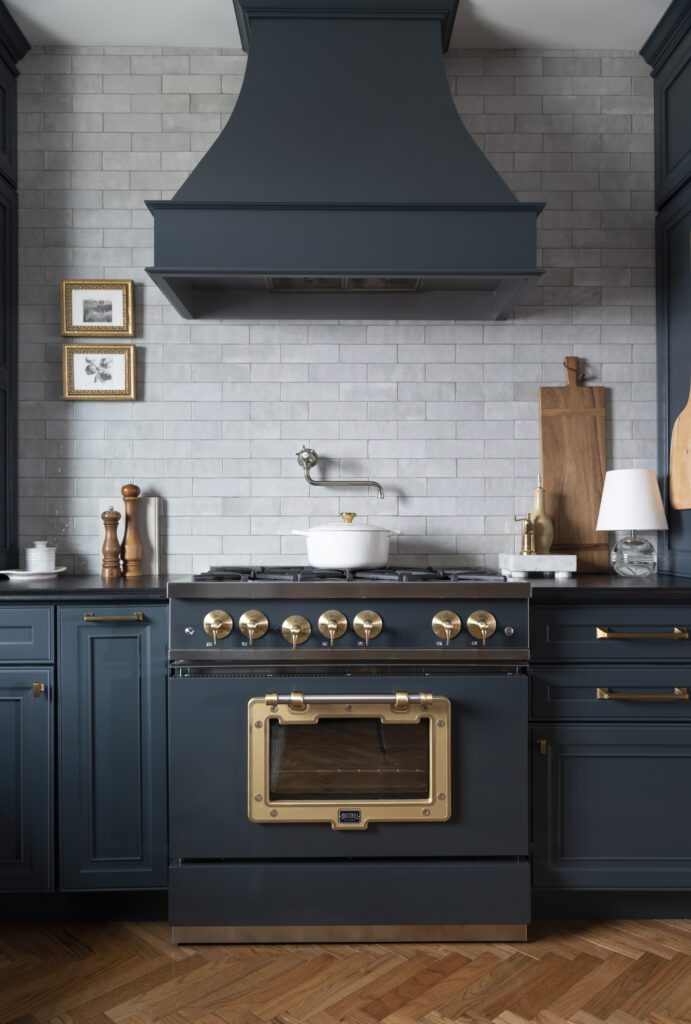
Beautiful! What is the color of paint you’ve used in the kitchen? Is it the same in your family room with the shelf behind the couch?!
It is! Hazy skies by Benjamin Moore.
Hi Julia! I love everything about your blog. Your home is lovely :) Would you mind sharing the white paint color that you used for your trims? And the hood cover – is it Hazy Skies as well or a white color? I can’t tell :) funny enough after a zillion hours pouring over paint samples and googling and pinterest searching I had settled on Hazy Skies and then found that it was used in your home!! Full circle because of course I have so many pics from your kitchen already saved for inspiration when we do our kitchen renovation next month haha :) thank you!!
Oh that’s funny! The hood is Valspar for Ace Soft Wool. (the same white as the laundry room) For trim, I just use off the shelf white.