Over the weekend, we did a whirlwind bedroom makeover and we can’t wait to show you how it turned out later this week! But first, I wanted to show you the board and batten wall treatment we added that completely transformed the room.
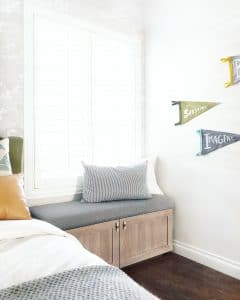
Here’s how it looked when we started–just your basic, neglected master bedroom:

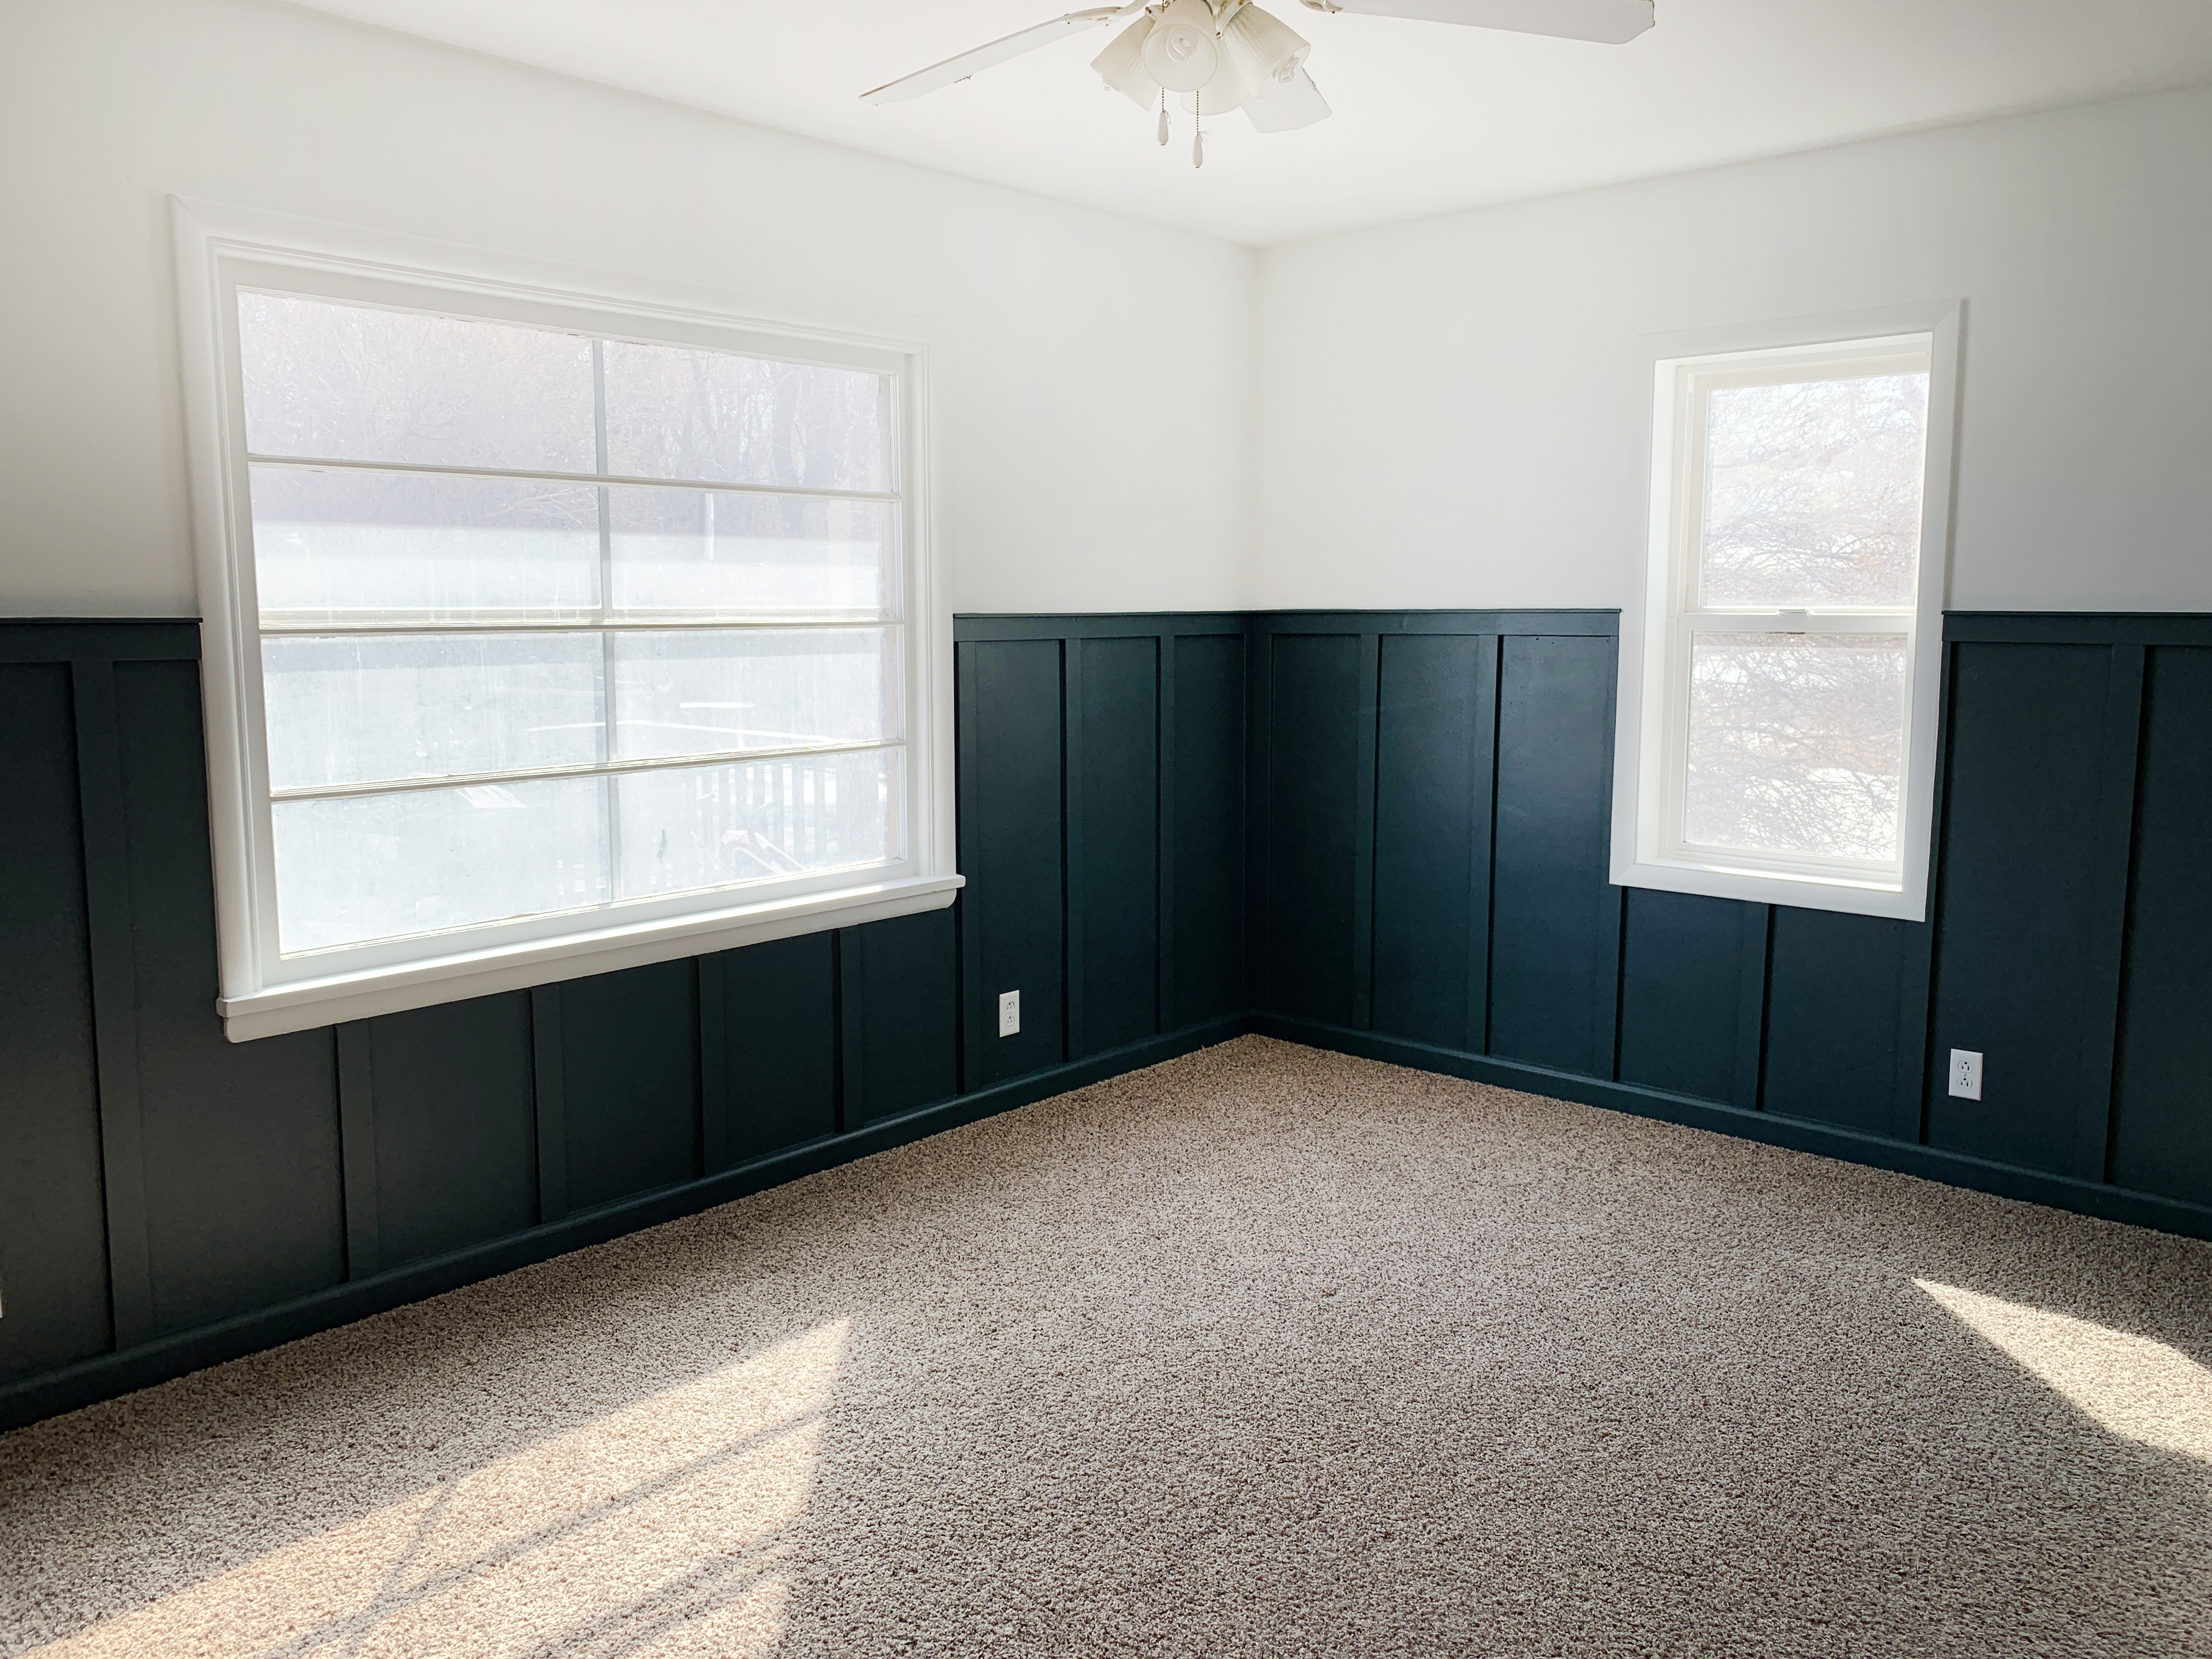
Adding board and batten to walls is not a new thing, but I love that we’re seeing a resurgence of it in color, instead of white. It feels fresh and interesting and sophisticated. In here, we went with a really rich, saturated greenish-blue called Deep Pewter by Benjamin Moore (color matched to Valspar) in a satin finish. Up top, we used with Sherwin Williams Extra White in a flat finish. The contrasting colors and sheen really allow the trim work to pop!
Before getting started adding the trim, we taped off 48″ above the baseboard and painted two coats of each color.

It didn’t have to be exact since we would be adding a horizontal border around the entire room–just close to make our lives easier down the road.

How to Install the board and batten
1. Install flat MDF baseboard
The purpose of the flat MDF baseboard is to give the wall pieces something to but up against, evenly. If you have decorative baseboard that tapers at the top and you add wainscot on the walls that is thicker than the top of the baseboard, the intersections look off, you know? By adding a layer of MDF baseboard the same thickness as your wall pieces, you’ll have more seamless connections and can then add a more decorative baseboard on top of the flat MDF. Ensure the width of this moulding is at least that of your baseboard, and not more than 1/4in wider. Ours was 3.5in wide, with 3.25in baseboard. We removed the old baseboard before doing this.
2. Cut and layout all the vertical pieces
Measure and cut the vertical pieces to your desired length. Since we were working with 8ft pieces (which were actually about 8ft 1in – we used these) we cut our pieces to 48in to reduce waste. Cutting them all at once also speeds up the process. Once you have a stack of them cut, lean them up against the wall approximately where you’d like them to go, with pieces flat against each wall.

3. Calculate placement of vertical pieces
Once you’ve leaned the boards up against the wall in the approximate spacing you’d like, calculate the exact spacing before attaching. You do this by measuring the width of the entire wall, subtracting the width of one of the vertical boards, and dividing the remainder by how many spaces there are between the boards on that wall.
For example, our wall was 15ft, and we had 12 vertical boards on the wall. With one full board at each end of the wall, that left us with 11 spaces between the boards. Each board was 2.5in wide, so the formula looked like:
15×12 = 180 (this is converting feet to inches)
180-2.5 = 177.5
177.5/11 = 16.13
This meant that from the right side of one board to the right side of the next, it would be 16.13 inches (on the measuring tape, that’s about 16 and 3/16). It’s important to remember the 16.13 is not the space in between boards, but from the right side to right side (or left side to left side).

Of course, most rooms will not have walls that are all the same length. That’s why you eyeball the vertical board placement first, so the boards look like they’re spaced out fairly evenly. Do the same formula for each wall, and you’ll likely end up with variations of an inch or so which, for the most part, won’t be noticeable.
4. Attach the vertical boards
Attach your first board to the wall so it’s level, vertically. Mark the base MDF you installed previously according to your measurements (for our first wall, using the example above, that was 16 3/16). Meaning, if you calculated 16 3/16 inches, make a mark on the base MDF every 16 3/16 inches. Line the same edge of each board on those marks, level the pieces, and attach to the wall.
If attaching to sheetrock walls, you’ll usually want to run a small bead of liquid nails or paneling adhesive along the backs of the board before putting in place. Then, using a brad nailer with 2in brad nails, nail the board in place putting your nail gun at a slight angle, alternating the angle for each nail. Since you most likely won’t hit a stud with each board, the adhesive will be what holds it to the wall. By adding nails at alternating angles, they will create enough grip to hold the board in place. If the nails all go straight in, the board can easily be pulled out before the adhesive cures. Which is also the case if all the nails are at the same angle.

5. Attach chair rail
Chair rail is installed horizontally along the tops of the vertical pieces. They have decorative chair rail, which is most common. But for this project, we simply used the same size MDF as we did for the vertical pieces, and attached a narrow piece of moulding on top like a hat that was a small detail that added so much.

6. Install baseboards on top of the base MDF
Make sure your baseboard doesn’t extend beyond the top of your base MDF.
7. Caulk all the gaps and seams
This is the most tedious part of the job, but also makes it so your job doesn’t look amateur. I recommend this fast drying caulk and this comfort-grip caulk gun–it’s life changing!
Last step is to finish painting. You may be wondering why paint the bottom half to begin with at all if you’re going to have to go back and paint all the trim pieces anyway? I promise it will still save you time! Rolling in between every board is very tedious and you can quickly roll the added trim pieces and cut in the sides. It’s not a bad idea to paint the top baseboard before installing it, but we didn’t have time, so I just taped off the carpet with painter’s tape, shoving it a little under the baseboard, and it went fast.
You’ll also notice that these walls have a slight orange peel texture–still worked great!


We added up all of our receipts for this project and the trim pieces came to $205.35 and the two gallons of paint were $35/each for a grand total of $275! Such a steal for how it impacted the space. We already have most of the furniture in place and I’m off to photograph the afters for you! If you try this, we’d love to see photos!


I have been thinking of doing a similar treatment with the darker bottom wall but always thought you had to paint out all the trim, window and door frames and doors the same colour, which seemed too daunting. I actually really love the way this looks! Did you also leave the door trim and doors white?
In this case, we did! You can break the “rules” anytime you want. :)
Hi Julia,
Thanks for this tutorial. I was wondering, did you treat the trim pieces first before painting?
We have board and batton all over the downstairs of our house. When painting someone recommended that I should paint it the same color that I paint the wall. I like the two tone of yours but is that just personal preference or if you have a lot of it is it better to do all one color?
Where you have inside or outside corners on the walls, would you recommend mitering the battens, or would they be flush with the wall? Especially at outside corners, I am having trouble visualizing what would look best. Thanks so much for this tutorial!
I have been searching for an informative tutorial on how to do this!!! Thank you! Is there a way to make this project renter friendly? We can paint/add nails, but the adhesive would have me worried.
Ooo! Great question! Could you try to apply the board and batten with command strips? Or, could you show your landlord this blog and recommend the improvement? :)