If there’s one thing I’m using four out of five times I cook, it’s broth. Whether it’s just a little bit in a gravy, a pot of soup, or to braise something, it’s a go-to. Now, you can use chicken stock—which is what I did for years—but if you want to level up your cooking and get the most flavor and nutritional bang for your buck, bone broth is where it’s at. The flavor is a million times better, and the collagen it adds gives your soups and sauces a consistency that you just can’t get with regular stock.
The problem? Good bone broth is pricey! We love Epic Provisions and Kettle & Fire and still use them often, but they’re expensive. So, how can you get all the goodness of bone broth for next to nothing? By using stuff you already have.

There are two “secrets” to this recipes. The first one is what I call my “stock bits” bag. I have a reusable bag in the freezer that I keep for all the trimmings from my root vegetables. Think carrots, celery, onions, fennel, leeks, and even sweet potato trimmings.
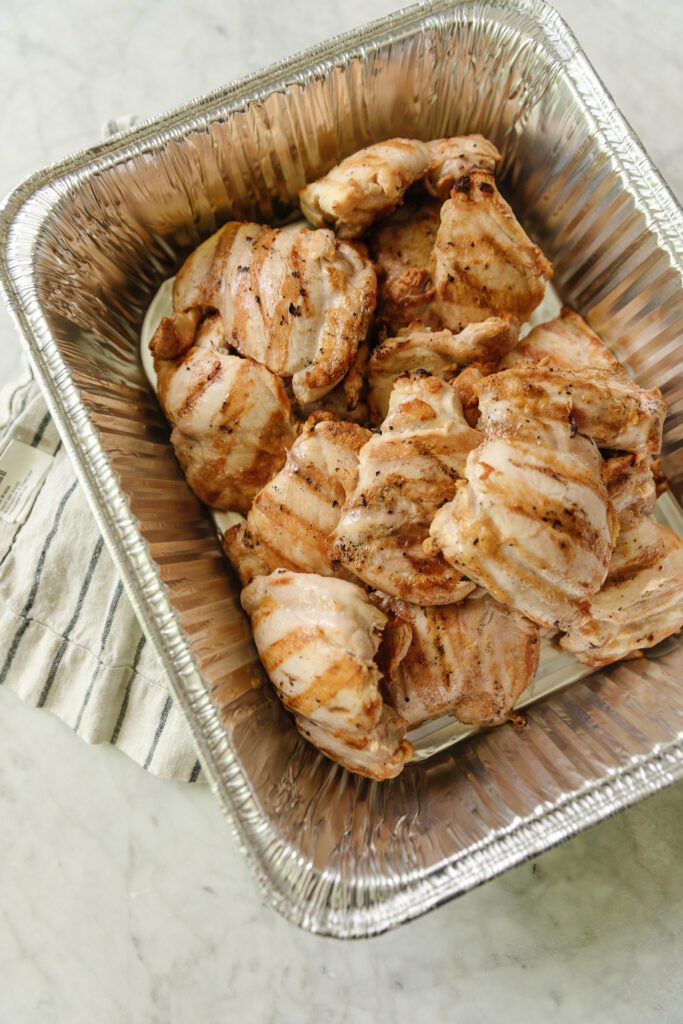
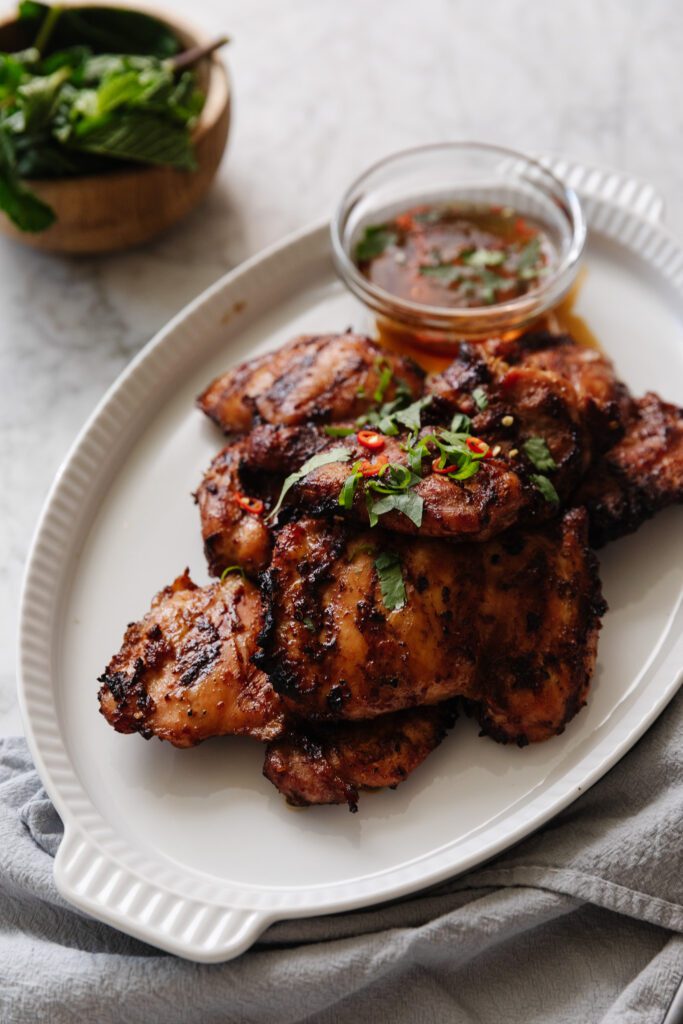
The second “secret” is that you don’t need to go buy chicken bones. Keep that rotisserie chicken after you’ve enjoyed it for dinner! Once you’ve peeled all the meat off for your salads or to use in a meal, pop what’s left of the bones in a resealable bag and freeze it. You’re already buying the chicken, so this literally costs you nothing extra.
Once your bag of bits and bones is full, you’re ready to make some magic.
What You Need to Make Chicken Bone Broth:

Ingredients:
- A full bag of vegetable trimmings (onions, carrots, celery, etc.)
- 2 whole rotisserie chickens, bones only (after meat has been removed)
- 3–5 bay leaves
- 1 teaspoon of black peppercorns
- A few allspice berries
- Water
Directions:
- Grab an 8-quart pot. I use my pasta pot that has a built-in strainer basket, which makes it super easy to pull all the solids out at the end.
- Add all of your vegetable trimmings and chicken bones to the pot.
- Add the bay leaves, black peppercorns, and allspice berries.
- Cover everything with water. You’ll want to keep the water level just above the bones and vegetables throughout the simmering process.
- Bring it to a low boil, then reduce the heat and let it simmer for 3–5 hours with the lid on. The longer it simmers, the more nutrients and collagen you’ll draw out of the bones. As you simmer, check on it every so often and add more water to keep it at a consistent level.
- Once you’re done simmering, you can use a strainer or the built-in basket to remove all the solids. A word of caution: I never add salt to my stock. This keeps it more versatile for whatever you’re cooking later, so you can control the salt levels precisely.
- Let the stock cool down before you store it. Pour it into your containers, but leave the lids slightly ajar for a couple of hours so it can cool off completely before you seal them up and transfer them to the freezer. I love saving takeout containers for this, especially the plastic quart containers that pho often comes in—they are the perfect size!
What Shouldn’t You Add to Chicken Bone Broth?
There are so many things you can add to your trimmings bag, but there are a few things better left out. Non-sweet potato trimmings never make it into the bag—they can discolor and taste a bit metallic when frozen. Also leave out anything with a strong color, like red beets, purple cabbage, red onion…unless you like your broth magenta!
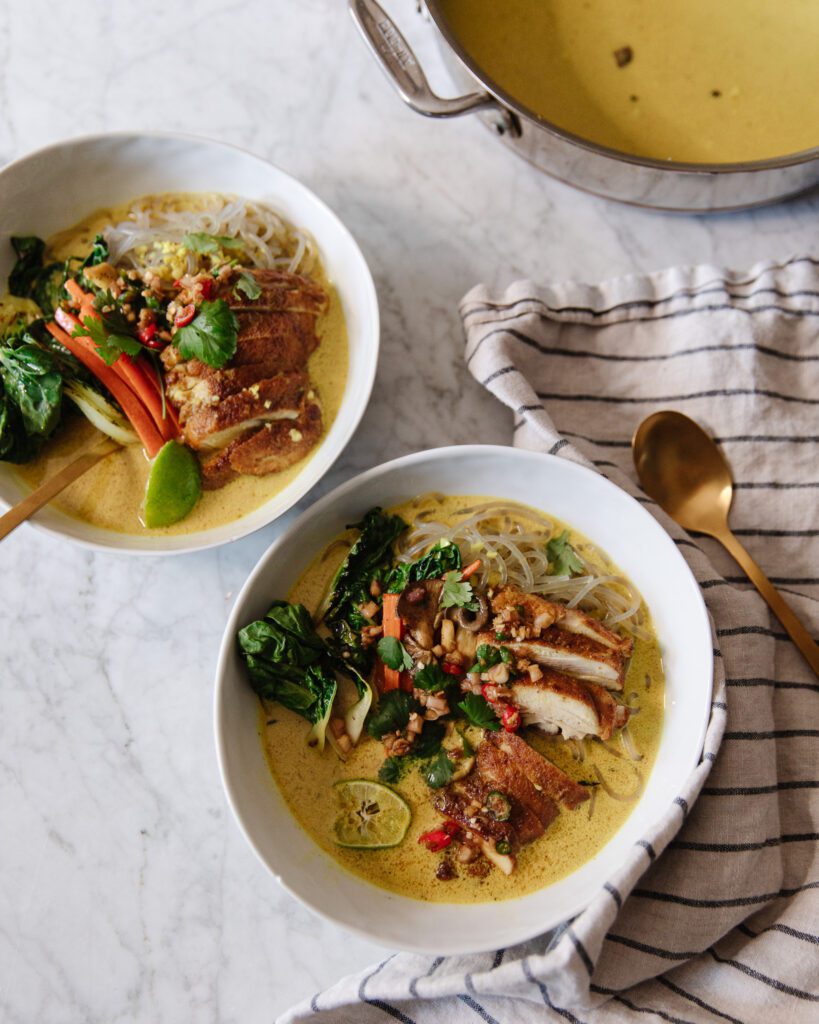
How to Use Chicken Bone Broth

We use bone broth so often in recipes that it’s never in the freezer for long. You can also drink it straight! There’s nothing better than heating up a cup of this with a little pinch of salt. So good for you.
If you want some inspiration, here are some of my favorite recipes using chicken bone broth to get you started:
- Spicy Chicken Noodle Soup (A Twist on Singapore Noodles)
- Moroccan Chicken & Rice
- One Pan Roasted Chicken & Vegetables with Fall Spices
- Butternut Squash Mac & Cheese
- Chicken & Sausage Paella
- Ham & Leek Soup
- Cajun Chicken Pasta
- Sweet and Sour Chicken
Homemade Chicken Bone Broth
Ingredients:
- 2 rotisserie chickens worth of chicken bones, skin, and scraps
- 6-8 cups vegetable scraps and peels primarily onions and root vegetables
- more onion, turmeric root, peppercorns, allspice berries, parsley stems, bay leaves, whole cloves, cinnamon sticks optional
- water
Directions:
- The key to this is to have a bag in your freezer that you add scraps to whenever you cook. Onion tips, tails and skins; carrot peels and stems; celery tips; fennel tips; sweet potato skins; just keep them in the gallon-sized zip top bag in the freezer until the bag fills. Do not use vegetables with green or red colors or those that fall apart too much with overcooking, like zucchini, white potatoes, bell peppers, peas, or red beets (yellow beet skins can be good though).
- Likewise, when you guy a rotisserie chicken from the grocery store, save all the bones and scraps! Keep that in the freezer as well in a zip top bag. For this recipe, you'll need two rotisserie chickens.
- Place the chicken bones and scraps, as well as the vegetable scraps in a large bot, preferably with a pasta basket to make straining easier. Cover with water and add any of the optional items you'd like. Bring to a boil, reduce to a low boil and cover. Boil for 6-8 hours, adding water back as necessary to keep the water level up.
- After 6-8 hours, strain the broth and store in pint or quart-sized plastic (do not use glass if storing in the freezer) storage containers. Set the lids on loosely and leave at room temperature to cool. Once the broth is at room temperature, place the lids on tight and put in the freezer for long-term storage, or in the fridge and use within one week.


Sounds a little bland. Where’s the acid? A good healthy glug of chardonnay will help soften the bones and draw out more collagen. Or ACV if wine is an issue. It also needs garlic and sprigs of fresh herbs (or dried from a bottle if that’s all you have). But def more than just Bay leaves. And then simmer for at least 24 hours. If it doesn’t gel in the fridge, it’s just chicken flavored water, not bone broth!
We have made our own bone broth for years. Two steps we take: first, we skim the scum that forms as the broth heats up—never let it fully boil or fats will emulsify permanently and make the broth cloudy. Second, we decant the broth into smaller glass bowls (to cool quickly) and chill overnight to allow the fat to rise to the surface. That comes off too, leaving us with exquisite broth ready for autumn cooking. Economy and good health! Cheers.
I store mine in wide mouth mason jars. I leave the fat cap (called schmaltz and useful for frying) if it’s going to be in the fridge for a bit bc it seals out oxygen and keeps it fresher longer.
Can you freeze the chicken bones, etc and then place in a pot when you’re ready to make the broth or do you have to thaw it out before?
Absolutely, just freeze and then add right into the water to boil. No thawing needed.
Love your recipes! Is there a reason you don’t make bone broth in the instant pot? Thanks, Susan in Charlotte.
I don’t own an instant pot—-it’s just not my thing so it isn’t worth having in my kitchen for me, but others absolutely could.