Finish carpentry, though slow and enigmatic, is the definition of “craft.” It really makes a room special, and we knew from the very beginning of our life in this home that we wanted every room to have some kind of special trim, moulding, paneling etc. that makes it feel like more than just a space we’ve put stuff in. We wanted it all to be intentional.

Faye’s room is probably one of the more ambitious finish carpentry jobs we’ve taken on, but it also made such an impact and will really sing once painted and paired with the wallpaper we have selected.

The ceiling the was the most difficult part, but only due to all the angles. We’ve used this same shiplap product in our closet and our bathroom, and it installs much faster when the surface is flat and squared off.

For this ceiling, every section was actually at a slightly varied angle from the section(s) next to it. The ceiling also waved slightly and where sections joined was jagged. This meant that we needed to install one board at a time and rip some of them down by 1/4-3/8 of an inch to keep the lines continuous around the room.

By taking small amounts off several boards in a row and using boards to cover the seams, visually all the boards appear perfectly lined up and consistent in size. If you let a gap go for too long, you’ll either end up with your boards not lined up or one board being cut down significantly so it visually looks out of place with the rest.

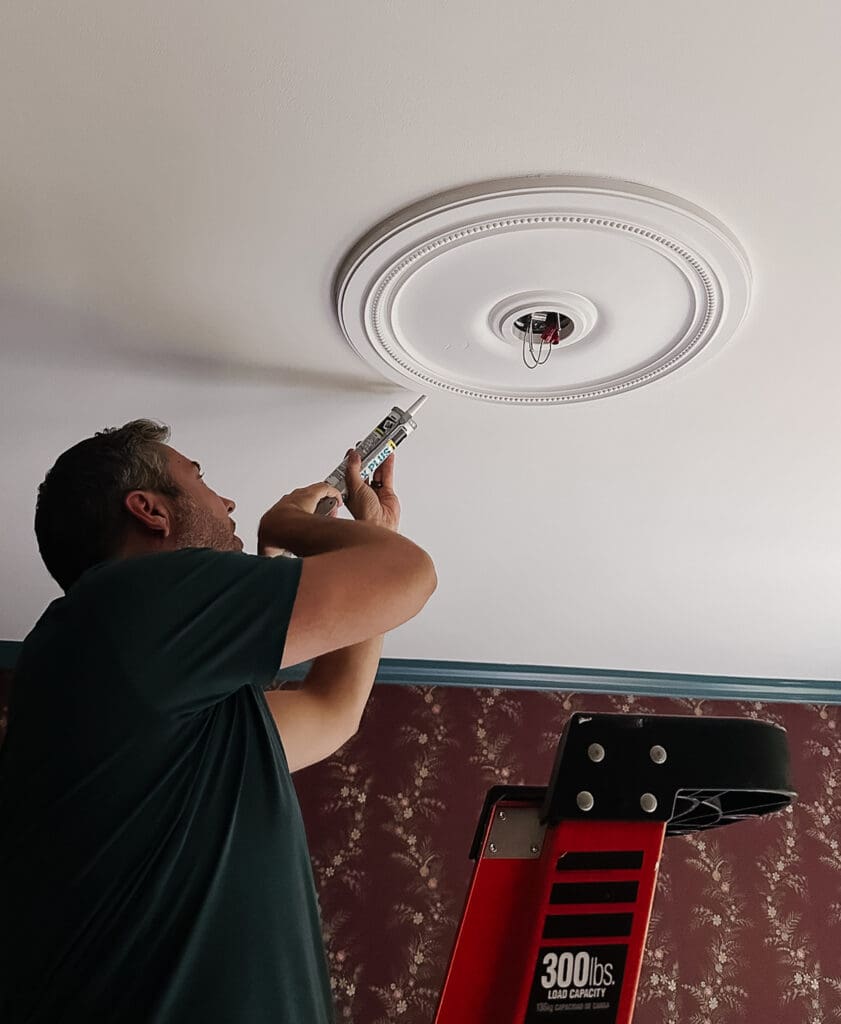
The seams for covered with a thin piece of MDF, and we used a finish-quality poplar 2×4 for the peak to give a bit of dimension. We couldn’t always count on hitting a ceiling joist with nails, so each board was glued with liquid nails and tacked in place with a brad nailer.
Materials used for this project:
• MDF Shiplap
• MDF Casing
• Poplar 2×4 (from a local lumber yard)
• Liquid Nails
Key tools used for this project:
• Brad Nailer
• Angle Tool (absolutely essential for getting all of our angles right)

The wainscot was a bit more straight forward, though also time-consuming. We knew we wanted a smooth surface for the wall, and chose MDF simply because the alternative was lots of mud work – skimming, sanding, skimming, sanding, spongeing, sanding, priming. Opting for 1/2in MDF also allowed us to even out a lot of the waviness in our walls.

The “chair rail,” which is the trim that caps the wainscot, took a little more work and deliberation. Our door trim and baseboard is a little more substantial and clean-lined than most in-stock chair rail options we could find. So we actually decided to use a piece of brick moulding (used as trim on the exterior of doors) and ran it through the table saw to create a 1/2in notch so it could overlap the top of the MDF. It’s a much better complement to our door moulding and baseboard.

For the box detail we used rail moulding, spacing the boxes out 4 inches from each other, but only 2 inches from corners and walls.

We used a laser level to ensure the boxes looked consistent around the room, and used the back wall as a guide for general sizing. For the three segments on the back wall, we knew we only wanted one box on each of those. From there, we measured and divided up the adjacent walls so that the boxes were also rectangular and similar in length.

Materials used for this project:
• 1/2in MDF
• Brick Moulding
• Rail Moulding
• Liquid Nails
• Caulk
Key tools used for this project:
• Laser Level
• Table Saw
• Brad Nailer

Anyone who has tried to do any kind of DIY in the past few months knows that materials can be a bear to track down. Thus our lack of baseboards – been waiting on those for awhile now. But either way, painting starts Wednesday, with wallpaper going up next week, and we are so excited for Faye to have a room that reflects her personality so well.


I’d love to see a picture of the paneling around the closet. I’m following your instructions for my daughters room and I’m feeling a little stuck around the closet! I love this so much!!!!
That light fixture! Amazing style. Would love to know about the carpet please.
That view of that photo shot straight up to the light fixture on the ceiling from directly below is amazing. If I recall correctly, you’re painting the ceiling a shade a blue and with that light fixture, it will look like clouds in the sky. So pretty! Your daugher is a lucky girl. :)
Light fixture looks like balloons… Will you be painting the lamp black pieces white? Is it paintable?
I am renovating a large 1886 Herbert Langford Warren Shingle style house myself (8 years in and still going, lol!). I relate to and appreciate every detail you are referring to and the work in this already stunning space is outstanding, Your daughter is going to love it!