There were a lot of opinions flying around when we asked you if you preferred a black or green chalkboard in this post. I think it really depends on the application, but to us and for this project, green felt right for Greta’s room. I really wanted to give making my own chalkboard a try for a couple reasons. 1. I love experimenting with materials. 2. We had a lot of unsanded grout on hand from our floors. And 3. I liked the idea of making it whatever shade of green I wanted–nothing too bright or saturated.

I looked at a lot of shades of green and landed on Sherwin Williams’ Kendal Green. It felt vintage and like the perfect chalkboard green. I had it color matched to Valspar paint (just because our Sherwin Williams’ sample size is huge and double the cost).
The ratio to make your own chalkboard paint is 1/2 cup of paint to 1 tablespoon of unsanded grout.

I ended up just mixing it with a spoon on a paper plate. I wondered if having a darker grout (again, the grout that we had on hand was from our floors) would change the color or matter at all–but I actually saw no change whatsoever. But! While I was rolling it onto the hardboard, every once in awhile there would be dark streaks of grout (you can see it in the stroke I am laying down in the photo below) pop up. I just rolled over them and they were gone. No big deal.

So yes, you can definitely just roll it right onto the wall. We chose to use hardboard because of the slight orange peel texture on our walls here. The hardboard is super smooth and if we ever want to move it, that’s easy too. I rolled on 3 or 4 coats, waiting maybe 5 minutes in between each. The chalkboard paint mixture dries especially fast so if you do try this yourself, mix up small batches–I did one for every coat.
We attached the hardboard directly to the wall with screws, knowing that we were planning on framing it out and the screws would be hidden and the chalkboard would be very secure.

Before attaching the trim, we secured an L-shaped piece of trim underneath to serve as a chalk ledge. I am so happy we thought to do that! It is so simple and does the job perfectly. Once that was on the wall, we hammered the trim in place with a couple nails.


I didn’t even bother sinking them and putting wood putty over the nails. I kind of liked the look of them! You can see here that some of the trim was unstained. There was a measuring discrepancy that got quickly fixed and while Chris was in his groove, I had him just nail it in place and I ended up staining the chalk ledge and 2 pieces of trim in place using Provincial stain. Love that stuff for a vintage look. (We also used it on Greta’s step stool!)
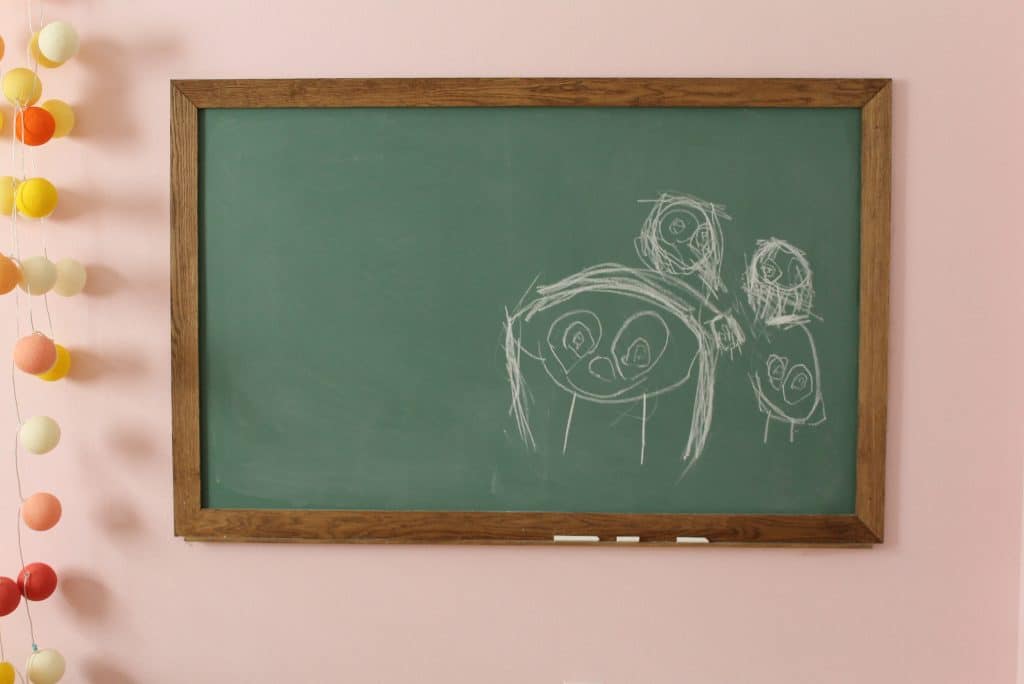
Before Greta got to it, I did prime the chalkboard by going over the whole thing with the side of a piece of chalk and then erasing it–it keeps chalk lines from being engrained in the chalkboard. And then she drew the cutest picture of all of us. (She said she’s the biggest one–analyze that! Haha). Her room is coming together so sweetly and we hope to show you a few more glimpses this week.


What color was the grout that you used.
I’m hoping you can help, I painted my chalkboard last night… as I was painting I noticed I was having trouble with tiny pieces of gout not fully mixing into the paint, I spent a good amount of time mixing to try to smooth the mixture out but it still rolled out with tint little lumps. I was hoping it would dry and magically appear smooth but unfortunately that didn’t happen. How did you incorporate the in sanded grout into the paint and get a smooth finish? Thank you!!
How does the homemade chalk paint work compared to store bought? Is it still writing and erasing well today?? Looks amazing! We’re doing a green one this week and love the color you chose!
Still works great all this time later. :)
SOOO cute. Love this!
Love it! I actually have a similar plan for my daughters room, but MUCH bigger. Looks great as always! Good choice on the green.