We have been doing a quick phase 1 renovation of the girls’ bathroom (read more about the plans here!) over the last week and it’s coming along so well! We painted the countertops last week using the same countertop paint (and color–Putty!) as we used in our kitchen in our first house nearly a decade ago. Replaced the hardware on the cabinets. Added beadboard to the walls and last week, we laid peel and stick vinyl tile over the existing tile floors.
 Beadboard
Valance Curtains
Arched Mirror
Sconce
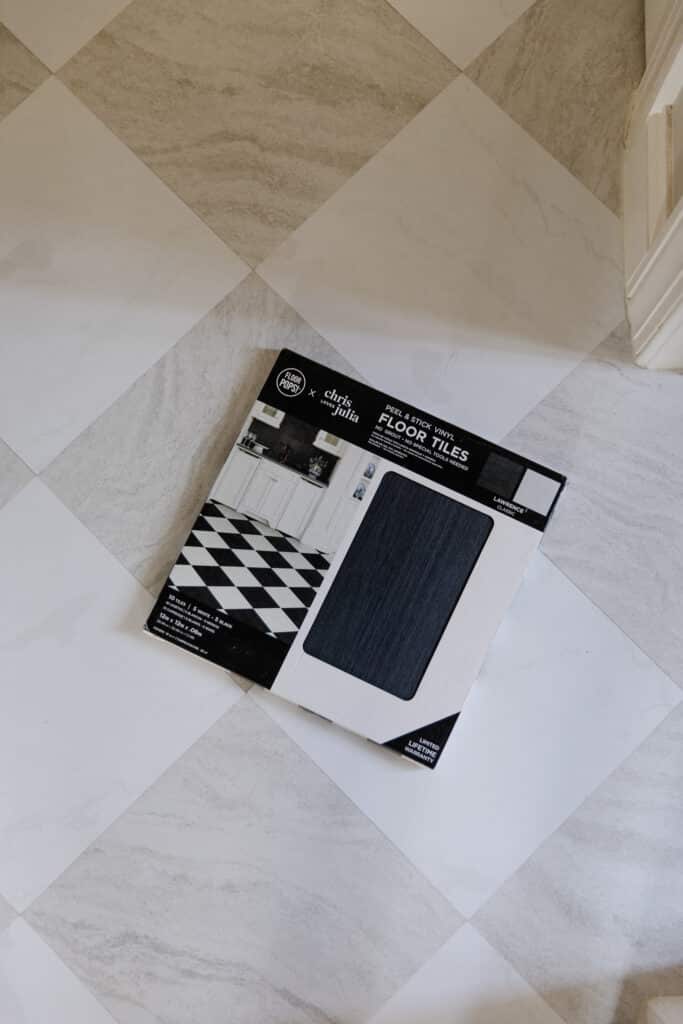
Vinyl Tile
Faucet
Cabinet Pull
Cabinet Knob
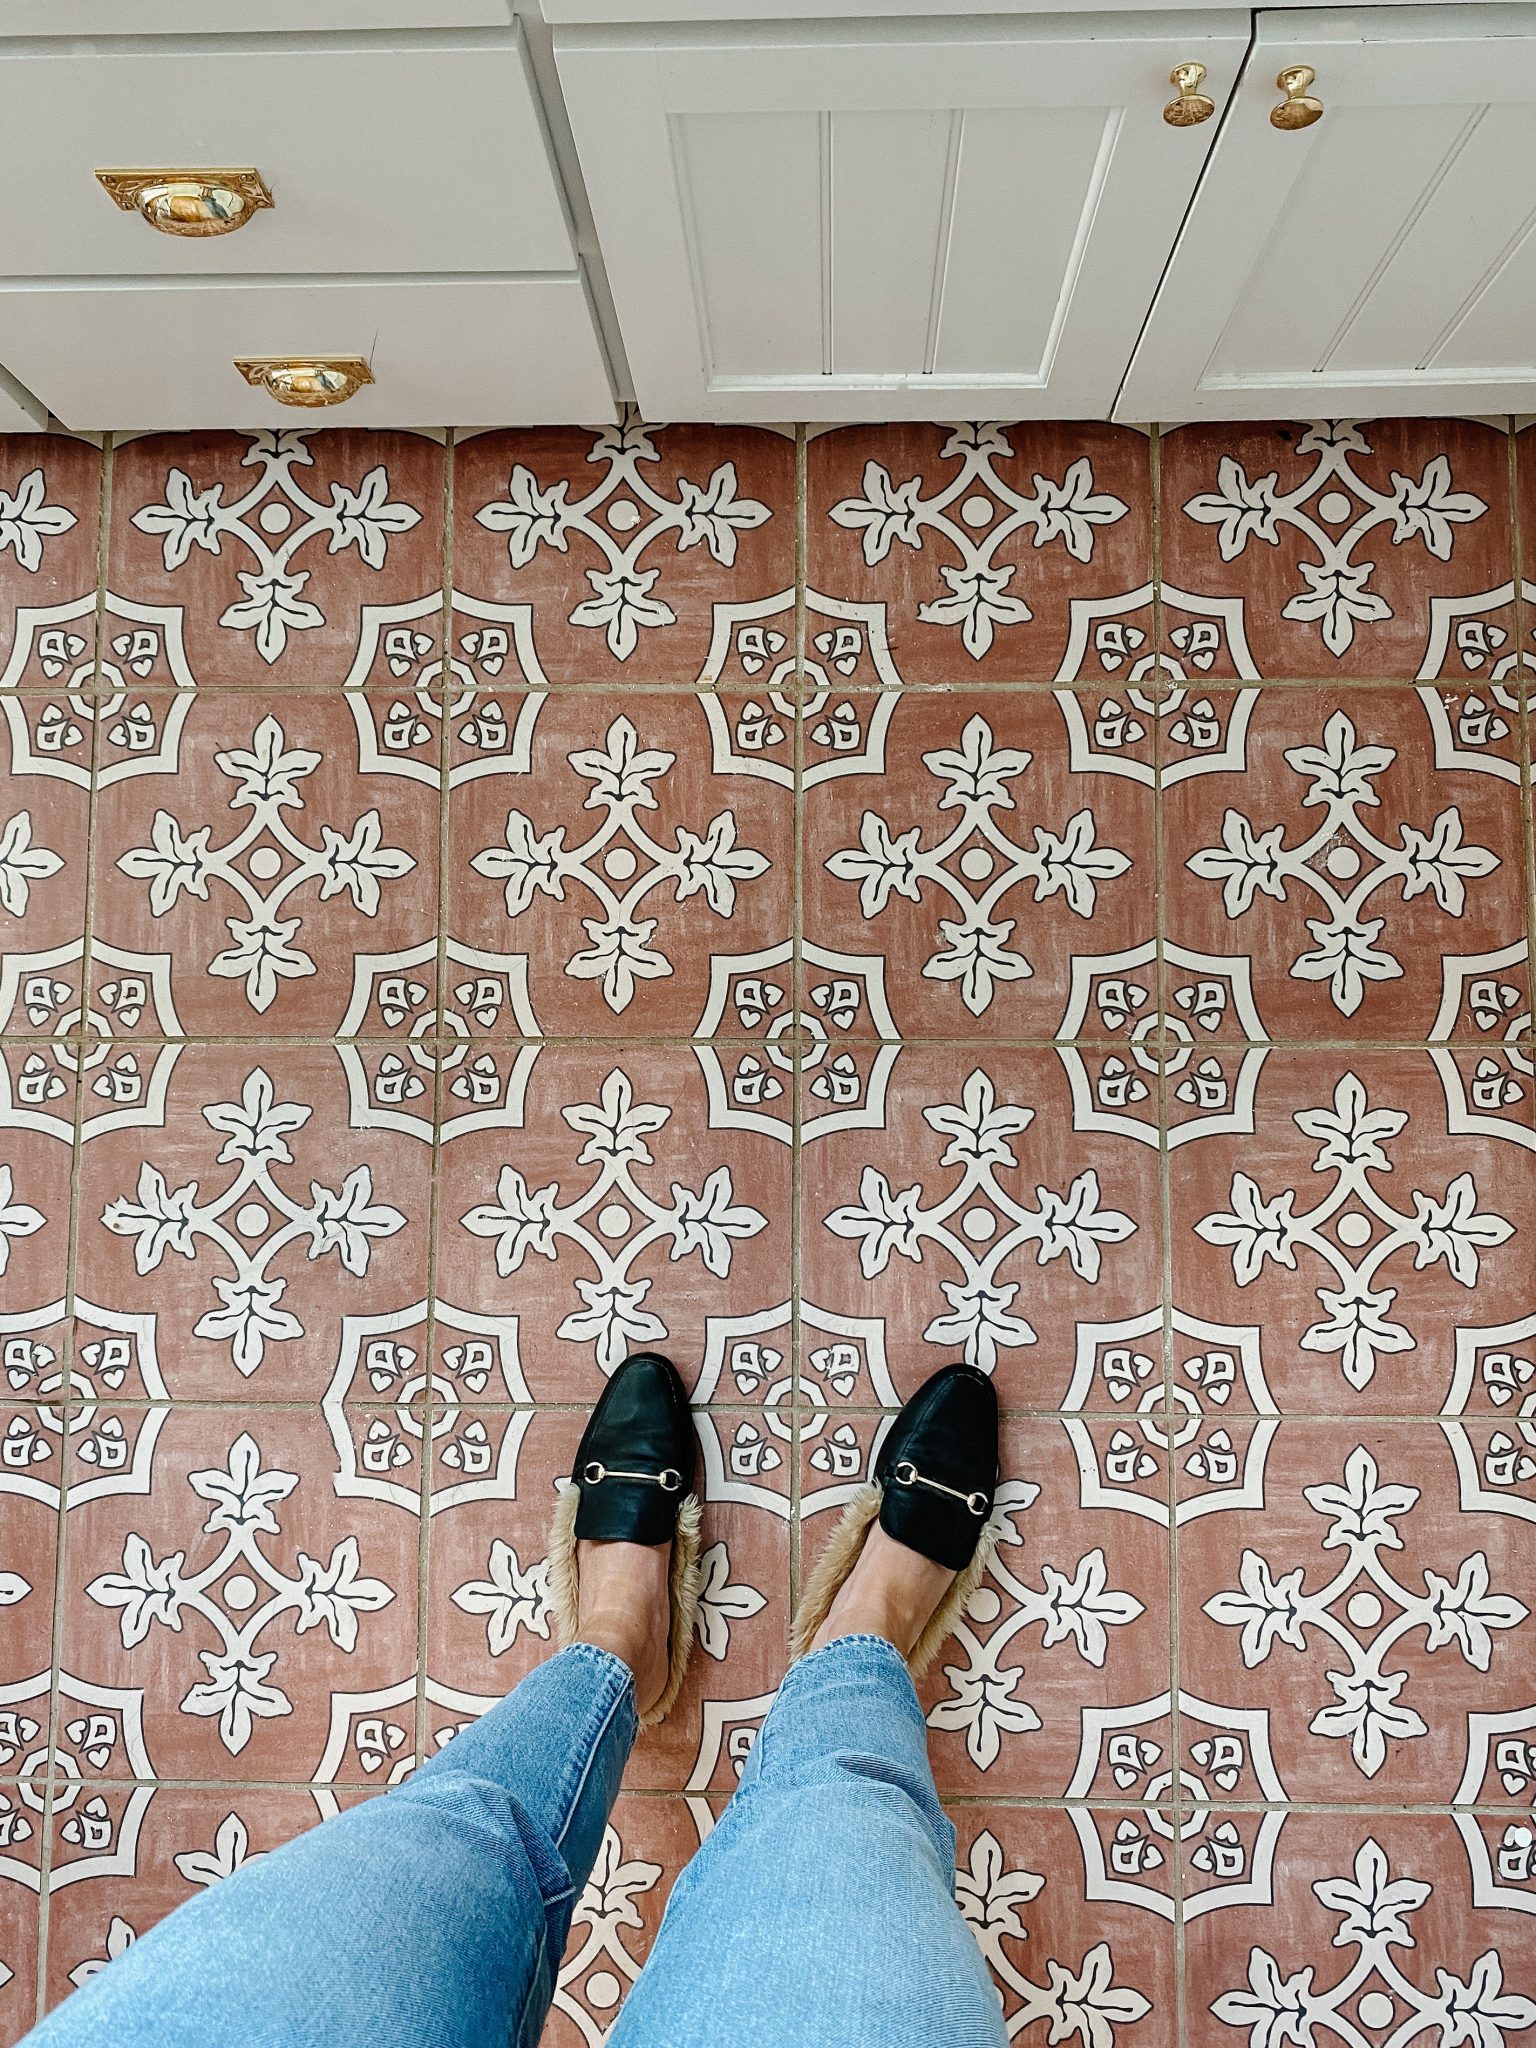
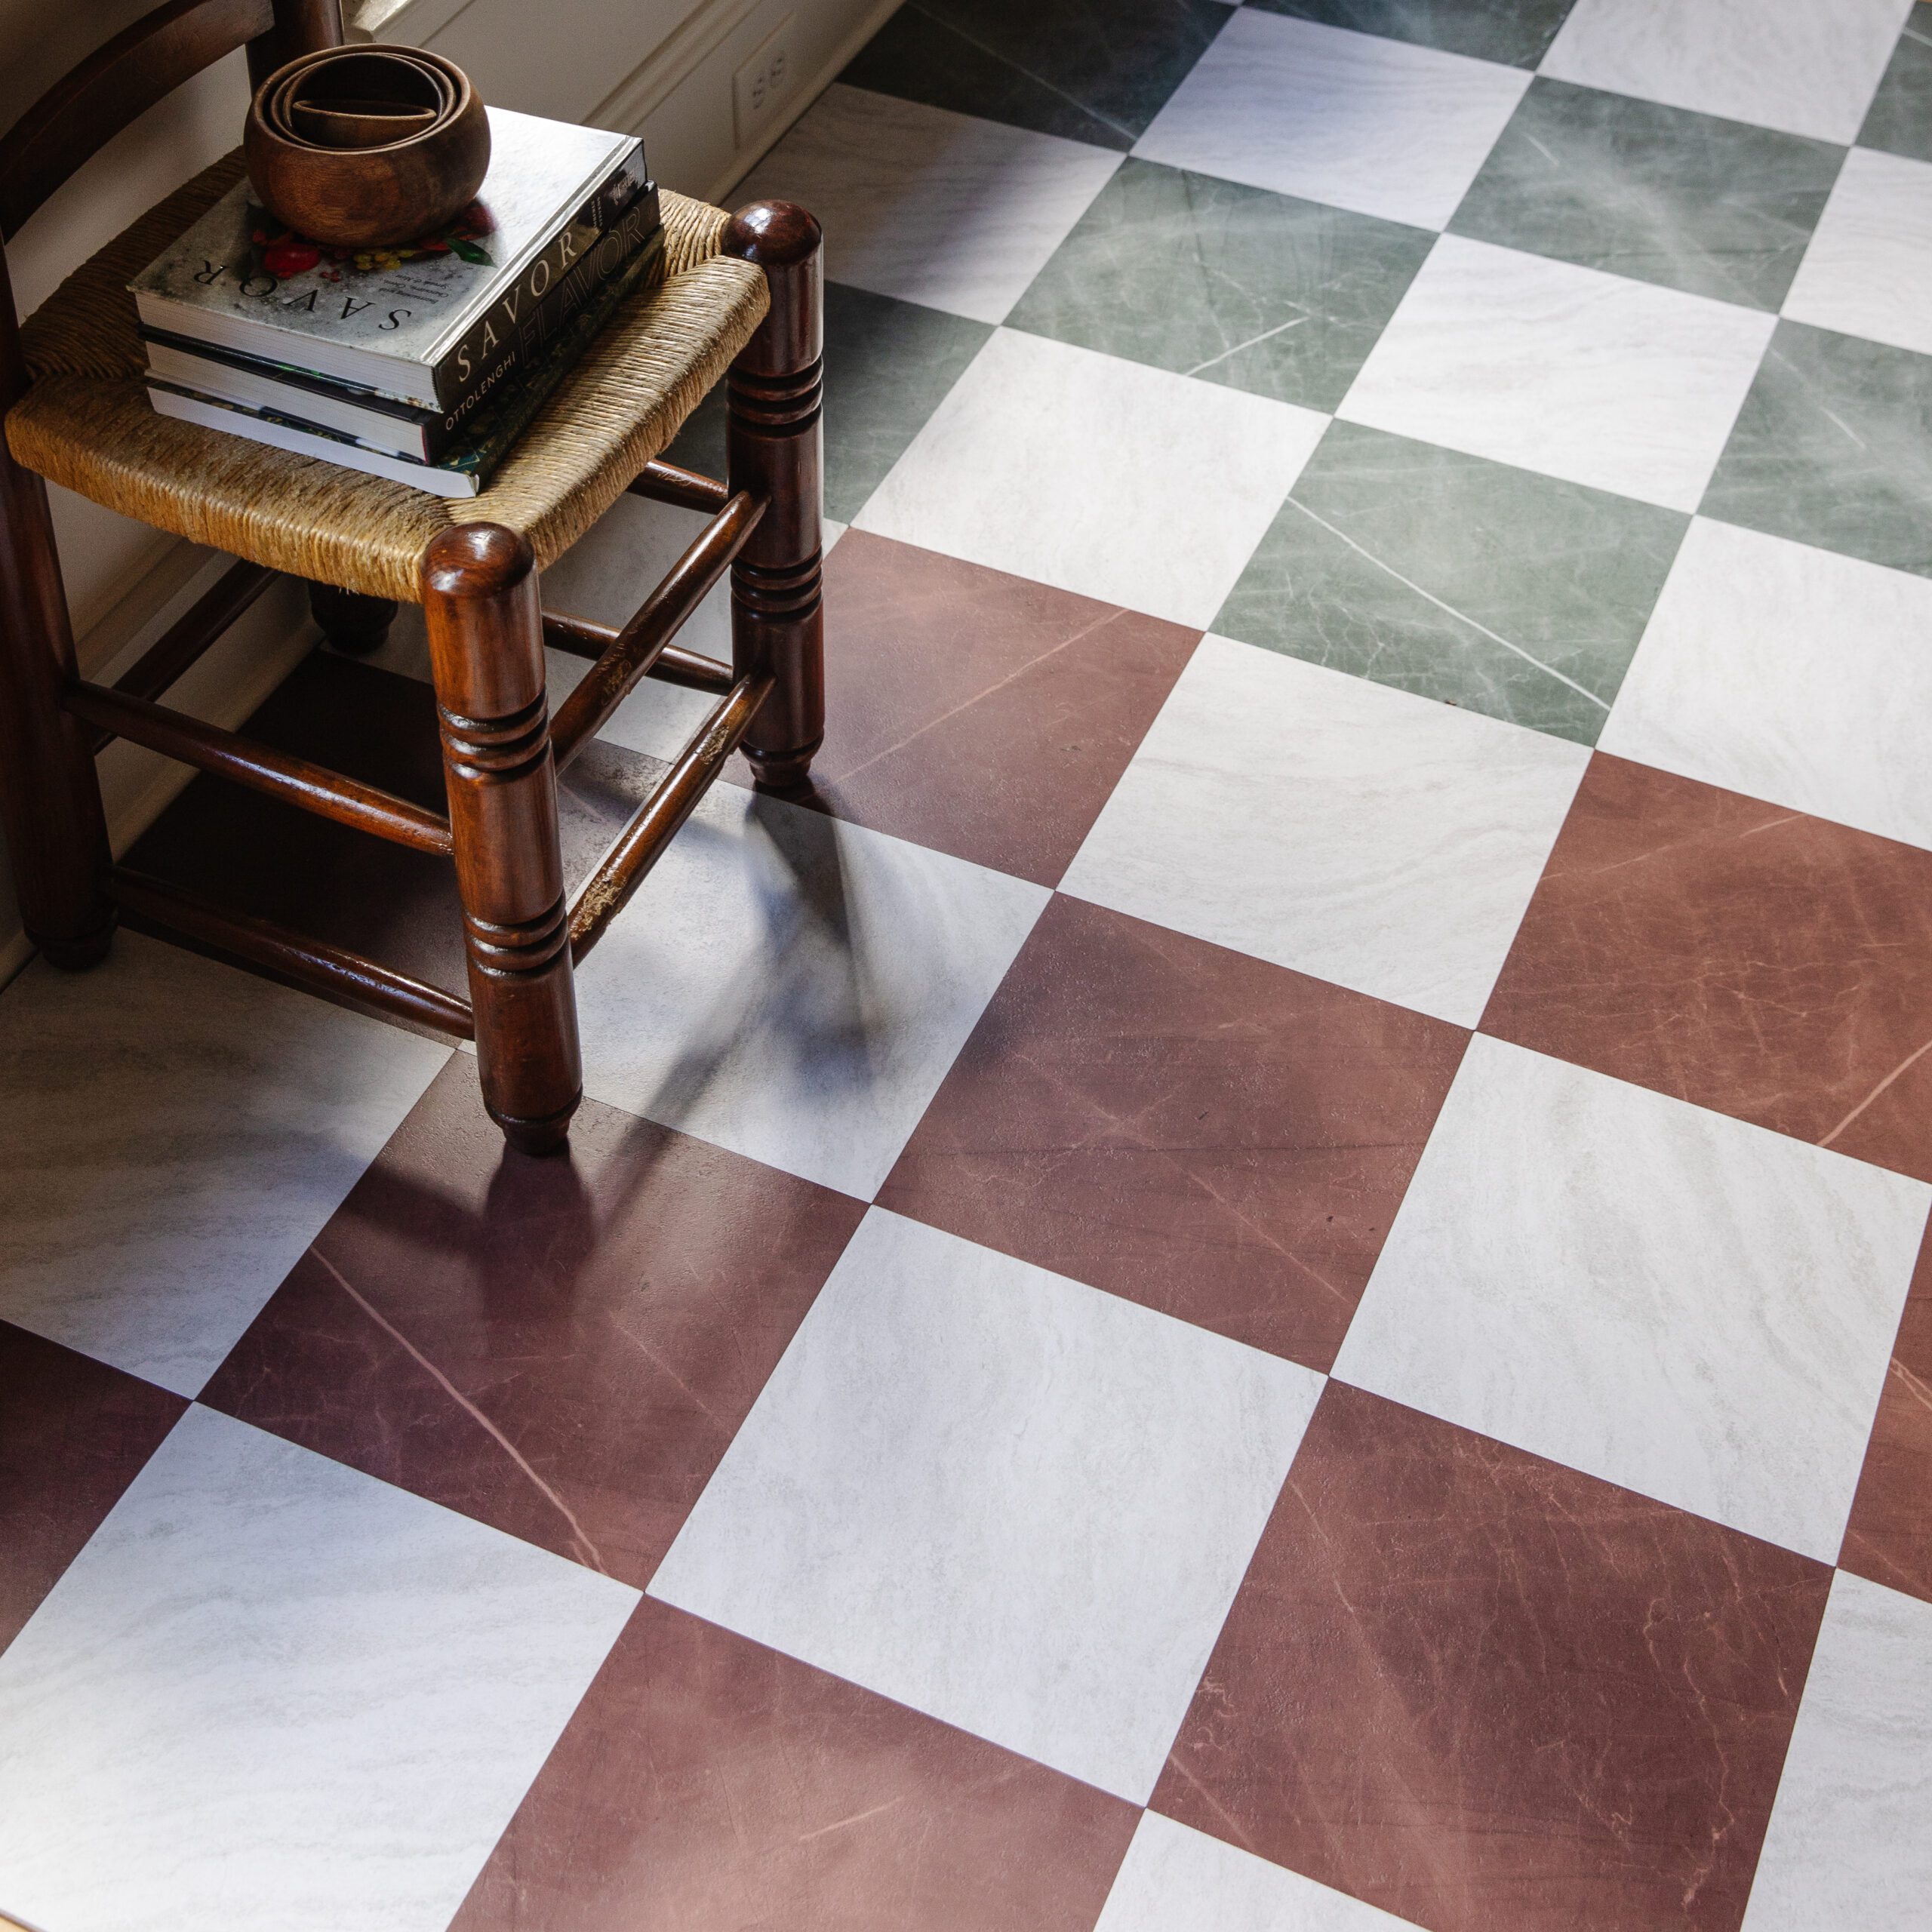
One thing I love about a phase 1 is it’s a great way to try something bold. I fell hard for these rust colored vinyl floor tiles (they’re waterproof!) when I saw them on Etsy and ordered enough to cover each square tile in the girls’ bathroom. They come in different sizes and scale–we did the 12″ (since that is what size our tile was) in the quarter scale.


It was a very EASY, painless and pretty quick. It took maybe 2.5 hours to do the whole floor and that was me mostly doing it alone. Chris had a meeting and came to help with the cuts when he was done. Speaking of the cuts, we used this paper cutter to make quick work of any trimming that needed done around the edges. You could easily use a straight edge and razor, too. The vinyl was thin (a little thicker than peel and stick wallpaper) so it really sits snug to the floor tiles, even though ours were anything but smooth to start with.

We opted to keep the grout lines exposed to make it look even more realistic and I love LOVE LOVE the way it turned out.


We thought it would be most helpful to document and share the process (and mistakes! haha) through a video. So if you want to tackle this yourself–for sure watch this video!


The floor tiles added the perfect color pop to their bathroom, and we’ll for sure keep you posted on how it wears over time.


It’s been 6 years now. How is it holding up?
Love, love, loce the bathroom floor. Where did you gwt it and what is the pattern? Thanks so much!
Nice. I have laid several peel n stick floors over the years. It has always worked out well.
How did this work out at the threshold? I’m interested in this, but laying it over the existing tile would obviously change the height. Was this an issue for y’all?
This peel and stick is really thin so it didn’t really change the height much!
We love how your new tiled floor has transformed. For anyone interested to learn about our Quadrostyle vinyl sticker products toy can check out our FAQs which answer all of the questions in the comments here and many more you may not have even thought about.
We address why it’s best to leave the grout exposed, how to cover sizes we dont offer as standard, how they wear, how they feel and where you can and cannot use them.
Thanks for chiming in!
I used these floor tiles from Quadrostyle in my kitchen two years ago. Every time I walk into my kitchen, I fall in love with all over again. They look fabulous, were easy to install, and feel really nice underfoot. After two years in a small well used, well scrubbed kitchen, they look the same as the day I put them down.
I’m so happy to hear that!