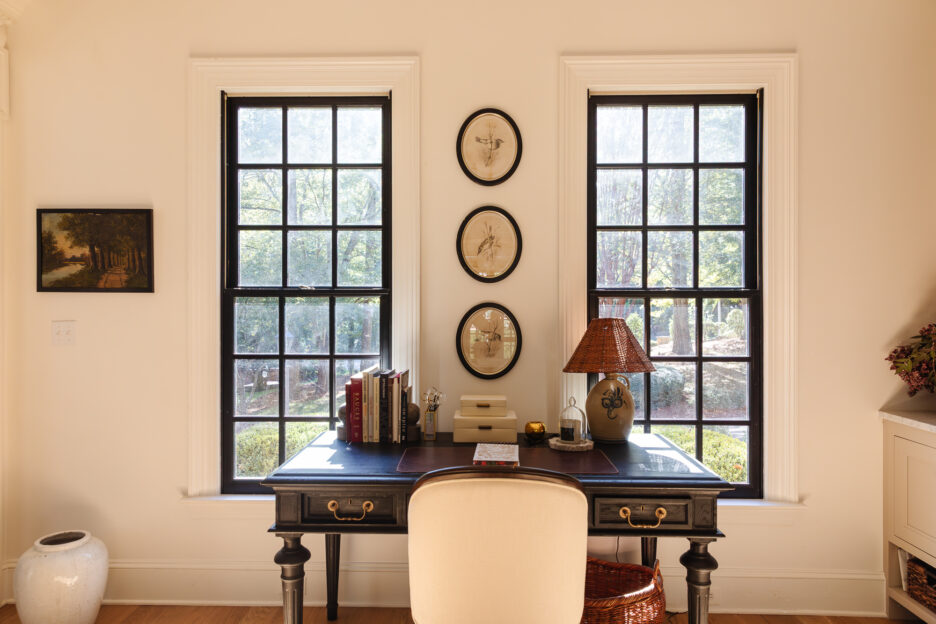
We still have a few finishing touches to put on the girls’ office (see all the plans here!), but over the last week we tackled a really fun DIY that transformed the dark cherry stained wood countertop that was there into a white oak looking one that matches our floor a little better. And today, we wanted to walk you through the process of layering stains because WHAT A RELIEF THAT PROCESS WAS!

Here’s how it looked when we started. The cabinetry and desktop were all stained the same dark cherry:

One of the first things we did in the room was sand down the countertop because we really wanted to re-use it and wanted to make sure it was going to be possible. A few (okay, a lot) of passes with the palm sander showed a much lighter wood (we’re thinking it’s Douglas Fir because it’s softer) that we could DEFINITELY work with.

So we covered it and went to work on the rest of the room, painting and adding paneling (see more about that here!) and then went back to the counter.

I had really gotten use to the lighter, raw counter but as you can see above, it had a yellow-ish tint to it and I wanted it to coordinate a little more with our floors. (These are our floors.)
The process took 5 steps.
- Sand down the counter really well with an orbital sander.
- Condition the wood with a Pre-stain conditioner. This is especially important with soft woods like Fir and Pine. Otherwise, your wood can look splotchy as the stain won’t take as evenly.
- Then we layered on our first stain–Minwax Driftwood. I highly recommend using these stain pads–it goes on so easy! I panicked at this point because it looked REALLY rustic and I didn’t love it at all. But the great thing about stain is you can layer different colors to get the look you want!
- On top of the Driftwood, I layered on Simply White stain. It was EXACTLY what I wanted. It really grayed out and softened the countertops.
- Lastly, we put on two coats of water based Polycrylic sealer to protect them!

You can watch the simple process (and get a peek at the after) right here!

The girls’ office is almost finished and we’re loving the way it is looking. We hope to share the before and afters (I CAN’T BELIEVE HOW FAR WE’VE COME!) next week!!


Great tutorial, thanks for sharing! I’m hoping to try this on a some redwood I purchased to make floating shelves. I’m hoping it can help stain out some of the red tones :)
Sorry if this has already been answered, but wondering how many coats of each stain were applied?
Just one of each!
Hi, I am looking to redo my kitchen cabinets and wanted to know how you went from that cherry oak color to white? Did you make a post going over the process?
This is the post :)
Looks amazing! Could you do this same process to a wood table (and indoors)?
Definitely!
It looks beautiful! How do you put on the poly based sealer? I have tried this on multiple projects and I never have any luck. Currently staring at a coffee table that I used it on and you can see uneven brush strokes and sometimes bubbling. It almost looks like paint stripes. Have you had any trouble like this?
We used a stain pad.