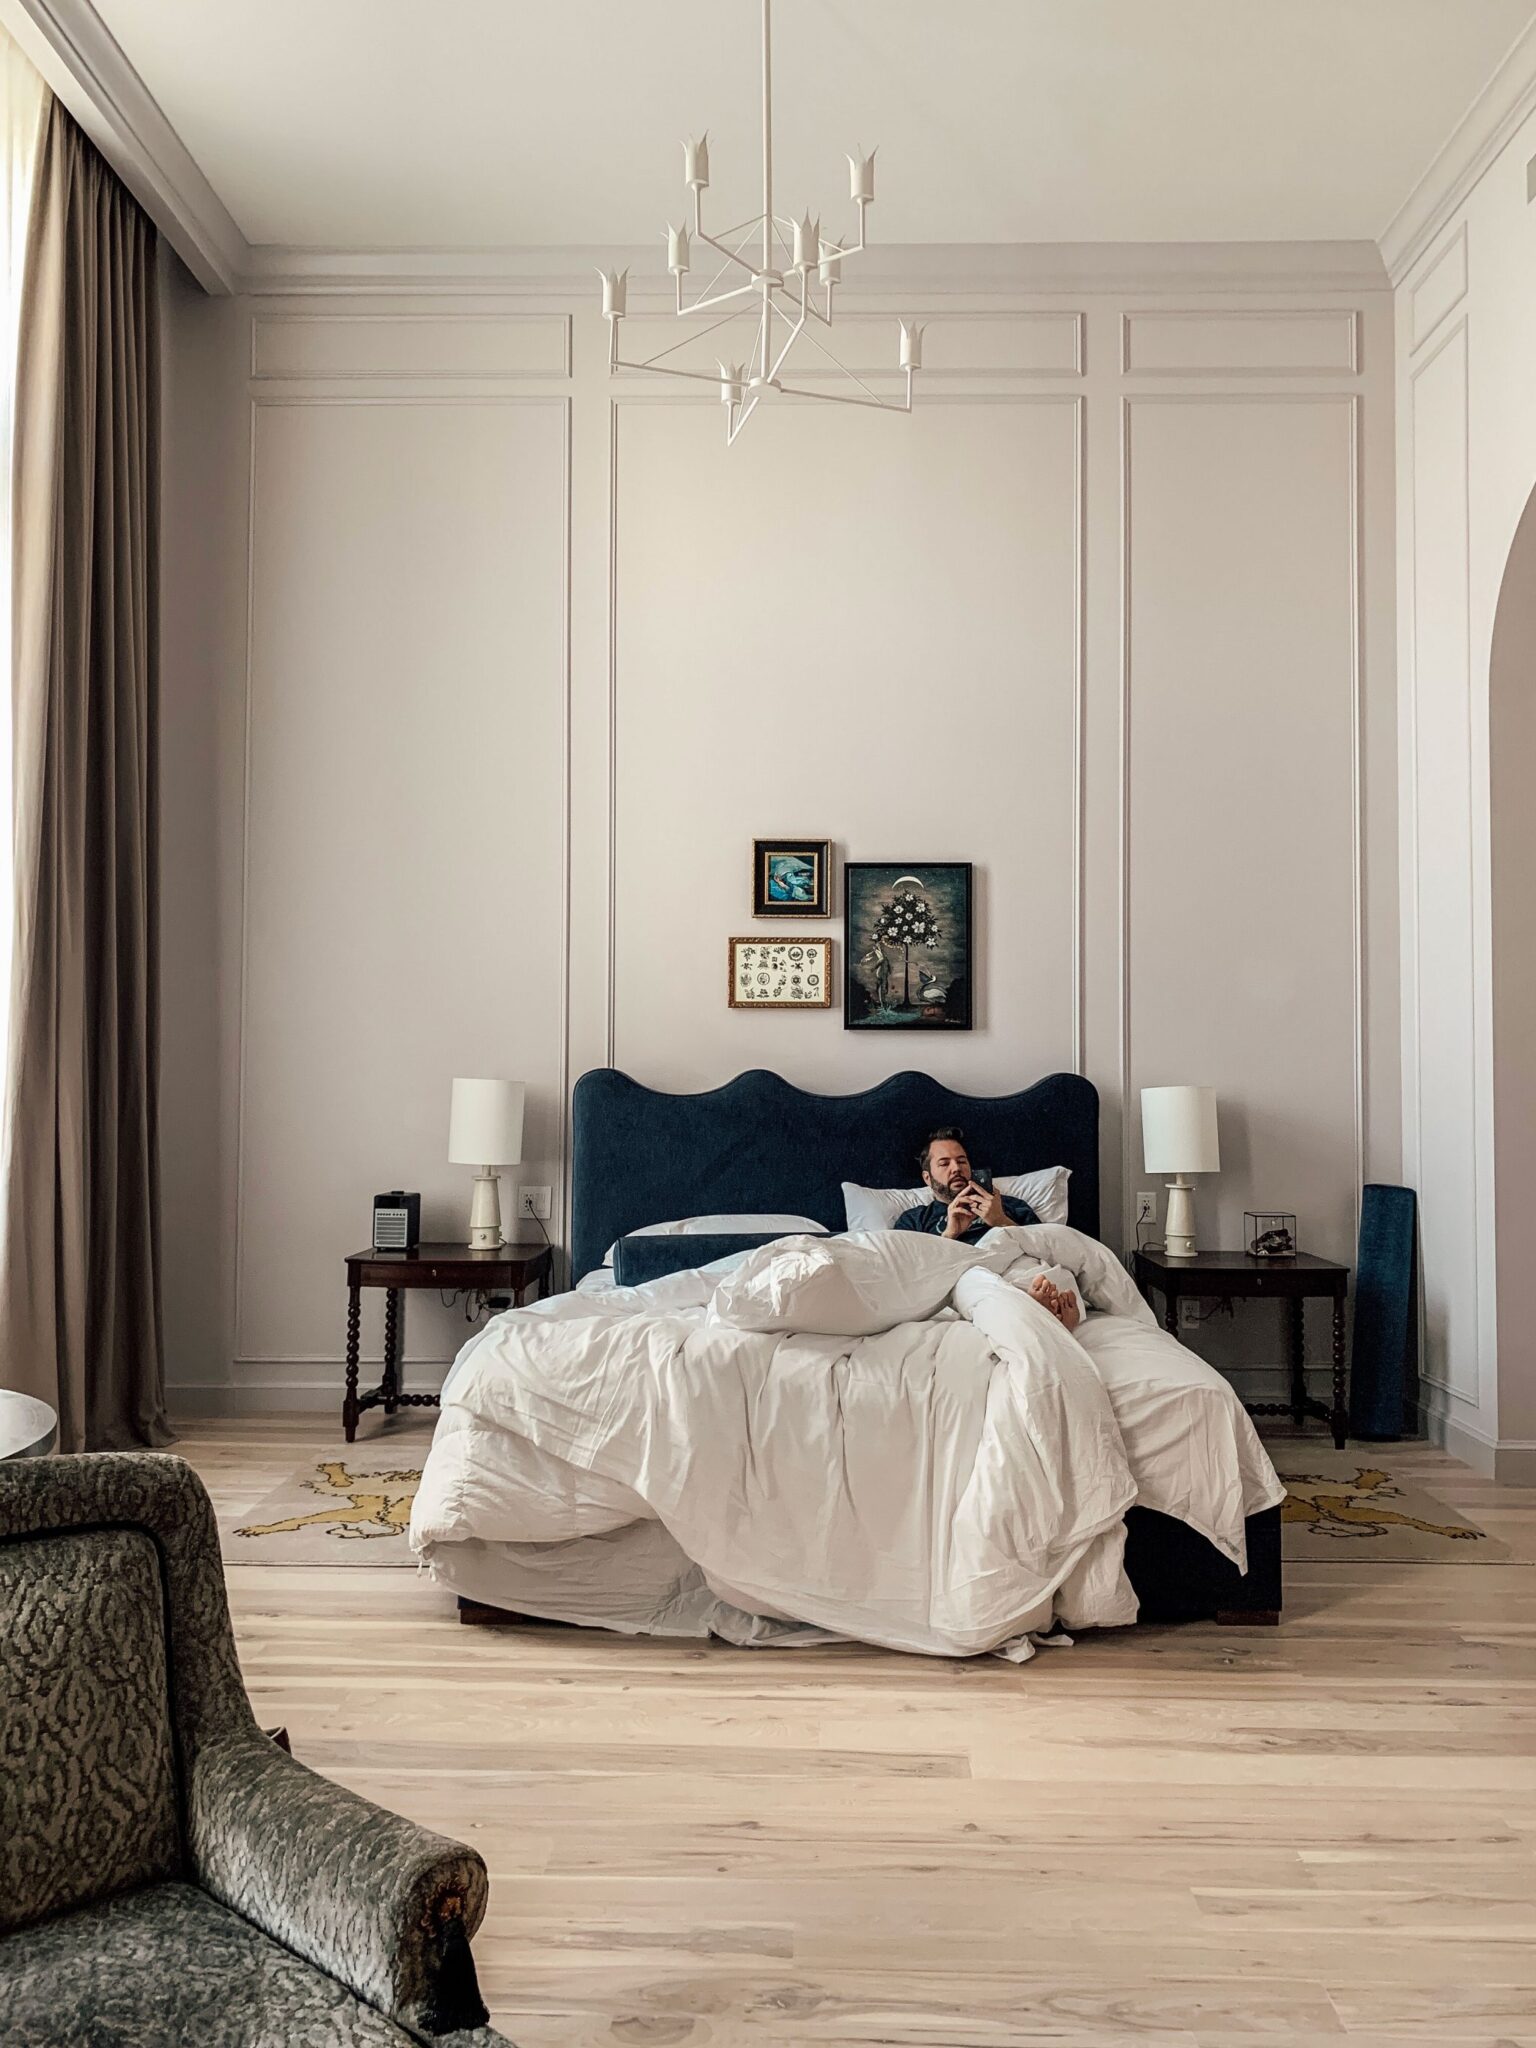
Three years ago, Chris and I stayed in the Maison De La Luz in New Orleans as an anniversary getaway. I was so inspired by that hotel that it’s been in my head ever since. I know when it came to our bedroom, I wanted to create a space that feels romantic and charming, and retreat-like. Rather than covering the walls in art, I thought some custom box trim could be the art–simple yet elegant. I also couldn’t think of a better way to complement the new beadboard on the ceiling!
There’s a lot of different ways to add box trim, and I looked at A LOT of photos to figure out the best way to add it to our space. I’ll share what we did, and how we decided on the dimensions, but every space is going to be different, so adjust however you prefer.
Material

We used this Base Cap Material (This is the same material we have on top of our baseboards so it ties in really nicely) for all of the trim on the walls. I love that it has an extra dimension! You can definitely use whatever trim you want, but I love that this base cap feels more substantial.
Tools
Miter Saw
Liquid Nails
Brad Nailer
18 Gauge Brad Nails
Finishing Nails
Laser Level (our favorite!)
Laser Level Tripod (this tripod is a must because you can use the little crank to raise and lower the height)
Torpedo Level
Stud Finder
Wood Filler
Caulk
Caulking Gun
Something to use as a spacing guide (we cut down a 3″ wide block)
Plan out your measurements

This can be done a million different ways, so you get to be the creator and ultimately decide what YOU like. Because the ceilings are 10′ we decided to divide it up into 3 sections to utilize the height of the room! As far as deciding on the rest of the measurements, well that took a lot of drawing on the walls before we landed on a few rules for ourselves. Here’s what we ended up with!
When you are matting something, it’s actually normal for the bottom to be a bit bigger than the top space because it grounds the view. We determined the top based on the spacing between the bay window. So we decided to make the bottom box trim a bit larger than that so it doesn’t feel like it’s visually going to topple over.
Here are the “rules” we made for our trim:

Rule 1. The vertical distance between each box, and between the crown and windows and baseboards is always 3″.
Rule 2. The horizontal distance between boxes is 6″. For corners, measure 3″ out, on both walls for a total of 6″.
Rule 3. The box width above the doors is the same as the doors.
Rule 4. The height of the top box was determined by finding the measurement 3″ between the crown and the bay windows and repeated through the room (except above a door that was taller).
Rule 5. It’s normal for the height of the bottom box to be a bit taller than the upper box to visually ground the room. We just added on a couple more inches!
Rule 6. The middle box is the space in-between plus the 3″ buffers!
With these rules in place, we were able to be flexible with how wide each box was. The box width and how many boxes are on each wall we took on a wall-to-wall basis, starting with the bed wall!
The bed wall

For the main box behind the bed, I wanted to avoid a tangent with the edge of the bed and the trim. Instead of framing it just barely, we brought it in just 4″ on either side. The outer boxes were determined using the leftover space and keeping the 3″ distance rule!
The window wall

This was the easiest wall to figure out! Really, the width of each box is the width of the wall, minus 3″ on either side. Easy!
The TV wall

For this wall, we first found the width of the box on the right side of the doors (those lead into the closet and bathroom). We took that same size box and repeated on the other side of the wall, keeping those outer boxes the same width. The remaining box is just the space in-between the door and the outer box, and this is where we will hang and center our TV!
The 4th wall (get it?)

For the remaining wall, we just made 3 equal boxes because there wasn’t a feature on that wall. I think that’s kind of a good rule of thumb. If there’s nothing to feature, then just make them equal!
Somebody on Instagram pointed out that I’m literally boxing myself into this layout! Does that scare me?? Frankly, yes haha! I’m notoriously known for shifting a room layout on a whim of inspiration, so what if I change my mind? I had to remind myself that with or without the box trim, we’re already pretty boxed into this layout. The bed has already been moved from the bay window, which is where we originally had it! We’ve ruled that out as a good placement, and we would never put the bed across from the bay window because we like to watch TV in bed! That really leaves this bed placement as the only option, with our TV across from it. Plus, Chris and I talked it through 100 times, and we felt really good about the room layout before we moved forward.
Ready to install!

Once your headache or fun puzzle (depending on who you are–I’m a fun puzzle girl) from figuring out measurements is over, you’re ready to install, starting with the boxes up top! All the base cap pieces were cut with a miter saw at a 45 degree angle, so that they all connect like a pretty picture frame.

Using a 3″ block as a spacing guide, we started with the top horizontal base cap, first applying liquid nails, then using the brad nailer. Lining up your nails to the studs is best, but if you’re installing a vertical piece with no stud, you can install the brad nails at an angle for a more secure fit. Once your first piece is in, you can do your two vertical pieces, first nailing them in, up top where they connect to the first piece. Don’t nail them fully in until you get your bottom piece in place! This is just a way to ensure they fit super snug and plumb together. Once the bottom piece is in, finish nailing in your vertical pieces as you line them into place.

Once all the top boxes around the room were in, it was easy to make all the cuts for the horizontal pieces of the remaining boxes. Then we installed the middle boxes using the same steps! First, install the top piece, then nail in the tops of the vertical pieces, then install the bottom piece, and lastly, finish nailing in the vertical pieces!

Do the exact same thing for the bottom boxes! After all the boxes are in, we went around with some finishing nails to secure all the corner joints together for some extra peace of mind.

Prep for paint!

Lastly, we’ll fill all the holes and seams with wood filler, let it dry, and sand. We’ll also be using caulk to fill all the gaps between the trim and the wall! And that’s it!
Once we figured out the measurements, install took about two days! Now brace yourself because you are not ready for the paint transformation we have coming :) And to be honest, I’m not sure I am either! haha


Inspired. Thanks so much for sharing!
Hi Julia! Oh how beautiful this turned out!!! I want to do this in powder bath. Before seeing your project, I assumed we’d have to do 1x4s AND picture molding to get the look I was going for. I’m now thinking this would be more cost effective and just as beautiful. Question: if doing this in the bathroom, do you think it would look good to inset a mirror in a boxed out portion? Maybe it depends on depth of the molding- and yours is pretty substantial. Appreciate your point of view!
It’s beautiful. I saw that you painted the room dark brown ultimately, but can you share the name of this cream color?
May I have name and brand of bedroom paint also?
Sw white flour
This looks incredible!!
I have a big wall next to my dining table and I’ve been brainstorming something new to do with it. We have a open concept great room with our kitchen, living and dining rooms. Could I do a treatment like this just on the one wall, or would it look weird?
This is SUCH a helpful post, thank you! Especially the photos with measurements. I’m wondering why you used liquid nails as well as the regular nails – doesn’t that make it much harder to remove if you decide to do something different down the line? (I thought liquid nails would damage the sheet rock if removed, but I wasn’t sure.) It looks wonderful though – maybe removing it isn’t even something you’d consider in the future. :)