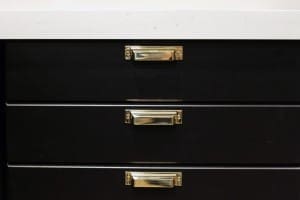
This weekend, we got all the cabinet fittings in, which amounted to about 40 doors and drawers!, and all the hardware on and everything cleaned up (again). I can’t wait to share those details and photos with you later this week, but today I wanted to circle back around to a project we did a couple weeks ago, that made a huge difference–the recessed lighting in the kitchen!

Our old kitchen was rocking three fluorescent lights and a boob light. Talk about a deadly combination.

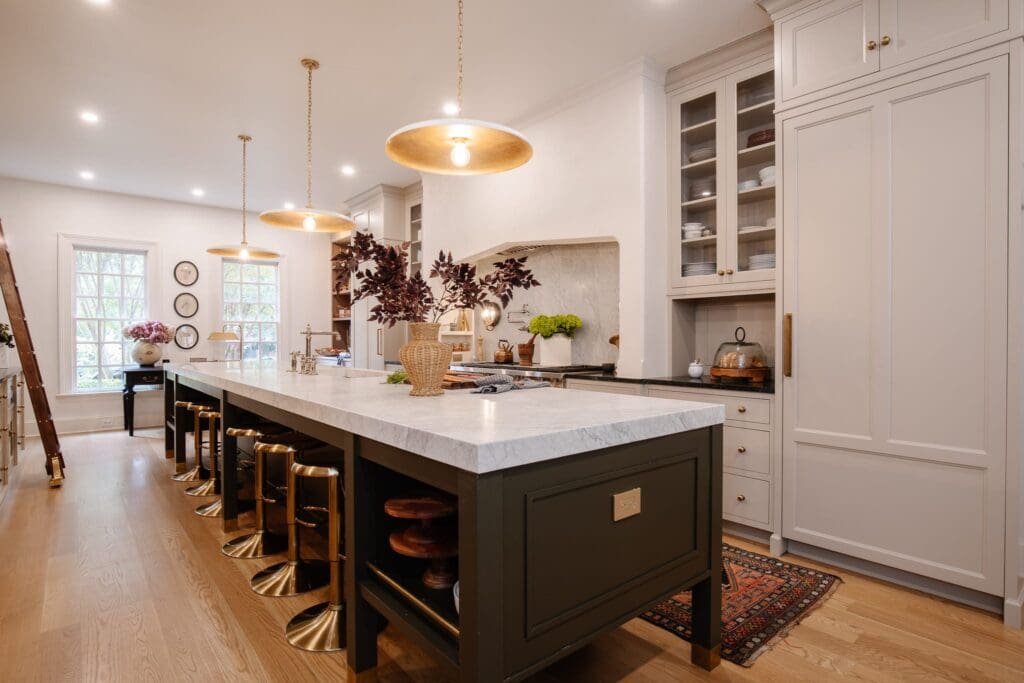
We thought a lot about what kind of lighting we wanted in the kitchen, and we settled on a mix of island pendants (these), sconces (these) over the window and recessed lighting to really brighten the whole space. We had our guy, Francisco, run all the electrical for the lighting, but we had to mark exactly where we wanted everything placed. The pendants and sconces were easy enough, but the recessed lights took a bit more mapping out.
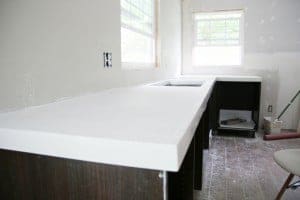
To determine how far apart to space recessed lights, divide the height of the ceiling by two. If a room has standard 8 foot ceilings, like our home, the recessed lights should be approximately 4 feet apart. So, if the ceiling is 10 feet, you’ll want to put about 5 feet of space in between each fixture, make sense? Since we really wanted to make sure the counterspace was lit well, we started on the left side of the kitchen, about 2 ft away from the wall, so the recessed lighting was lined up just outside of the countertop. We used 5″ Halo cans.

We spaced each light about 4 ft apart, with rows of 3 cans on either side of the kitchen and one recessed light in front of where the ranges will be. I have been working with Cree for the past few months (mostly on social media) and they asked if there was any use for their LED bulbs in our kitchen renovation.

I said, we’d love to give them a try in our new recessed lights! All of their bulbs look like normal bulbs, but last 25 times longer than regular bulbs (as in, we’ll have to change them when Greta graduates high school!), they’re dimmable (which isn’t always the case with LEDs), and they only use 9 watts of power so we’re saving money and energy.

Probably my biggest and only hesitation was the time it takes LEDs to heat up and come to full power to light the room. I know it’s a small trade off to saving energy, but can we all agree the heat up process is a bummer? That’s why I was so pleasantly surprised to learn that Cree bulbs come right on. Full power. Full brightness. I took a little 15 second video to demonstrate (there’s a sneak peek at the cabinets and hardware, too!).

I know daylight bulbs are all the rage (and Cree has those, too), but I am partial to their soft white color. It still shows colors really well and true, but there is a warmth it adds to a room that I just love. Soft White, forever!
Here’s a lights off/lights on so you can see the brightness and color difference:

It’s bright and happy and cozy. Caring about the color of your light bulbs must officially make you an adult. Ha!

Cree bulbs are available at Home Depot, but we’re also doing a giveaway for them on Instagram today! Head over there (@chrislovesjulia) to get entered.
This post is sponsored by Cree. The sent us their BR30 LED bulbs to use in our kitchen, but you can check out their full selection of LED bulbs right here.

Hey Julia! Found this after listening to the “lighting” podcast. I learned so much. How did you settle on 5″ recessed lights? My contractor installed 6″ in the kitchen ( ceiling is still wide open) and I’m obsessing over whether they are too big. We have exactly 8′ ceilings and are going with Cree. Would love to hear your thoughts! I generally just don’t like overhead light haha.
We actually wanted to go with 4in cans but had trouble finding some that were insulation rated. We’re with you – smaller the better, but even the 6in, after awhile you probably wouldn’t notice.
Hi,
Glad to see your post….I am very happy to see your informative post which helps me a lot.
The kitchen lighting can be made the most effective by keeping these few key elements in mind. One of the most user friendly and popular forms of illuminating the kitchen is the overhead lighting. While using this form of lighting, the point to be kept in mind is that there should be other modes of lighting as well. This should not be used as the only means of providing light in a kitchen area.
According to my opinion track lighting is excellent for this use since the light fixtures can be easily adjusted as to where they are focused, allowing the homeowner to point focused light at functional areas such as the counter where food is prepared, the stove, and the island in the middle of the kitchen where children may do their studying. This focused lighting method takes much of the strain off the eyes and also increases safety when slicing and preparing food since it is much easier to see the work that is being performed.
Thanks for being sharing….Keep it up :-)
Regards
Matthewmccormick
Do you have a link to the trim you used on your can light housing?
Your kitchen looks just amazing! We are upgrading to led’s in our kitchen and I feel like the 60w soft white makes it feel very sterile. Do yours feel like this at all? We have open cans, are yours covered? Appreciate any help!!
Ours are open, too? Have you tried these Cree bulbs? We felt other LEDs always felt cold, or took forever to heat up. These are nice and warm and come on right away!
I’m with you – soft white all the way! You’re kitchen is looking really great :)