Today we’re excited to have our Visual Media Producer (and my sister!), Andi, share how she transformed her kitchen on a dime over the last few months! Take it away!
We are coming up on one year living in our first house! And to be honest, it really feels like a non-stop year of arranging, nesting, guessing, styling, and painting. So. much. painting. It fixes everything! Enter : our kitchen. If I had to describe it in three words and use alliteration it would be: brown, boxy, and boring. Floor to ceiling oak–it had to go! And while we’re at it–the leaky black fridge that came with the house, too. Jules, of course, was the one to put the bug in my ear that just painting the cabinets would give us a new kitchen. Our refresh was kickstarted this summer with a birthday wish. I told my family all I wanted was for everyone to come over and help me get a grip on tackling the kitchen. I wanted to do a treatment on one wall, take down a cabinet and replace it with open shelving, and paint our neutral mosaic backsplash white. That’s all. Ha! And of course what followed was the inevitable–you improve one area and you want to do more and more and more. But we took our time, two months time to be exact. A weekend project here, a couple nights in the garage there. Sometimes we were waiting for the right inspiration to keep going, sometimes we were waiting for the right price. Here’s the six things that completely transformed our kitchen, without changing its layout.


1. Painting cabinets for a whole new view
For $45/gallon you can’t beat the power of paint making you feel like you have a completely new kitchen. Our kitchen cabinets are “Pigeon” by Farrow & Ball, color matched at Lowe’s in satin sheen. The pantry is “Shoji White” by Sherwin Williams. Painting cabinets is a time investment. It’s a commitment. For our shiny oak doors we had to first de-gloss, then prime, (both sides of each door) then we were ready to paint. I set up a big canvas drop cloth in the garage, turned up a lot of “Hamilton” and “Conan O’Brian Needs a Friend” and used a 4 inch sponge roller and paint brush on everything. People spray cabinets. That’s wise. I wish I would have thought outside of the box for a minute on my method, but the long night hours still reaped results that made me feel so happy and fulfilled! I also did this part of the kitchen refresh in cabinets. The pantry was such a stand alone structure in the kitchen and I didn’t know what color it should be right off the bat. But I knew my Pinterest was full of muted greens for cabinets, so I tackled those first. I waited three weeks before painting the pantry a light “greige” to play off of our Alabaster walls.


2. New hardware to polish it off
You have to take off the hardware to paint the cabinets, so you might as well swap them while you’re at it. I have to say, I was a little sticker shocked when I first started snooping for knobs and pulls. I would find an ornate brass knob that felt like a conversation piece, not even letting the $7 price tag phase me until I needed to add 20 to my cart. Is this what people pay? Is this what hardware costs? I switched gears, and as always, Amazon did not disappoint! I could shop for a set of 10, or 20, and found exactly what I was looking for! These are the brass knobs I chose for the cabinets, and I went for 6 inch vertical pulls for the pantry. They’re little show stoppers!

3. Open shelving to let in the light
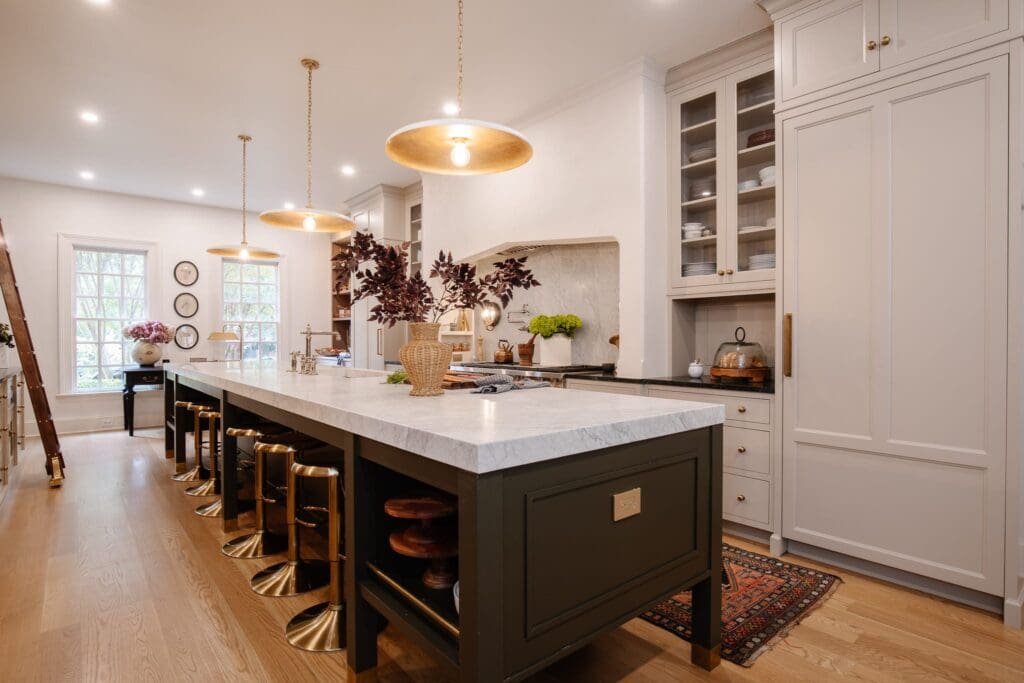
When I looked at our kitchen cabinets objectively, I realized I was filling them because they were there, not necessarily because I needed the storage space. We took down one big bulky cabinet that was never full to the top, but housed our daily glasses, bowls, plates, mugs, etc. Underneath that cabinet were four handy drawers that desperately needed some rearranging and junk drawer purging. We hung 2 shelves for holding our glasses, bowls, and plates, and moved all of our favorite melamine, kid plates and cups to the drawer below. It was a seamless transition! This is was our first “woah the kitchen feels bigger” moment. Along with the cabinet coming down, we took off the arch above the kitchen sink and the light just started spilling in to every corner. Our ceilings felt taller, and it just felt like the room could breathe again.

4. A wall treatment to set the tone
This was the project that started all of the projects. It was the new look that snowballed all the rest of the inspiration for the kitchen. Chris and Julia did a board and batten wall for us, just in the corner of the kitchen where we dine on the daily. Terra cotta was the very first inspiration color I had for this space, and I knew painting our accent wall that color would set the tone. Fun fact: I bought a gallon as soon as I saw the paint chip. I read the name and knew it was meant to be. The color is “Kitchen Terra Cotta” by Valspar. It was the most fun color to roll on. It felt like a cosmetic: a lipgloss shade I’d love to try, or maybe it felt so familiar because it resembles a shade I have in my bronzer palette. This was the first spot in the kitchen to get color, and we started with a bang.


5. Upgraded light fixtures to elevate the whole space
We swapped 3 out of 3 light fixtures in our kitchen and to be honest the space never felt completely finished until we did. Our home doesn’t have A/C and we do fine with these cool Idaho nights, but knew we wanted to swap the ceiling fan for a newer, more modern, QUIET one. We feel really cool adjusting it with a remote control too. The pendant above the sink is one of my favorite moments. I love seeing it on from the backyard. The globe flush mount reminds me of the kitchen lights my grandma had, which just feels right. The black trim on both of them is what made me go all-in for our poppy black and white flooring.

6. Peel-and-stick tile flooring for the jaw-dropping “After”

Adding peel-and-stick vinyl flooring wasn’t on the project docket from the beginning. The kitchen had laminate wood flooring, and it wasn’t a terrible color nor was it in terrible shape. I was waiting for the last light fixture to arrive and felt like the kitchen could be done at that point. Then Jules asked me “What would it take for you to feel like the kitchen is really really complete?” “New flooring” immediately flew out of my mouth and I surprised myself! It wasn’t even something pinned on my Dream Kitchen board! I had no inspo on my radar, not even an idea of what I would like. I think I kept it out of the realm of possibilities because I don’t do DIY, and flooring is scary. This was a demolition-power tool-free kitchen refresh and I just thought new flooring was out of our league. Enter: the friendliest, most approachable, peel-and-stick no fuss flooring. They’re just square foot, sticky vinyl tiles ready to transform your whole room. I was leaning towards black and white flooring, but wanted it to feel more playful than a checkerboard. When I came across FloorPops’s “Altair” design, the stars immediately transported me to Mexico and I was sold. For our kitchen size, we ordered 18 packs of 10, and only had little left over. Order extra than what you anticipate using, so you’re covered on mess-ups and all the edge and corner pieces you’ll be cutting. Peel-and-stick tile is pretty self-explanatory, it only gets tricky once you have to start cutting pieces along the edges, around cabinetry corners, etc. We used utility knives, a matte board, T-square rulers, a contour gauge and alll of our patience. The Floorpops feel thick and durable, and I can tell you it took effort to pry it off the floor if it went on crooked. When these go down, they are ON. All in all, the flooring took about 8 hours (over the course of a couple nights and a Saturday morning) to install and then caulk around the edges to fill in narrow gaps. I adore every square inch of it! I love how poppy and quirky it feels while still looking polished and classic. My favorite view is coming in our front door and seeing the pattern peeking out from both sides of the kitchen. It’s just the happiest floor!

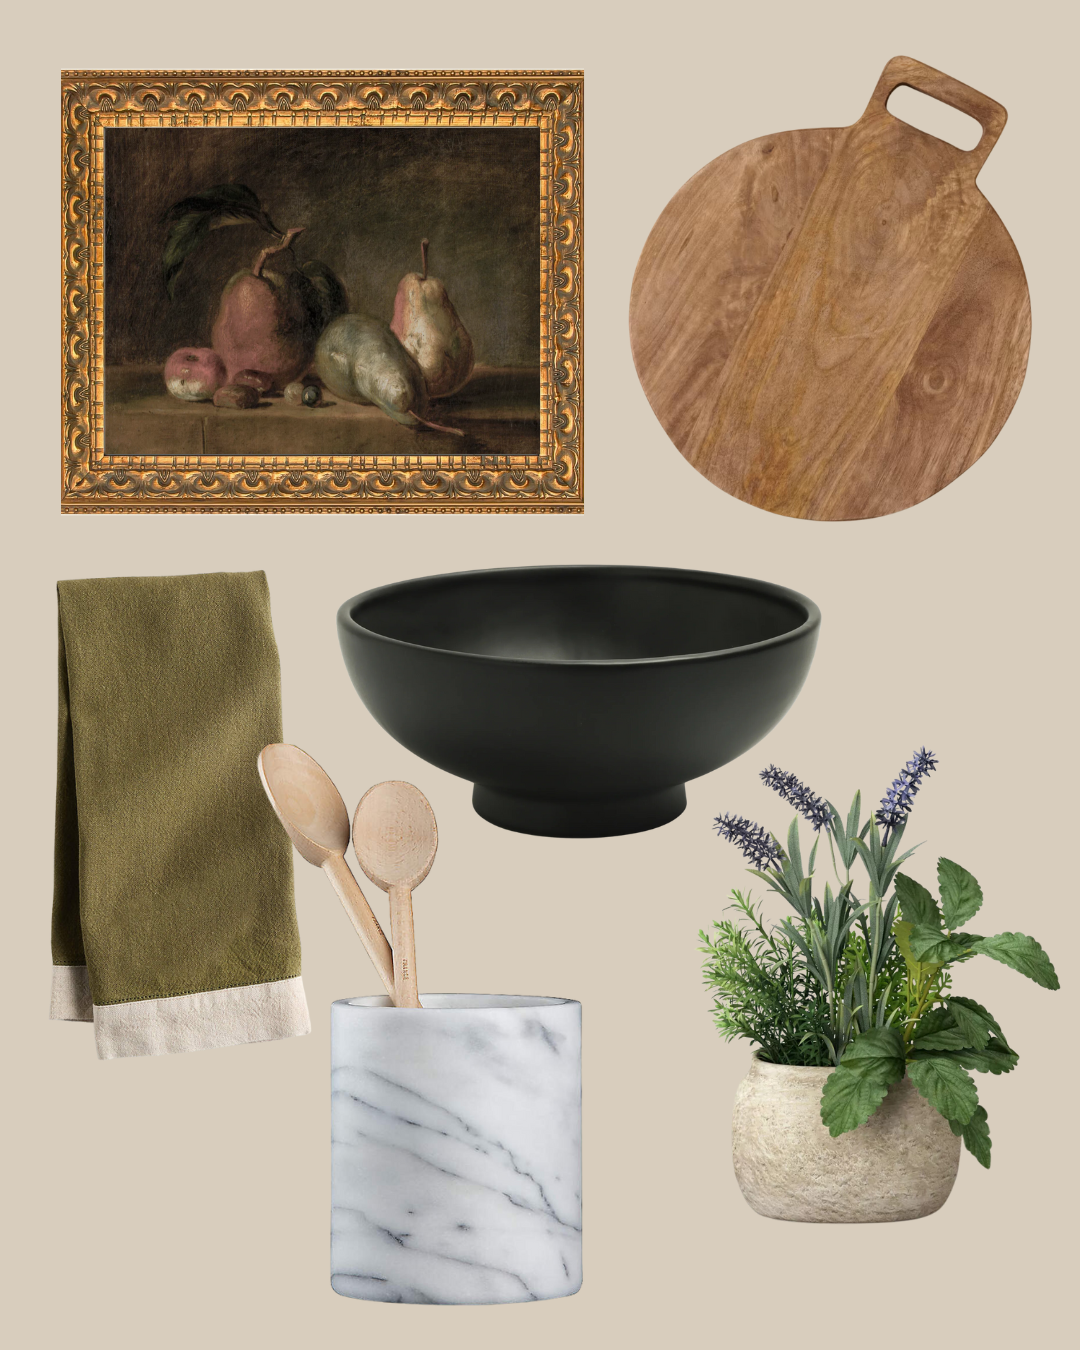
It has been so rewarding to transform the heart of our home to really feel like us. One of my most joyful moments was styling my food photography props that have been in storage on the side pantry built-ins. Stacking little bowls, pairing crocks, housing candlesticks and my favorite ceramic oil & vinegar bottles. It was all in a sad box of “stuff I no longer use because I don’t have a studio anymore” and now it’s all been curated into a little kitchen display! Joy trigger. This was not a Phase 1 kitchen “renovation.” This is it! There’s nothing I would change, but we mayyy be seeing a small wooden island in the future. Can you picture it? I can picture it.

Budget Breakdown:
Primer $20
Paint (3 gallons, 1 gallon for each color) $135
Cabinet/Pantry Hardware $103
Flooring $323
Lighting $341
Fridge $1,169
Total: $2,091
Sources:
Vinyl Flooring
Cabinet Knobs
Cabinet Pulls
Pendant Light Shade
Pendant Light Base
Flush Mount
Ceiling Fan
Toaster
Copper KitchenAid
Fridge
Table
Dining Chairs
Large Hanging Planter
Small Hanging Planter
Faux Potted Plant
Mexico Balcony Print
Mexico Streetscape Print


Hi! I absolutely adore this kitchen makeover and return to it over and over again for inspiration. I’d be so grateful for an update on how the vinyl flooring is holding up, and how it’s been to keep clean. Thank you so much! It’s such an exciting and affordable option, if it holds up!
I have always admired that Julia & Chris desire to share their skills and talents with other home owners! I love that they help spread love for all types, styles and price points of home update projects ! They truly encourage everyone to design a home that works for each family style and needs!
Wow! Loved this kitchen update! Please keep us updated on the blog with home decor and projects at Andi’s home when time allows !
Could you please share the greige color used on pantry cabinets?
I apologize if this was asked already in the comments but was hoping you could give any source information for that adorable little house print that is on the accent wall? Looking to add something similar to a very small space in my kitchen. thanks!!