When we first shared our plans to renovate both the laundry room and Greta’s bathroom, I never imagined it would take seven months — but great things take time, and this moody, marble-filled space was absolutely worth the wait. If you love the Chris Loves Julia aesthetic of warm, traditional materials mixed with modern, dramatic details, this bathroom renovation reveal is for you.
This is the kind of bathroom design that feels timeless but never boring: rich mahogany wood tones, floor-to-ceiling marble subway tile, brass fixtures, and a black-gridded glass shower that steals the show. It’s feminine without being precious, and classic without feeling stiff — exactly what I was going for.
This bathroom and the still-unfinished laundry room (more on that another day) actually inspired the “10 Things That Can Derail a Home Renovation” post. Obviously, there were several hiccups along the way, but it’s finally finished and just in time, too, because the year is coming to a close and I love to wrap up all of our projects by the year’s end.
So, I’m very excited to share how this beautiful bathroom turned out — it was worth it!
The decision for this upstairs bathroom renovation actually stemmed from our frustrations with the downstairs laundry room. It’s location was anything but functional and would make more sense as a pool bathroom, so we started sketching out space for a new laundry room upstairs. We planned to borrow space from the “playroom” (that’s no longer a playroom) to make room for the laundry room, and since that was all getting torn up, we wanted to see if we could simplify the bathroom layout that you had to walk through to get to the future laundry room and instead carve out a hallway.
Lost? Here’s a little floor plan so you can see the changes we made over the last 7 months:

The bathroom took up a lot of space, but so inefficiently. Here’s what the bathroom looked like before!
Before

POV: You’re standing in the doorway entrance of what we used to call the “playroom,” but is now the laundry room doorway.
Definitely take a closer look at the layout before and after to get a better visual of how everything got switched, but I’ll try my best to explain it. We decided to cut into the bathroom floor space to create a hallway in between the laundry room and the bathroom. Obviously, Greta’s bathroom decreased in size, but it was way too big to start with. There used to be two separate vanities and two sinks, and through that second door was the toilet and shower/bath combo. Now it’s just one simplified space!
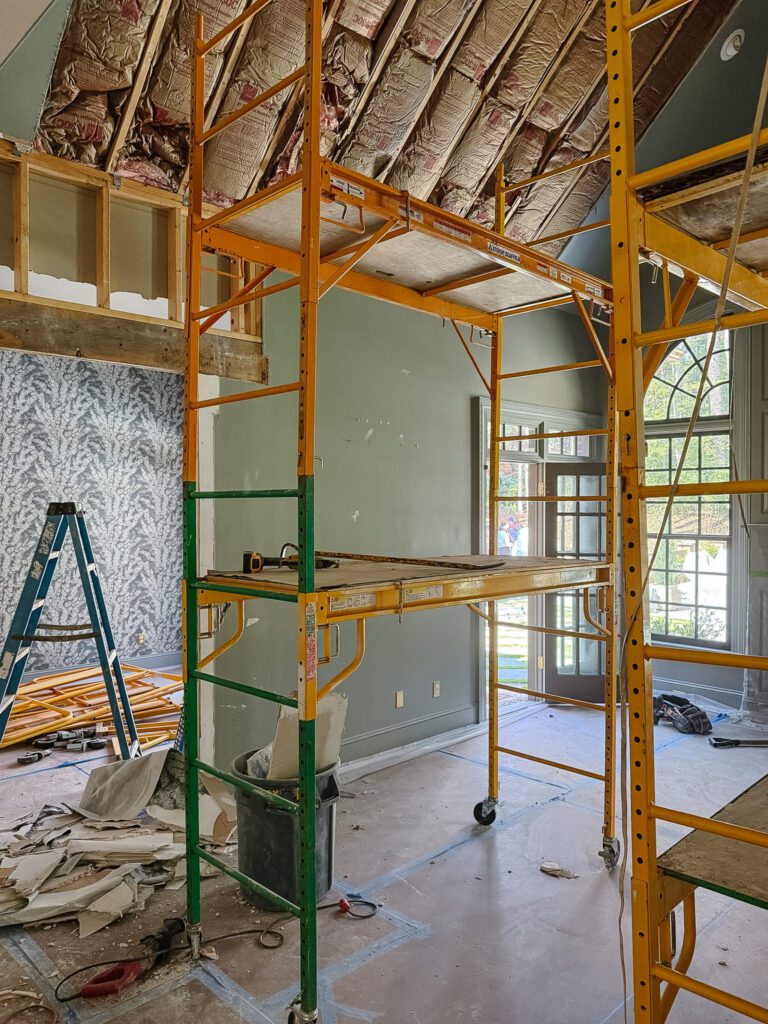
Progress

You wouldn’t know it from the before photo, but there was a window back there all along. The moment we started opening up the walls, and I saw the light flooding in, I knew in my heart this was the right decision.
After

Believe it or not, this is the same view, and you’re now standing in the laundry room!
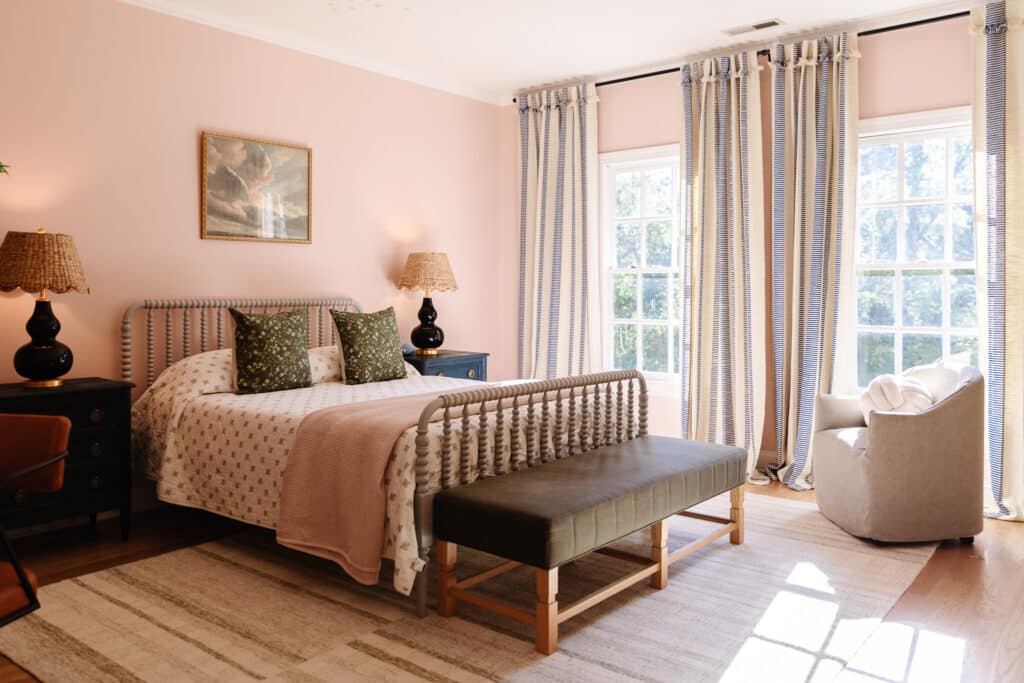
This is primarily Greta’s bathroom! It’s across the hall from her bedroom and is where she showers, gets ready, and will someday probably put on makeup and blast music… It’s also the bathroom that the whole family uses when we’re up in the bonus room watching tv. I wanted it to feel feminine and cool enough for a tween but still mature enough for Chris, myself or guests to use.
Let’s take a closer look at everything, shall we?
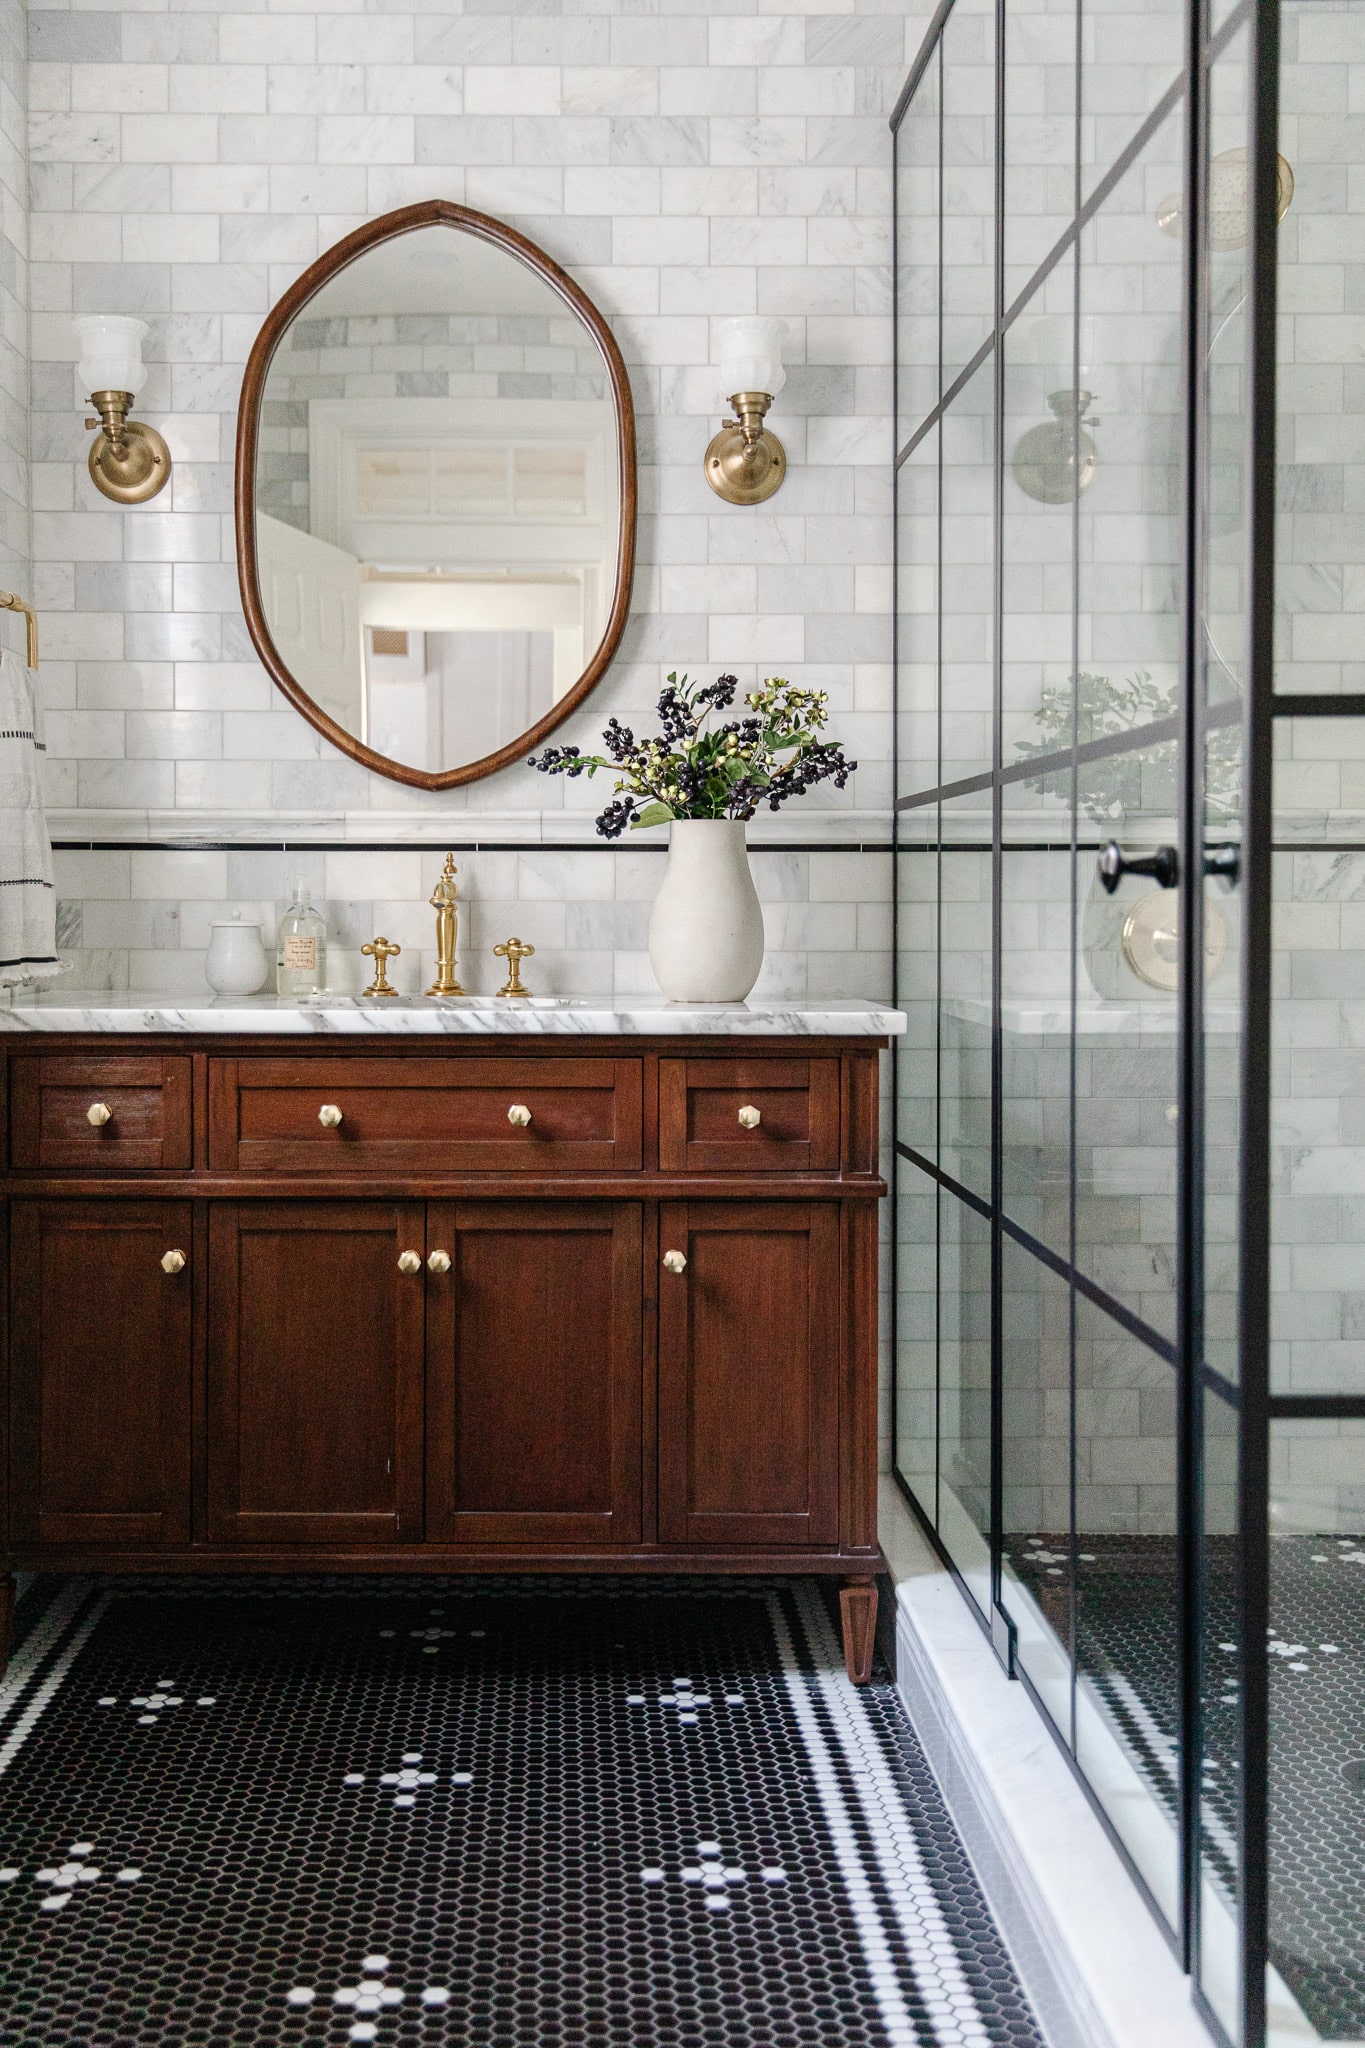
The Bathroom Vanity
Vanity | Knobs | Sink Spout | Faucet Handles | Mirror | Sconces | Hand Wash | Towel Ring | Hand Towel | Canister | Tile
Before choosing the tile or anything, I found the vanity I wanted! A custom vanity wasn’t in the budget, so finding a solid vanity in the right size and style was my first priority. However, if you’ve been following this project closely, you know that this isn’t even the first vanity I chose! Originally, I chose a mahogany vanity that seemed like it would be perfect, but the moment it was unboxed, I realized the wood tone was way darker than I expected and not as warm as I hoped. I was able to return it for a full refund. Long story short, I found this other vanity with similar dimensions that’s the perfect warm mahogany wood tone I originally wanted.
I swapped out the knobs it came with for these brass hex knobs and this faucet, and I’m in love. Here’s a funny story: Our contractor accidentally cracked the marble countertop that came with it, so we chose this marble remnant at the local stone yard to have fabricated at no extra cost to us.
Oh, and this vanity has incredible storage! Even that middle drawer is actually usable, so there’s plenty of room for everything to be stored and tidy.
Once I knew I wanted a classic, warm wood vanity, I was able to make decisions about everything else, including the tile.
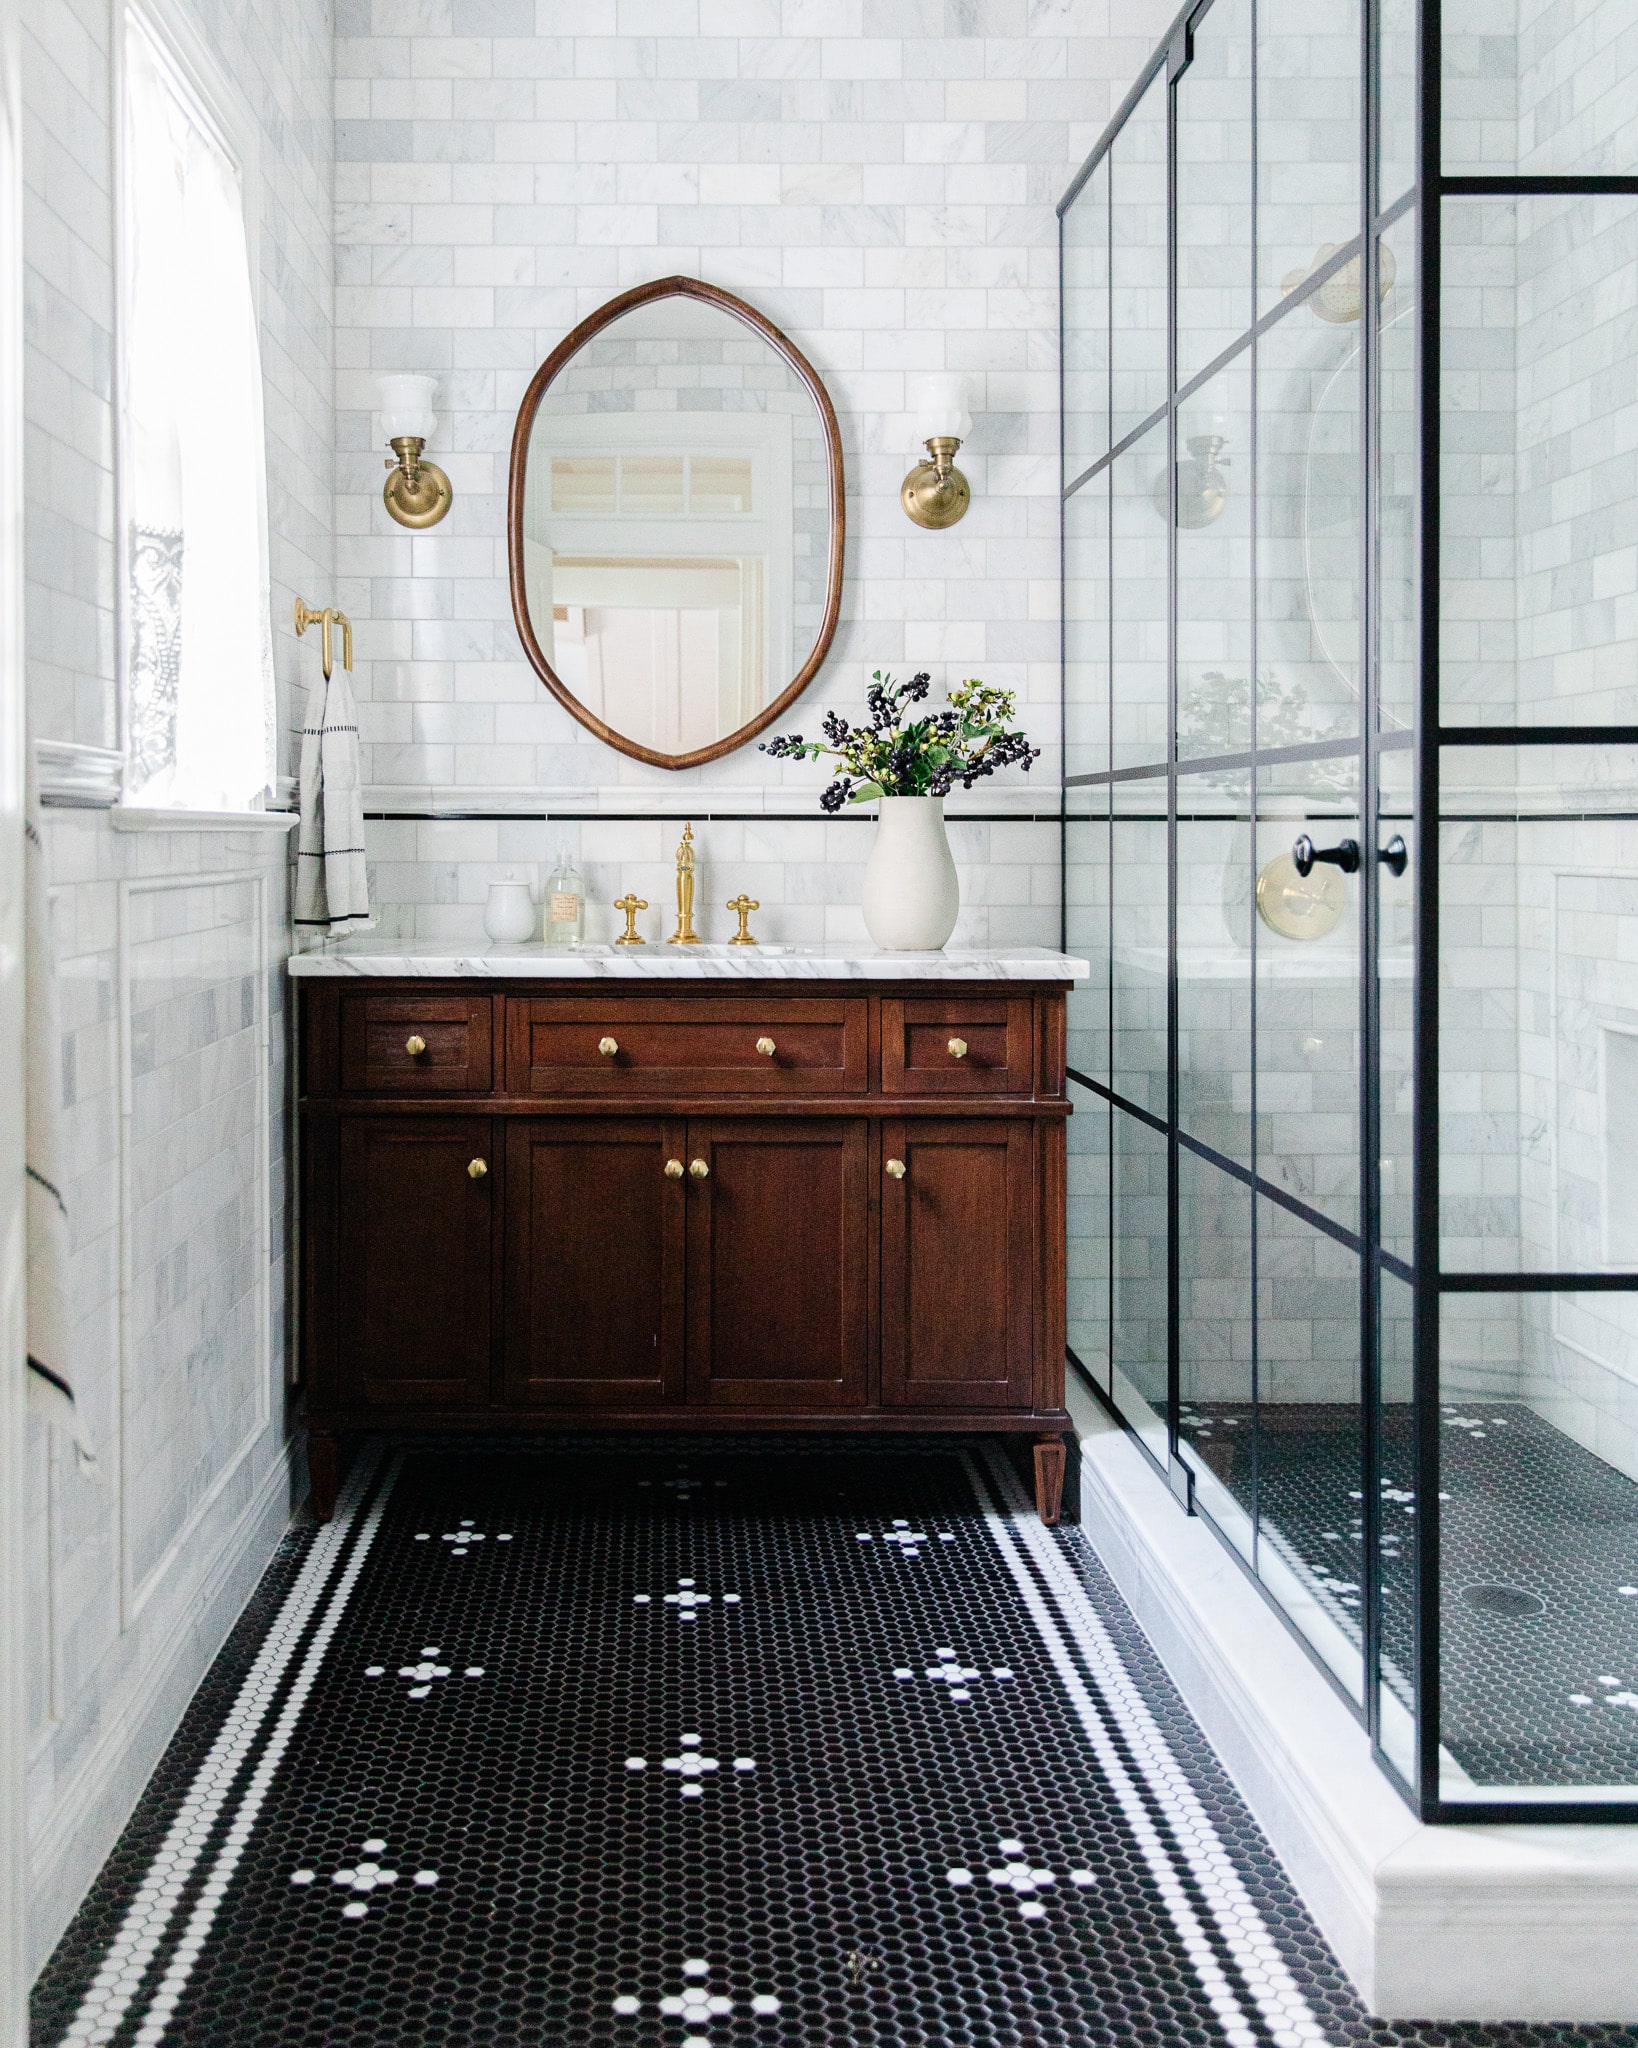
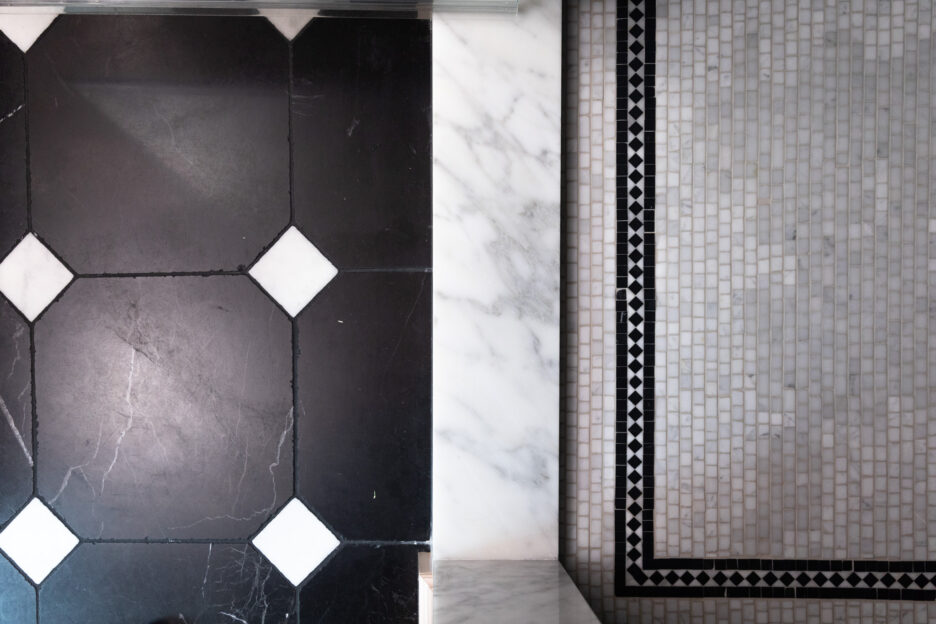
Tile Everywhere
I went through so many flooring options before I thought, “What if I did a callback to the powder bathroom floors… except inverse?!” And so we did. Black hex tile with white punched-out patterns.

Initially, I was considering doing wallpaper in here, but it came back to–this bathroom has to be fit for a tween. Instead, we decided to put tile everywhere!

We did floor-to-ceiling marble subway tile, tiled box trim, and marble chair rail with a black pencil trim! Once our contractor Micah, let us know that the tilers are the best of the best, I wanted to go all out! This tile project ended up being the most intricate but also one of the most beautiful tile jobs we have done in a home. Here’s a post with a more in-depth look at the tile-laying process.
Another key element in this bathroom renovation is the show-stopping shower!
Glass Gridded Shower
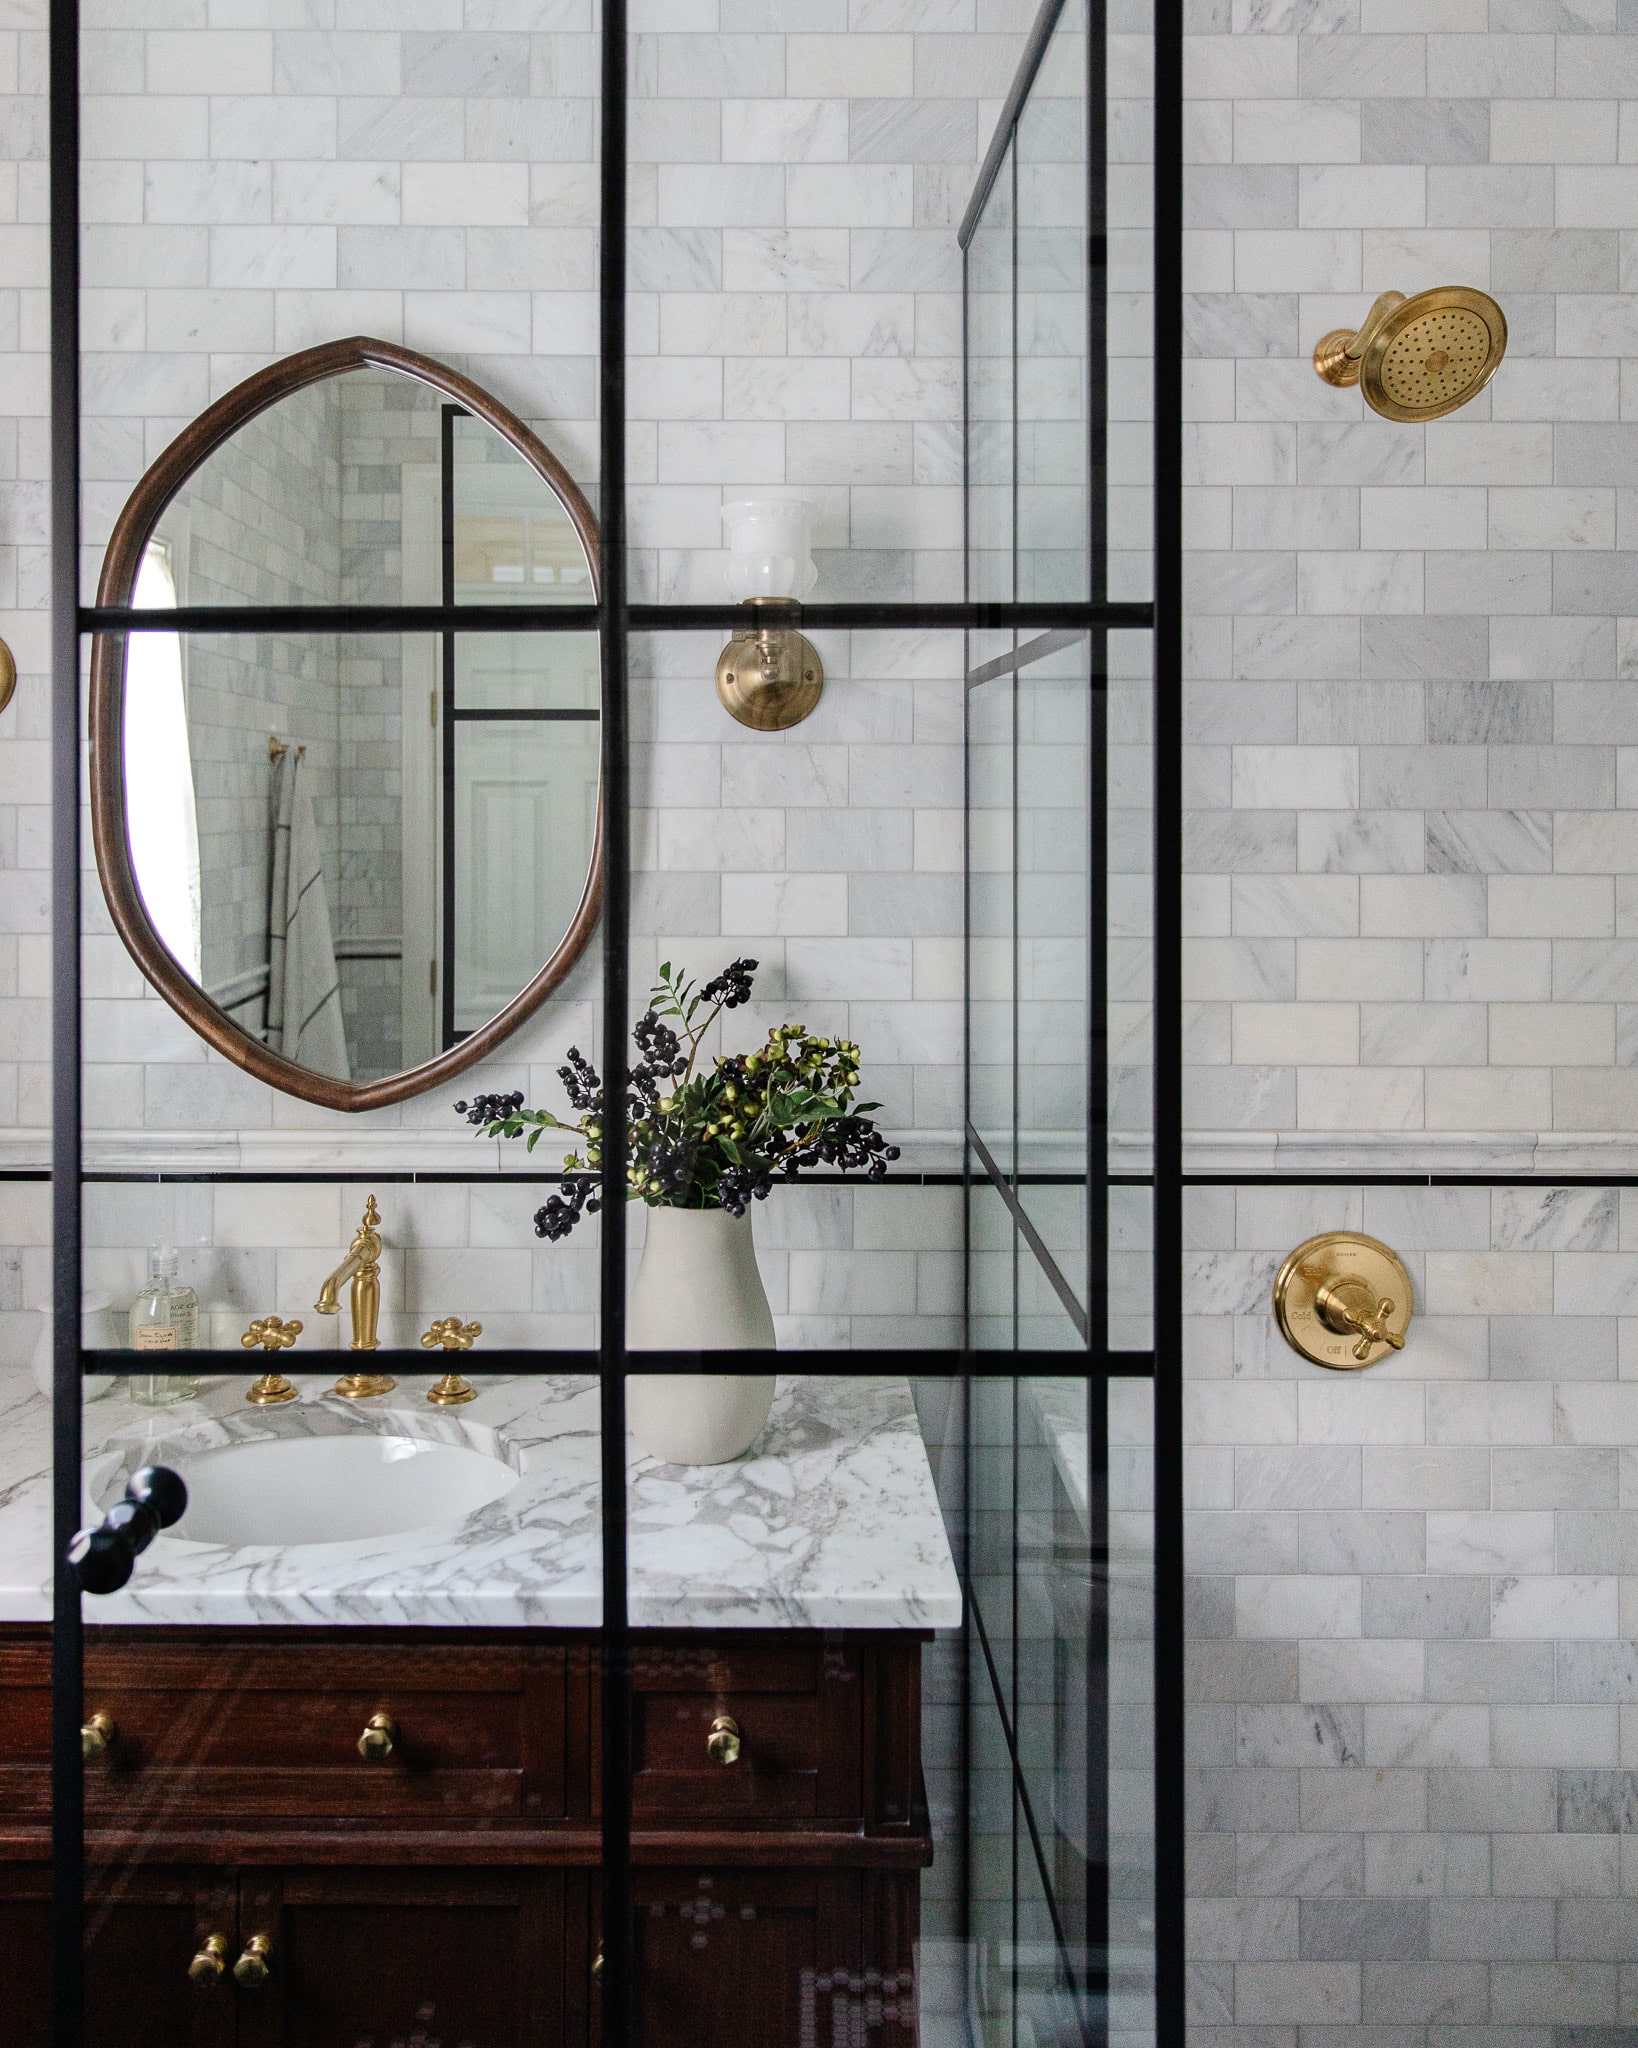
At one point, I considered doing a brass-gridded shower! I even played with the idea of not doing a grid and just doing plain glass. Boy-oh-boy, am I glad I went with the black grid design because I love it’s the star of the show!
The hinges stop the swinging door from opening past 90 degrees, so it can open both in and out but never past 90. In other words, it’s never going to bump into the vanity or the shower knob!
One of my favorite shower features is the little nook for storing soaps, but also doubles as a ledge for leg-shaving!

Shower Head | Arm | Valve
Surprisingly, this is the very first time I’ve ever used brass fixtures in a bathroom! I typically love polished nickel, but I knew this bathroom could benefit from some warmth with all the tile. Hubba Hubba.

The Finishing Touches

Canisters | Art | Picture Light | Toilet Paper Holder
Since this is primarily Greta’s bathroom, I wanted there to be femininity sprinkled throughout. This art was picked especially for her (hung with a command hook), and, along with the classic whites, warm woods, and brassy metals, this bathroom feels very soft, delicate, and girlish.
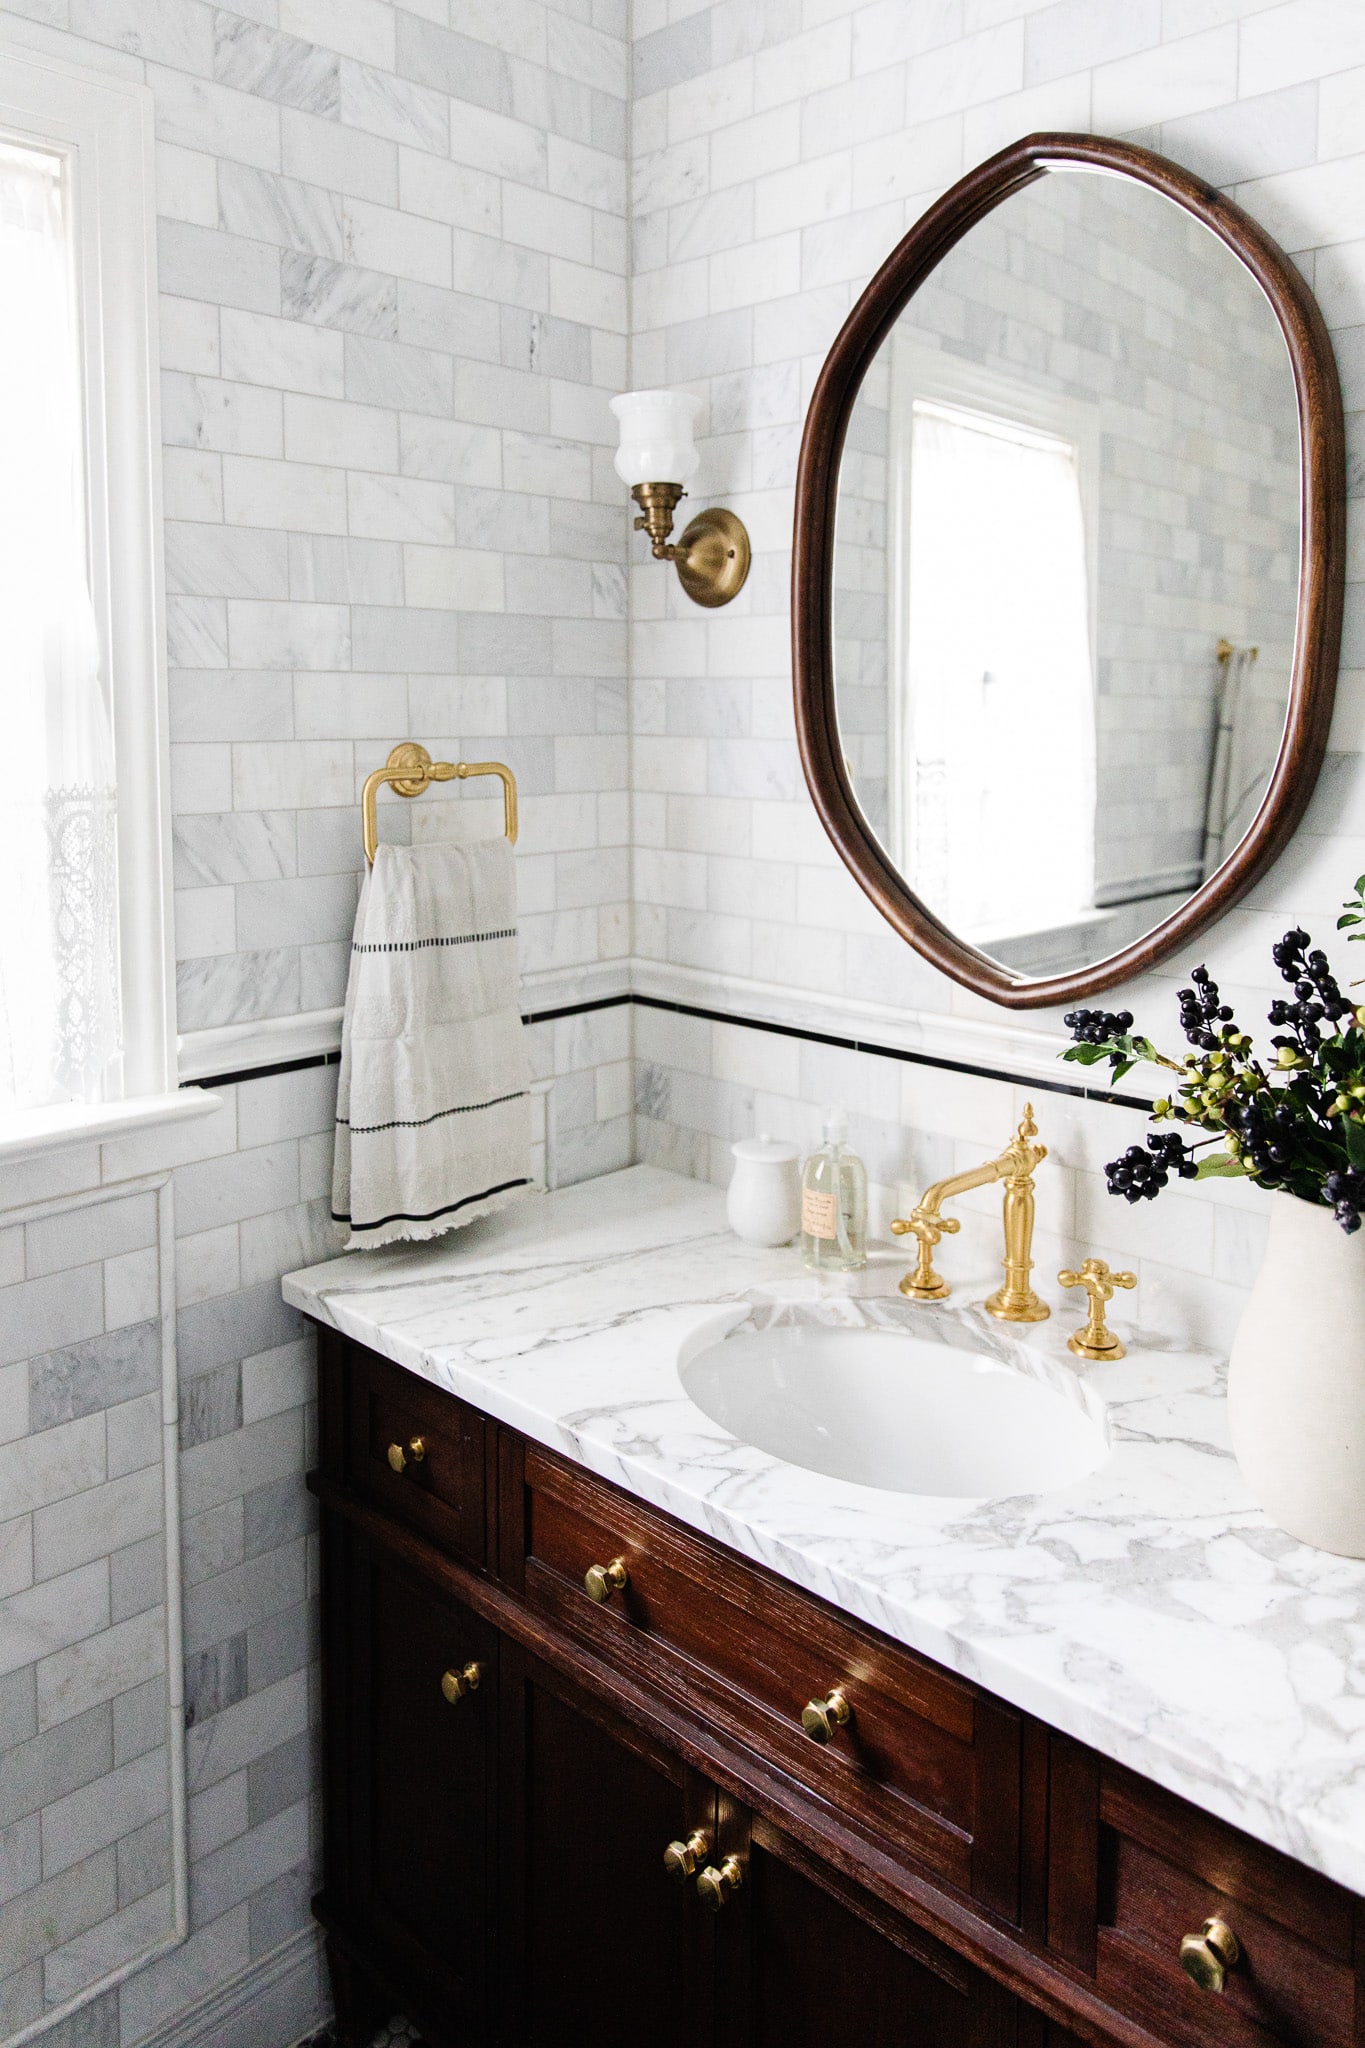
I hung a lacy, light-filtering cafe curtain with a tension rod for some added privacy but also to soften the space a bit. In this photo, you also get a closer look at the beautiful veining on the marble countertop! Stunning.

Lace Cafe Curtain | Bath Towel | Towel Hook
On the other side of the window, we put a brass double-prong hook, just within reach of the shower, for hanging towels!
And that’s the whole bathroom! I’m completely obsessed with every square inch of this small space and giddy to share the finished laundry room… soon!

More Bathroom Renovation Posts
Introducing the Layout of the New Laundry Room, Bunk Room, and Bathroom
The New Bathroom Vanity + a Round-Up
An Update on the Bathroom and Laundry Room
Shop Bathroom Sources


Is that a wooden window trim? How thick is it? Everything turned out so beautiful!!
I cant find the post where you show us how you hung the art on the tile. Or was it an Instagram story?
We used a command hook!
Can you share details on the niche? Are the sides tile or did the countertop fabricator cut them? Thanks!
They are marble tile. Extra long pieces so there aren’t seams.
The vanity link’s broken. Are you able to update? Thanks!
It’s out of stock, but I found this one that’s similar.
The tiled walls are STUNNING. It makes this bathroom look so luxurious. What a treat that Greta will get to use this bathroom while she grows up.