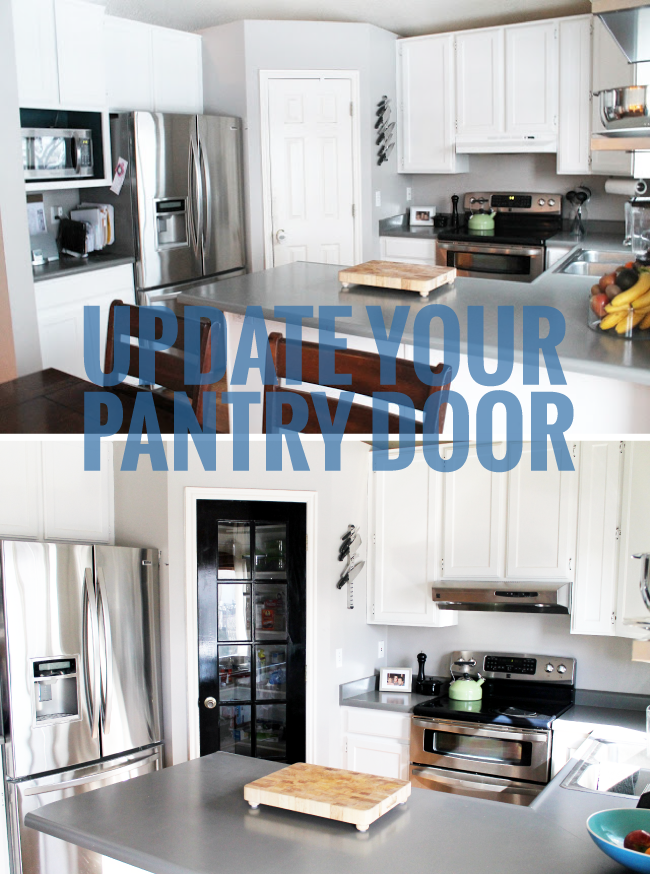
Snazzy! Besides making our small kitchen feel smaller, the old pantry door was severely scratched on the inside–like maybe the previous owners put their dog in there? We were ready for a new door, and this glass-paned one we ordered from Home Depot fit the vision. It arrived completely bare (no primer or paint) and without holes for hardware or hinges. Before I started painting, Chris cut a hole for the knob and latch…thing, and I set up the saw horses in the studio so I could paint the door in an acceptable temperature (post-workout, ‘kay!).

Since we were painting the door a glossy black, I opted to have the primer tinted a dark gray. I used Kilz oil-based primer and Glidden’s Trim and Door paint in Deepest Black. It’s a high gloss oil-based paint and claims to leave no brush marks. That could not be further from the truth. The brush strokes are abundant! I probably wouldn’t use it again. Just saying.

The door came with plastic over all the glass panes, which meant no taping off! I just painted away with no regard to edges:


When the paint was cured, Chris attached the hinges and when we went to hang the door–it didn’t fit!! Curses. Although it was a 24″ opening and the door was 24″–I left no wiggle room in my measurements for the door to swing in and out. Luckily, Chris knew that door frames are usually shimmed to the correct size (my freakin’ hero).
He took off the trim on one side, removed the shims, and then proceeded to hammer the heck out the frame until it scooted over 1/4 inch and then re-attached the trim. All-in-all the process took about 30 minutes and after I caulked the trim, you’d never know. Did I already say, “My hero”?? Because, seriously.

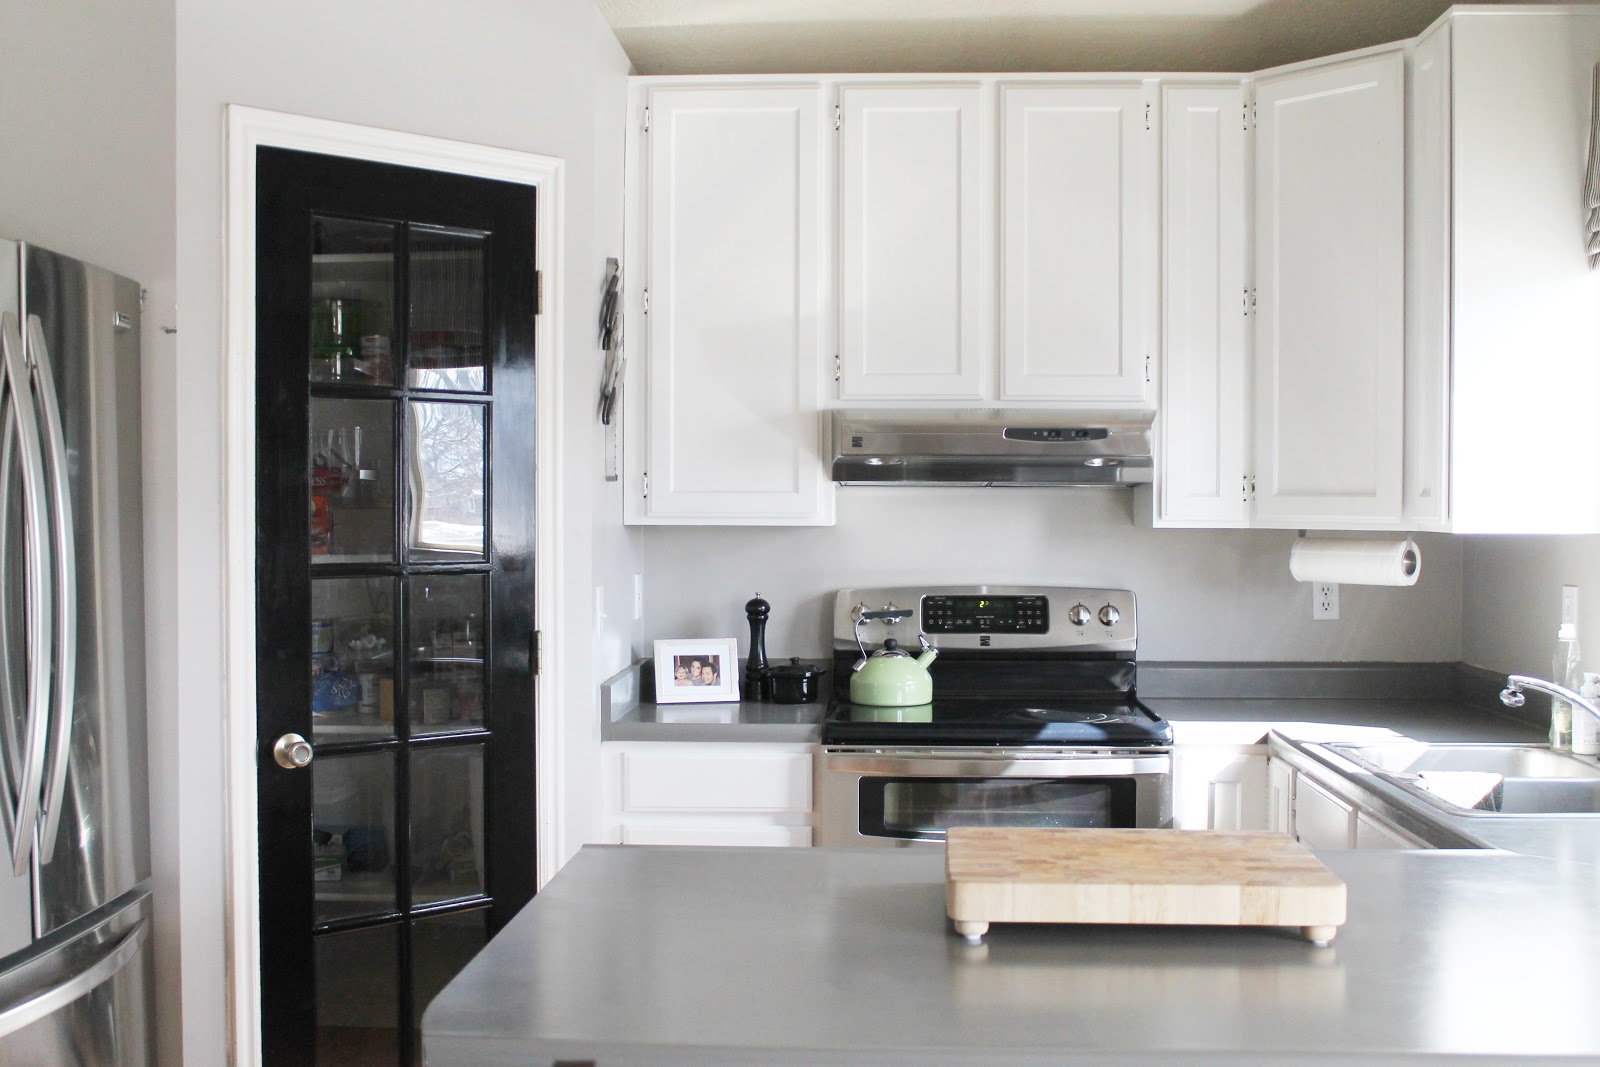
The next morning we woke up to, what felt like, a more sophisticated and open kitchen. The glossy black door (even with brush strokes) is. IT. And the glass panes, that we’ll most likely frost down the road, really open up the room.

We also switched up the hardware and settled on antique brass knobs. Eventually, we’ll switch out all the knobs in our house to match. We love the warmth of the toned-down brass and can’t wait to see it mesh with the satin nickel cabinet hardware.


[…] besides a black one. Yes! We actually looked at an antique gold one, similar to the knob we put on our last home’s pantry, but we soon realized we really wanted a nice sized backplate for our doors and these […]
Hi there,
Great tutorial; thanks for sharing! About the high gloss door; perhaps you used the wrong brush! Just a thought. Also, how do you make sure the hinge posts line up in a parallel lines against the floor so you don’t have a crooked door?
Thanks,
Alana
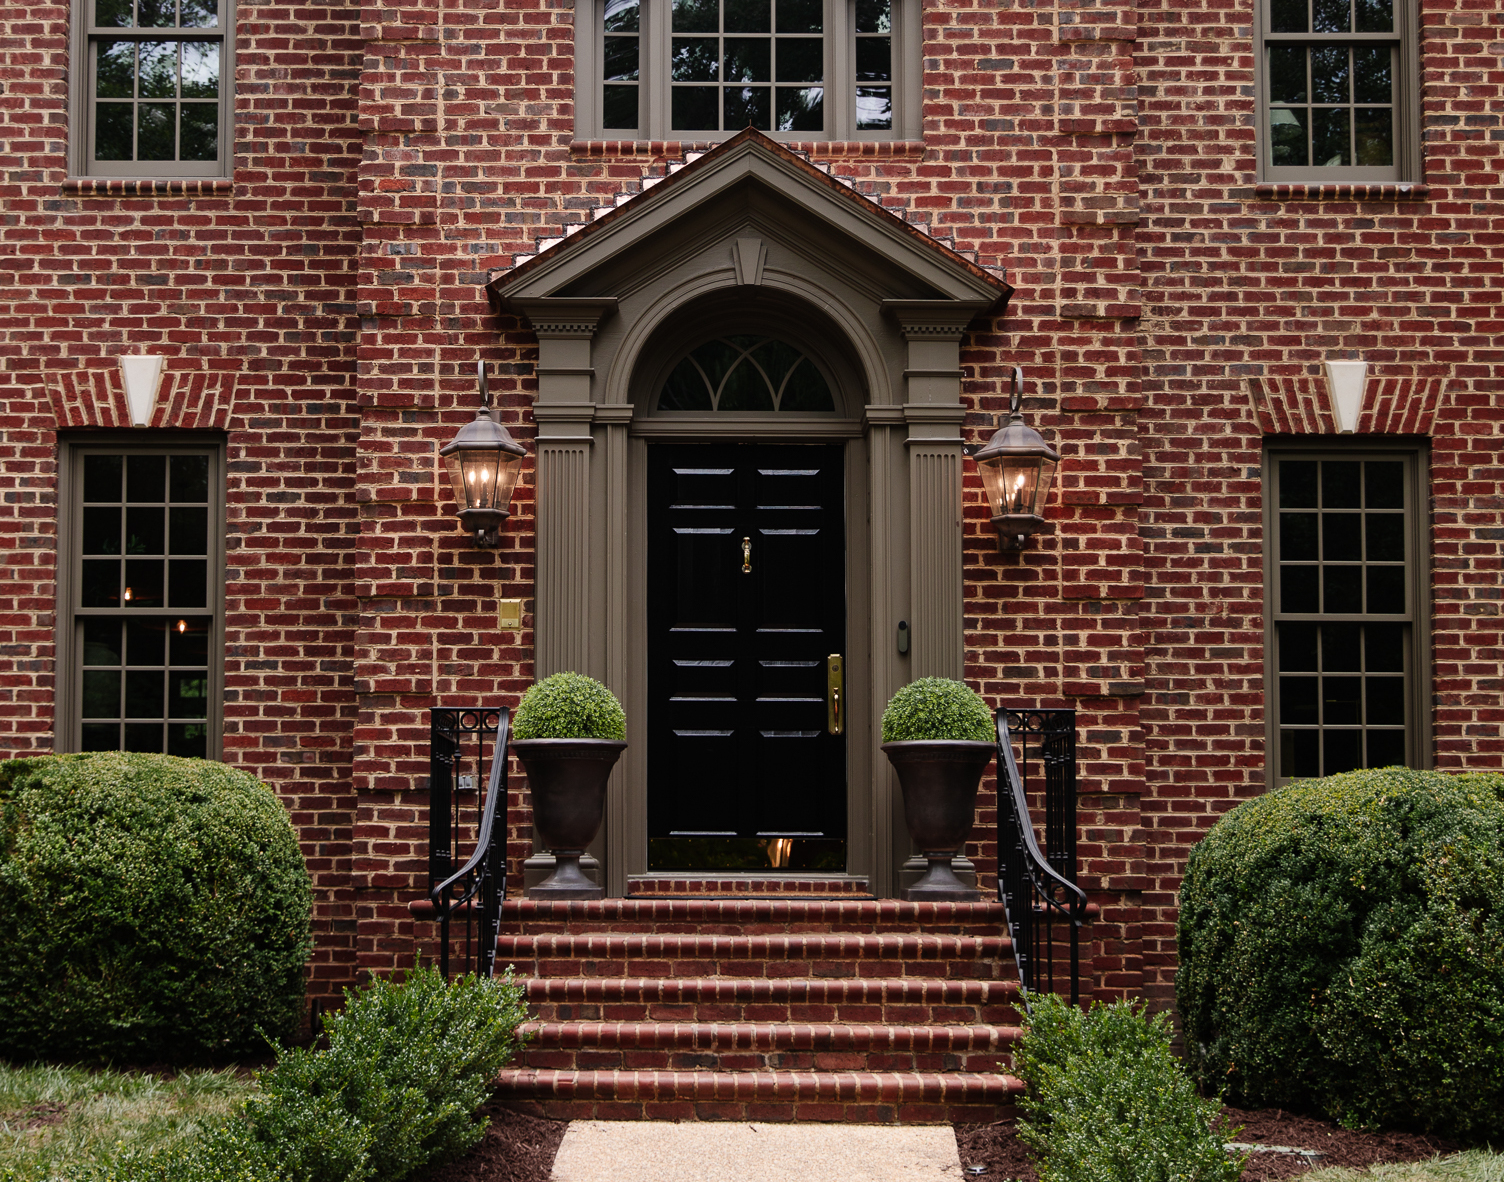
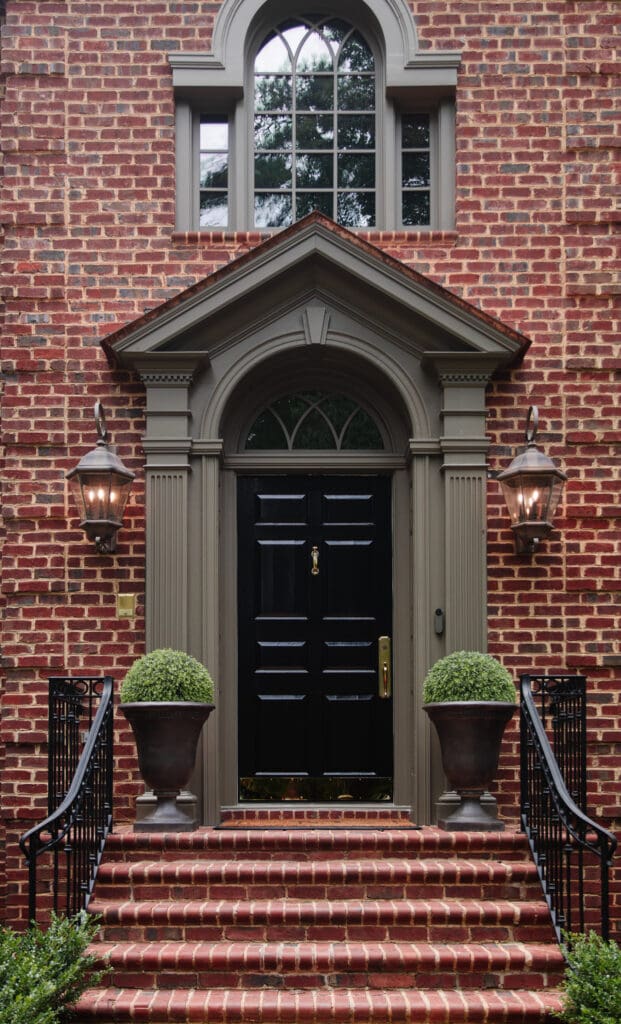
We had the same experience with the Glidden paint when we did our front door in black. I seriously thought I had done something wrong. The gross gel like texture and the brush marks and meh coverage were a definite “no” for me. Glad to hear we aren’t crazy on that. Ours has the same texture as yours in the up-close shot. Oh well. The black glass door looks great in your kitchen though.
Love that door! Makes it interesting without being too much. I highly recommend frosting the glass. We have a door very similar leading to our basement, which 100 years old and unfinished. Total horror story invitation. Just two days ago I frosted the panes and it looks so much better. Plus, it was super easy. Great job!
Amazing!! Such a great idea and the end result looks gorgeous :) How clever is Chris too, I would never have thought about there being shims that could be removed.