For our frequent readers, you may remember a few months ago when we added our new front door and trimmed it out. As a refresher:


We opted out of the sidelight on the door and instead went with some heavier trim to fill the gaps. We still love this door and everything it has added to the first impression our home gives.
All that said, the inside has been a bit… neglected. Here’s how the inside looked before we replaced the door:

Eeks, throwback. That was taken pretty much right after we finished laying our tile floors in 2014. Here’s how the inside has looked ever since we swapped out the door in March (2016):

No shame. What can I say, life happens. And sometimes, we live with ugly things in our home because we have other priorities right then. BUT! That almost makes something small (like adding trim around a door) feel so much bigger when you actually get around to it, which we finally did this past weekend. Here’s how the inside looks now:
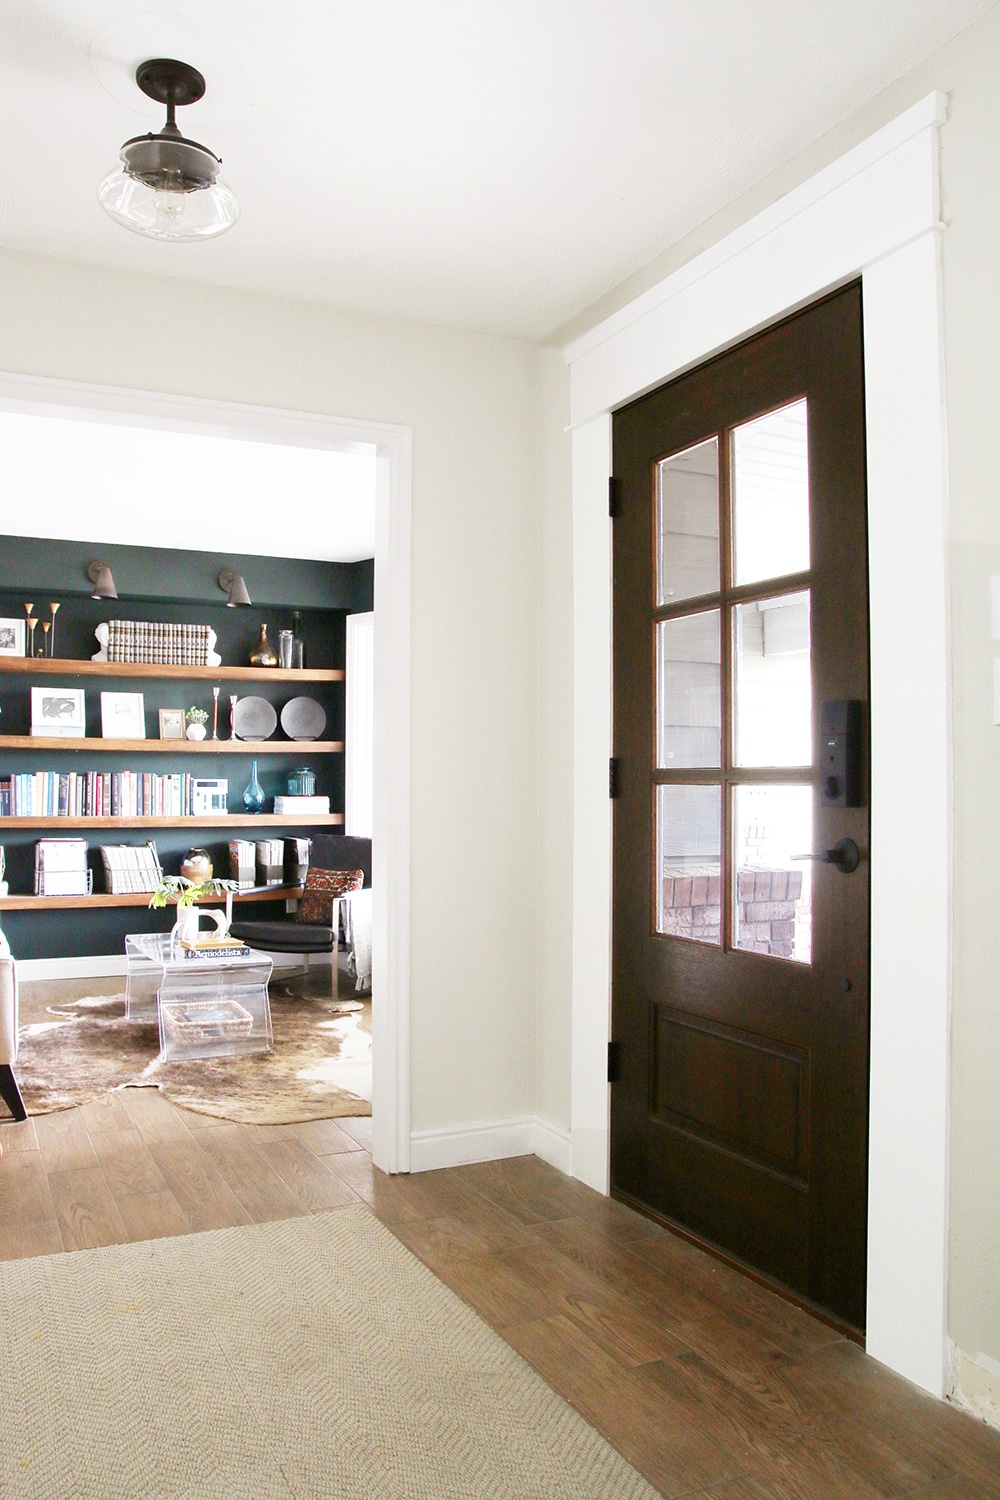
The thicker trim was of course a necessity for us, but we also love the way it turned out. It feels so grand and substantial, which I think is appropriate for a front door. It also adds height to the door where our standard ceilings could potentially make things feel short.
Creating this look was pretty quick and easy, actually. Here are the materials:
• two 8ft primed MDF boards (1/2in x 8in)
• one 8ft primed MDF board (11/16in x 7 1/4in)
• one 84in primed MDF header moulding
• one 96in primed pine brick moulding
With this, you simply start from the ground and work your way up. This means cutting the two side pieces (1/2in x 8in moulding) so they are about 1/2 inch shorter than the door frame itself, and attach those with a brad nailer.

Pardon my bed head. Sometimes you just gotta do a project immediately after you wake up. You know how it is.
Next is to connect the header moulding piece to the 11/16in x 7 1/4in primed mdf. First, when you cut the boards, make the primed MDF as wide as the distance between the outside edges of your side moulding pieces you’ve already put in place. Second, cut the header moulding so it’s 1 inch longer.

Next, connect the two together using short brad nails (like 1 inch), and being very careful that the nailer is straight up and down so you don’t get any nails shooting out the sides. The boards should be centered together, so the header moulding extends 1/2 inch on either side.

Attach that to the door frame with a brad nailer so it’s secure in place.

Now begin with the top “crown” piece (brick moulding). The narrower part of the brick moulding should be the same width as the header moulding you’ve already attached, but you’re going to miter the edges and attach angled pieces to create a custom look. Like so:

These can be tricky to nail together. But hold the sides as tight as you can and secure it with 1in brad nails. Once that’s made, add it to the top of the trim work, with the wider end to the top, nail it in, and caulk all the cracks and holes for a seamless look:

Allow the caulk to dry, paint everything, and pat yourself on the back.


Now, the elephant in the room, it doesn’t match any of the trim in the entire rest of our house. “Doesn’t that drive you crazy?!” you might ask. Well, not really, and for a couple reasons. First of all, it’s waaaaay better than the uneven, bare, rough 2x4s we’ve had for the past almost 4 months now. And secondly, if the trim on something in your house is going to differ, the front door is the place to do it. Now, if we had one window that was different from all the others, or one hallway door, that would drive me nuts. But where the door itself is already different from our other doors, the trim being different doesn’t bother me.
That said, this new trim work looks so good, I may just want to change it in the rest of the house. The longest part of the project was waiting for the caulk to dry, and it’s really quite amazing how expensive of a look you get for less than $50.
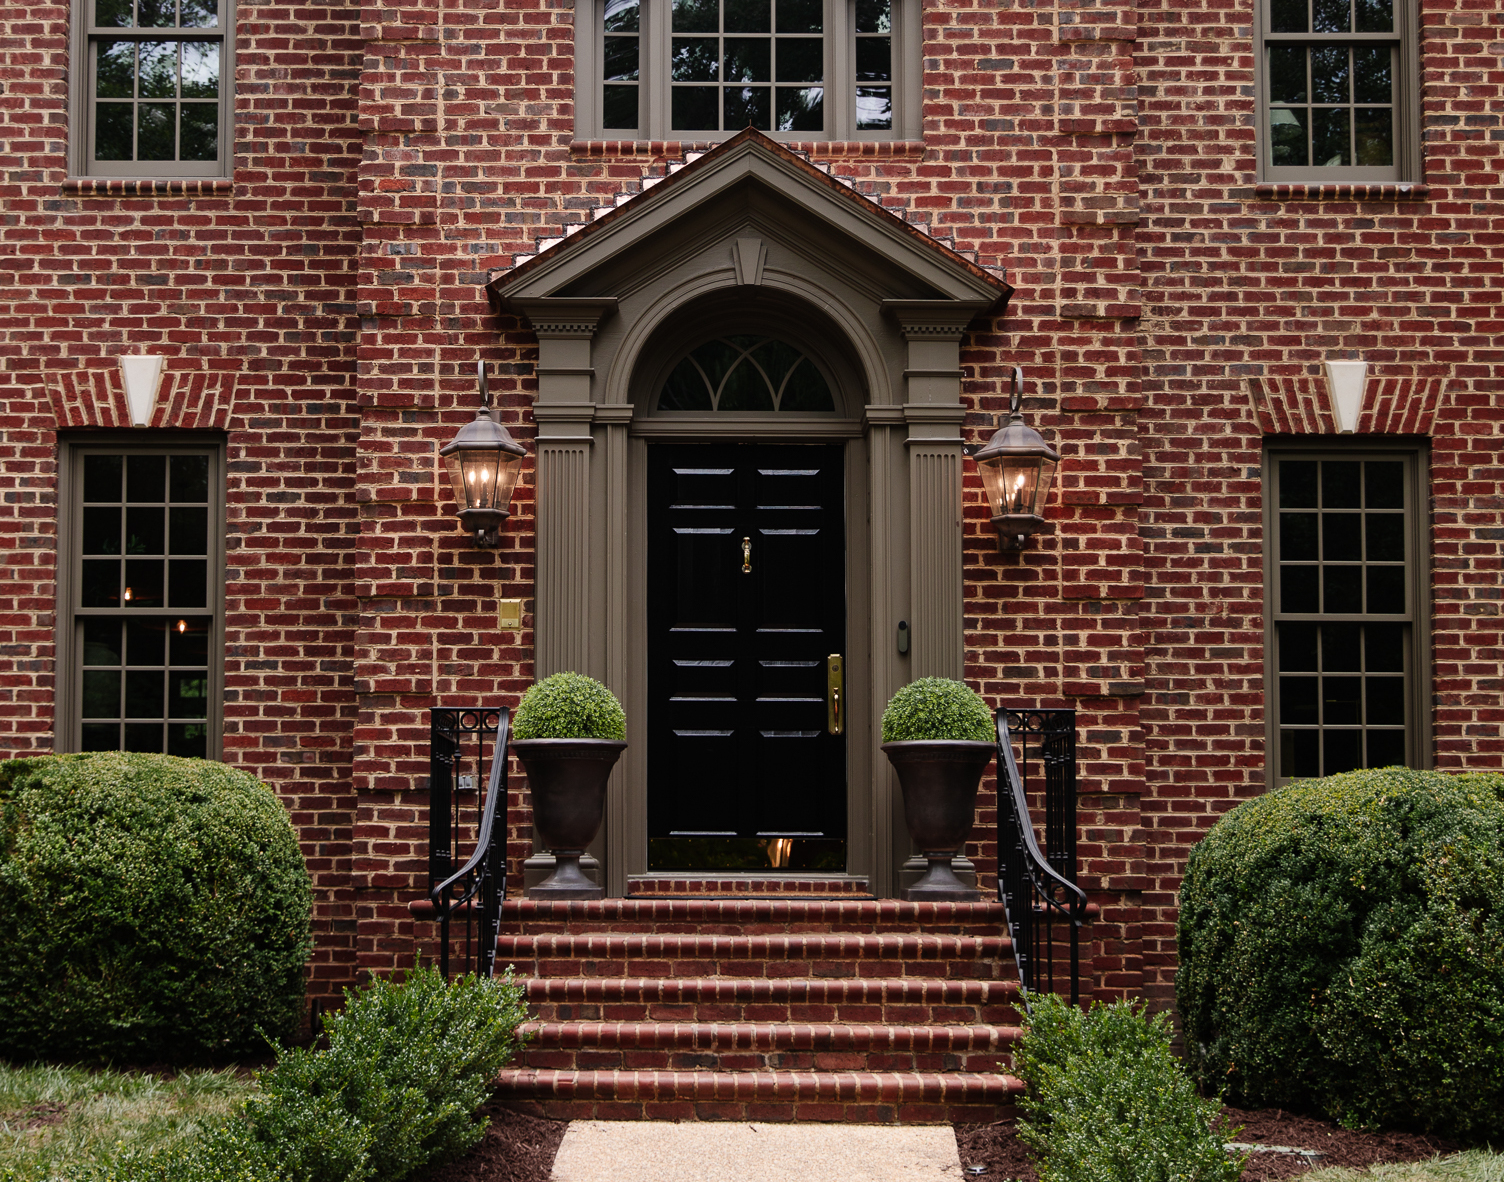
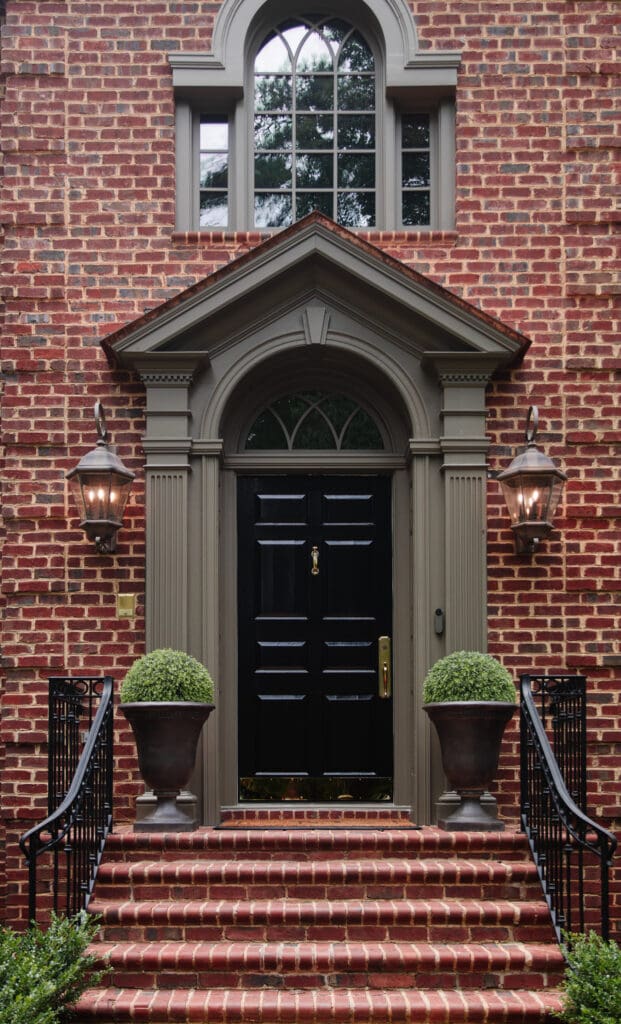
What do you think? What front doors are you currently inspired by when it comes to your home? Would love to know your thoughts, answer any questions, and hear what you plan to do if you’re gonna be tackling a front door in the future.
Ps. See how we chose our front door here, our front door hardware here and installing the door here.
WANT MORE? Follow CLJ on Instagram | Pinterest | Facebook | Podcast | Snapchat (juliamarcum)


Awesome results. We added a new wider wood front door and I had reservations about installing interior trim that didn’t match the other in the house. I actually installed the trim that matches and found it to be underwhelming. My wife found your article and I am in the process of changing it to match what you have done. Only making one change. I’m adding a plinth block at the bottom to help transition to the base board. I used 1×6 verticals and ripped the horizontal to 1×7. We have 6″ crown molding and I didn’t want to crowd it with the door trim. Our ceilings are 8′. Thank you for the inspiration.
What brand and model is the door? It looks great.
For your trim- did you measure for a reveal? I’m looking into doing this for our entry door but am worried about the hinges?
There’s not a lot of info for doing this style trim on an entrance door. Thanks for sharing yours it looks great!
Where did you order the front door? It’s beautiful
Check out this post for that info!
This will probably sound like a silly question, but has your front door held up well to the elements, like snow and freezing temperatures? I’m about to order from the website where you found your door – I was so relieved to find your posts about finding a front door that had some lovely character instead of settling for something less than thrilling. I can’t get over how terrible the choices are for basic, run-of-the-mill (read: not ultra expensive) front and back doors. Even listened for the first time to Young House Love’s podcast just to hear their take on finding those diamond paned doors. I’m nervous ordering a door online, but it seems to have worked out for you guys.
It’s been absolutely awesome.