You may have noticed (maybe not) that I’ve been dancing around a somewhat sore subject: the study. I’ve been sharing updates on Instagram, but it’s time I hop over here and fill in some of the gaps with a good old-fashioned long-format blog post. For over 14 years I’ve been documenting and sharing our home renovation journey in hopes of inspiring, educating, and maybe bringing some exposure to the reality of all sides, pretty and ugly. Spoiler alert: this is one of the ugly sides of home renovation, to the fault of no one. Sometimes, despite all expertise, precaution, and preparation, things go wrong, and you learn some things along the way. Well, we’ve learned a lot over the last few months; patience being at the top of the list. But we’ve also learned a thing or two about the temperament of working with high-gloss paint. Proceed with caution, and keep your arms and legs inside the ride at all times. This is going to get bumpy.
Shop The Study

Before I get into what actually went wrong with the study, I need to backtrack to January 2022, when we initially painted the study. We had just installed fresh wainscoting, which we painted a muddy olive, along with all of the trim. The joy was short-lived, as the paint color wasn’t exactly what I wanted with the mural wallpaper. Just three months later we repainted the study (ourselves!) a gray-blue color, which felt much more like us. It’s just paint! Nothing was wrong with the color, but a year later, we decided to add built ins and close in the room a little more, which would require repainting. Was I 100% all in on the light blue. No. I knew that. So we decided to paint the study for the third and final time. I took my sweet time selecting the perfect dark green paint color, and this time I wanted to use a high-gloss enamel paint–something we’ve never done before. Our contractor, whom we love and trust, lined up a painting crew, and once the built-ins and pocket doors were installed, everything was all taped off and ready to be painted.
To paint a better picture (pun intended), here’s a little timeline of what happened next 👇🏻.

A Warning About High-Gloss Paint
High gloss paint can be notoriously challenging to work with when painting a room. Its high sheen and reflective properties can accentuate imperfections and flaws, such as bumps, dents, or uneven textures. Our painters went above and beyond with the preparation work, including proper sanding, filling, and priming, before even getting near the paint sprayer. They did everything they should, including buffing between coats, and when they peeled off the tape and plastic to the masterpiece below, I was in love.

The finish was absolute perfection, and the coverage was flawless.

Bubble Light | Picture Light | Cabinet Bin Pulls | Cabinet Knobs
All except the bookshelves. In the picture below, you can see what I’m talking about. The inside shelves looked a bit textured and muddled, and despite my urge to move right in, and per the painter’s insistence, they needed one final coat.

This is where the project spirals out of hand and where I start to get sick to my stomach. If I could go back in time to this moment and advocate to leave the study as is, I would. Hands down. Hindsight–it will haunt you.
Sometimes things get worse before they get better
What happens next is what I chalk up to purely a communication issue. For spring break, we set off to Idaho with the understanding that, while we were gone, the painters would cover everything up and spray one final coat on the shelves. Rather than spraying just the built-ins, they sprayed everything, and suddenly the perfect paint job was uneven, textured, and muddled. I’m not sure if the phone picture fully portrays what I’m talking about, but in that reflective patch of light, you can see just how uneven and splotchy it is.

As heartbroken as I was, our painters were extremely committed to problem-solving and making it right on their own dollars. At this point, they wanted to take a step back and reevaluate the situation before moving forward, so we decided to make the most of it and move in anyways.

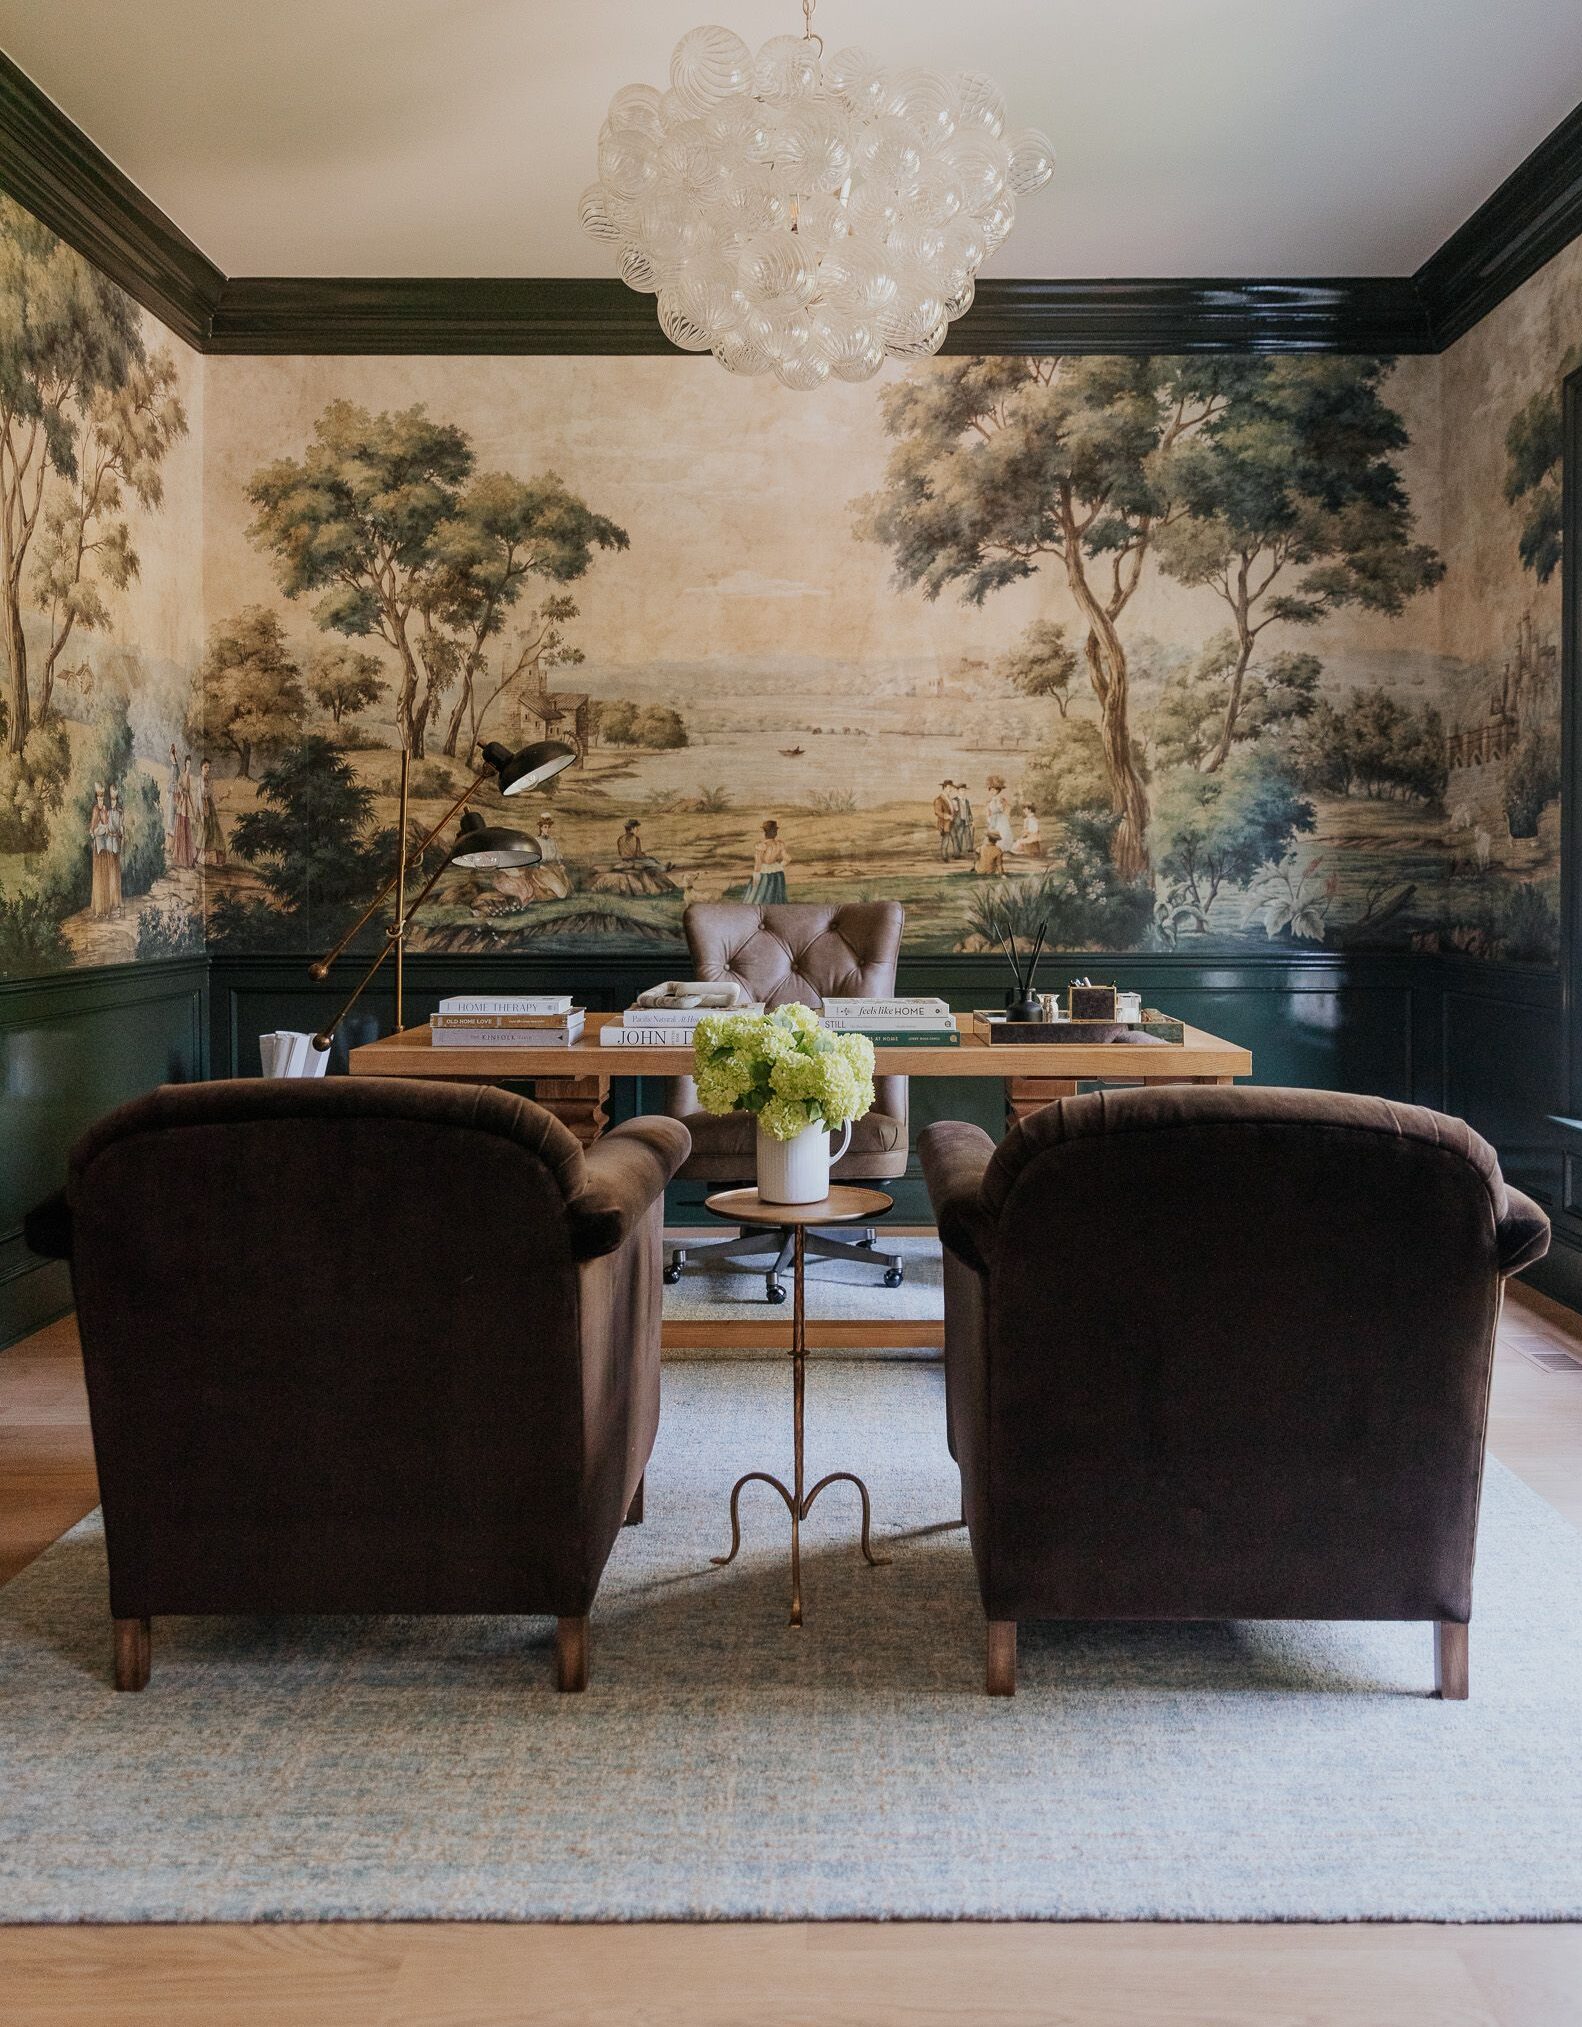
Shop The Desk Area
You can totally see the painting imperfections in this picture, but for me, it was important to move forward and just enjoy the room as much as possible amidst the discouraging renovation blunder. During this time, the painters came up with a few explanations as to what possibly went wrong.
- It was raining outside when they painted, and maybe the humidity had an impact on how the paint adhered to the walls.
- Maybe too much time passed between buffing and painting?
That second one doesn’t really make sense to me, but I think it could have been a humidity thing, especially since I have noticed our home does feel muggier inside when it rains. Well, the time came for them to try to make the wrong, right, and unfortunate things got even worse.
Paint drips galore

Does anybody else feel ill looking at this photo?? There were paint drips everywhere, and at this point, we just felt so completely defeated. What once was a nearly perfect paint job got so out of control, and now it feels nearly impossible to get back to where we want to be. Of course, it’s sickening to Chris and me, but I know our painters feel just as bad and are losing sleep over this whole project. We’re, of course, grateful to them for doing everything they can to correct the issue. They’re committed even when I have wanted to give up. Truly.
What’s next?
Moving forward, the painters have been spending the week sanding down all of the drip marks and imperfections. From there, we’re abandoning the previously used paint product and going with an oil-based paint called “Fine Paints of Europe,” color matched in the same Topsoil color. Since we’re switching to oil-based, they will first spray with an oil-based primer. They actually mentioned that they WON’T be spraying, but that this paint is best applied rolled and then back brushed. I’m really really excited about using this paint and feel optimistic.

We’ve talked about all the things that can derail a renovation, and I guess this is a reminder that even with years of experience under your belt, nothing’s ever really in your control, and home renovation is a rollercoaster full of ups and downs.
A few people have asked, “If it doesn’t go right this time, what will you do?” And I do think I would abandon the lacquer gloss altogether, but I really really think we’re going to get it this time.


Hello, sorry to hear about your painting nightmare. Your study looks very similar to ours, which was built and painted with Fine Paints of Europe 17 years ago. It’s fabulous, however a white chalky substance has appeared throughout the room. I wipe it off and it reappears 2 days later. I’m not sure if the pigment has just desinigrated. Just wondering how yours is holding up so far?
The european paint is wonderful paint! I you follow the directions exactly even warming and hand brushing it turns out Beautiful!!
If you want to use that paint call the company and ask if they have a Trained professional who the company trained. They do have people in the states that are trained by them
Your problem was in going with spray vs hand painting. Always hand brush paint woodwork.
What a nightmare! So sorry this happened to you. It is 1000% the painters fault. So many of them say “Zaire, I can do that”… when they really have no idea. I gather you are an amateur decorator, so you probably don’t know that all those gorgeous glossy finishes you see in design spreads are ALWAYS done by our decorative painters- NOT the regular painters. It is an art, not a skill. I recommend you stop trying to make it work with your painter and find a decorative painter in your area, or just fly one in, as you have learned- it is worth it to pay for the expert. Good luck to you!
Oh MAN! What a bummer! But also- great customer service from the paint company that they’re in this with you and you’re not trying to fix it and fight with them! Fingers crossed that this time it looks fabulous!