Last night we hung the shelves in the reading room and the design that has been in our minds finally came to fruition. From this:

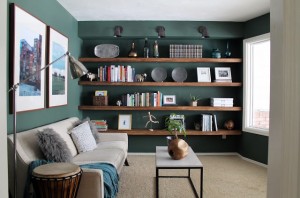
To this:
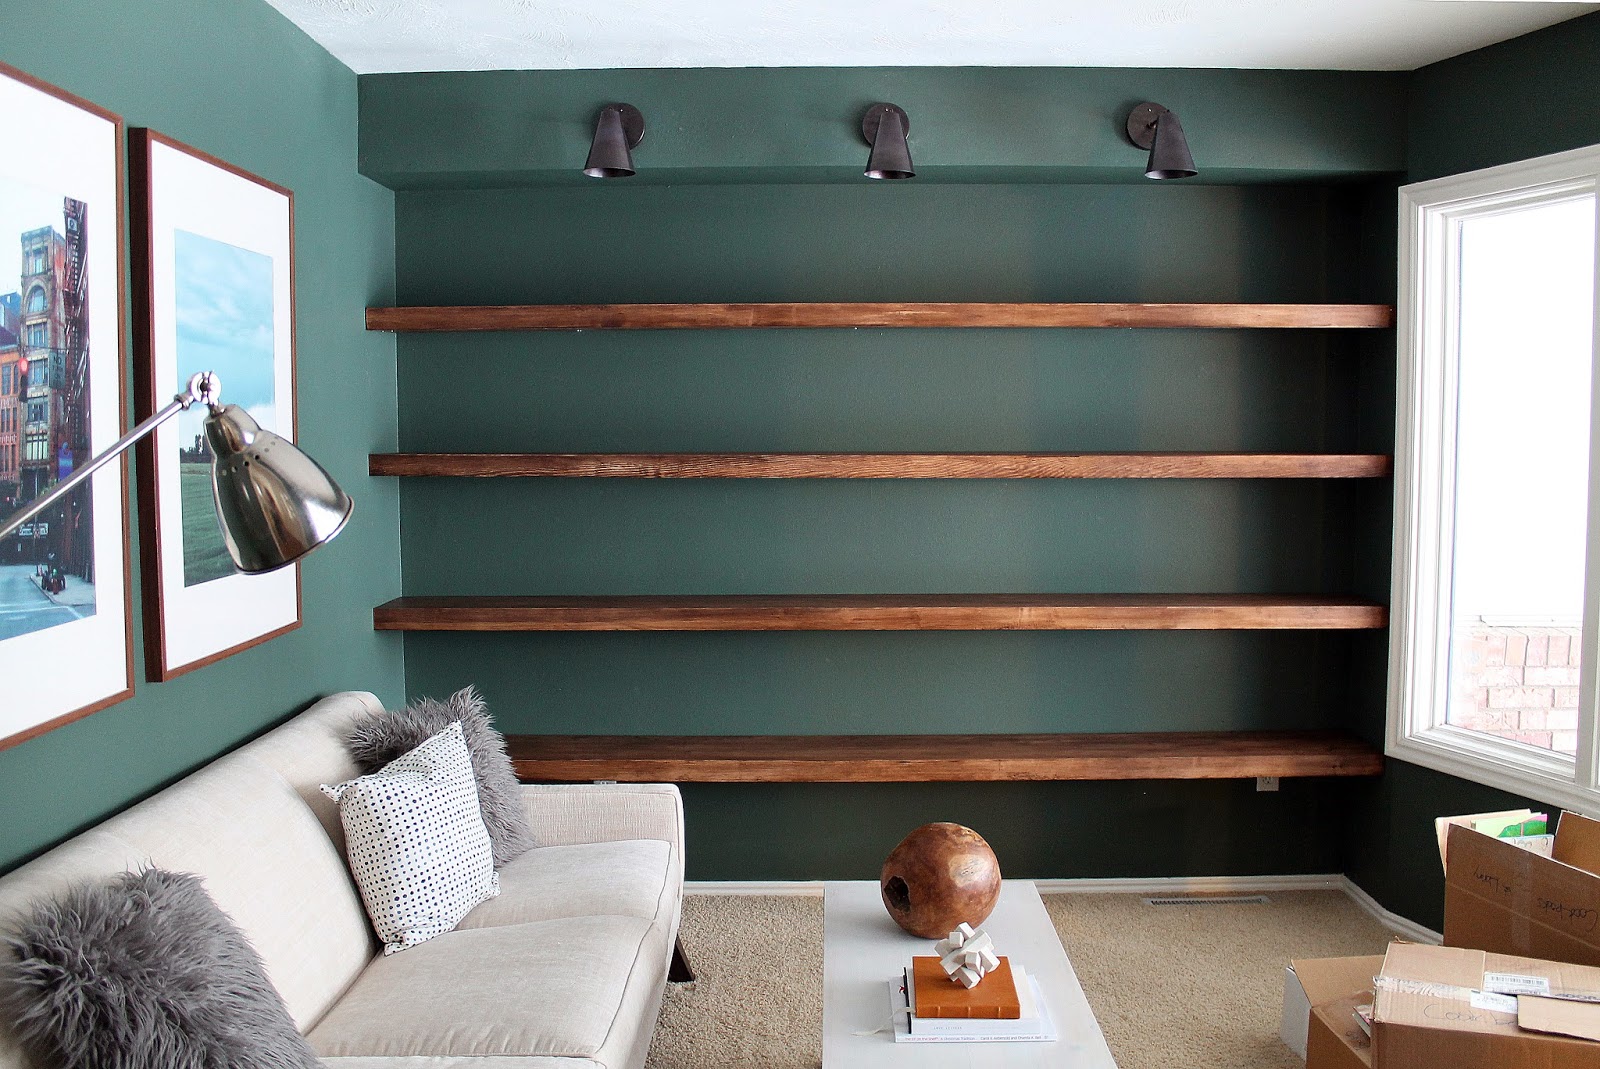
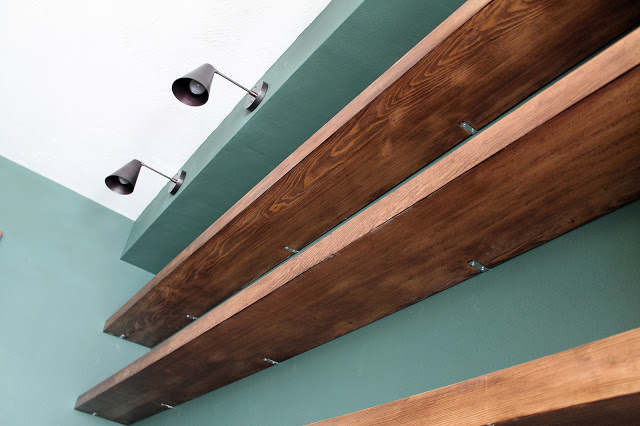
We really wanted wall-to-wall thicker solid wood shelves that maybe looked like they were floating, but not necessarily are–since you can’t very easily achieve that with solid wood. We are so pleased with the results! Of course, now we can fill them up with books and some accessories, but before we do that we wanted to give you a full breakdown of what we used and what we did in case you wanted to do something similar in your home. And why wouldn’t you!?
What We Used:
4–10 3/4″ deep x 2 1/2″ thick x 10′ long boards of Douglas Fir. (We special ordered these from our local lumber yard for $33 each)
100 grit sandpaper
Minwax Gel Stain in Walnut
Satin Polycrylic
20–2″x5/8″inside corner brackets
40–2″screws
40–3/4″ screws (came with the inside corner braces we bought from Ace)
16–heavy duty anchors
Miter Saw
Palm sander
Router
DeWalt impact driver
Level
Stud Finder
Hammer
Philips screwdriver
Pencil
What We Did:
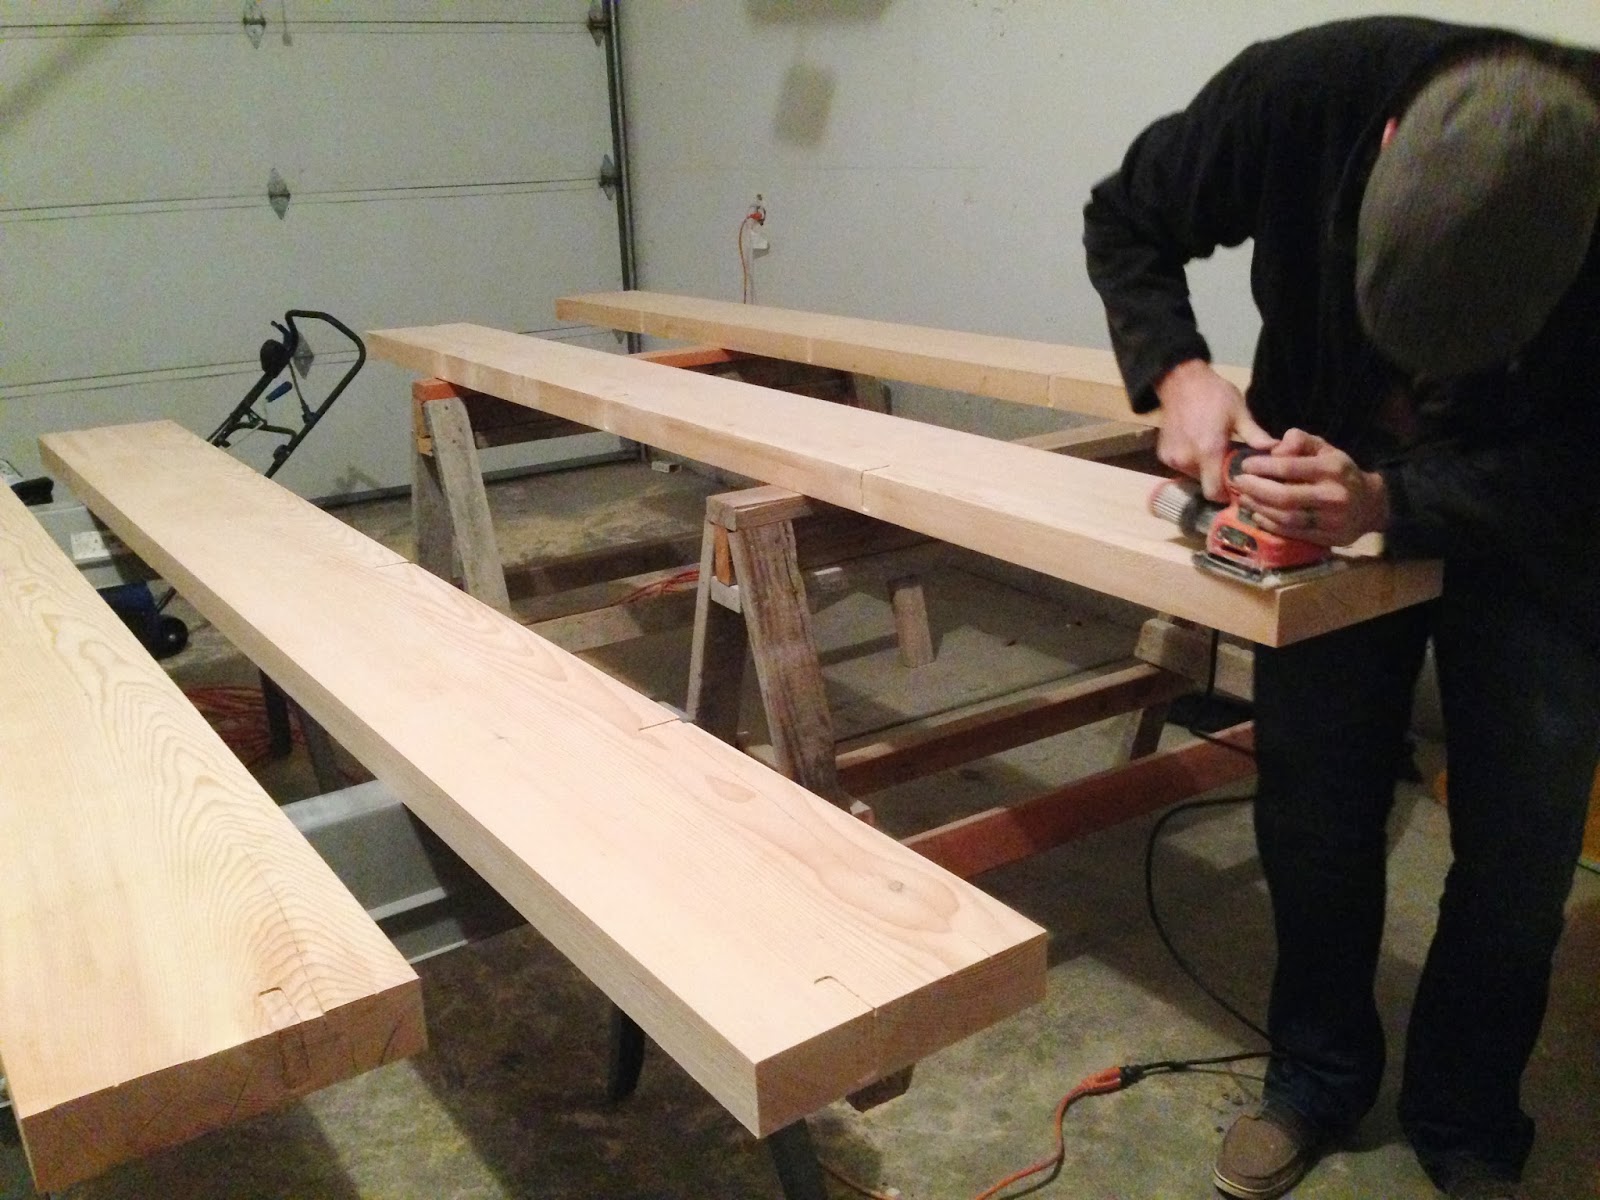
We special ordered the boards because we wanted them a little thicker, and we wanted squared edges. We were pleasantly surprised at how inexpensive they were. Even still, the ends were a little rough and uneven, which we expected, so the first step was to square the edges and cut them to fit on the wall exactly. For this, we used a miter saw. The blade wasn’t big enough to cut through the whole board (wah wahhh), so Chris cut half, flipped the board, lined up the blade with the first cut, and finished cutting through.
Even though we wanted the shelves to look like they were floating (ie, no visible brackets), we knew that would be difficult to achieve with the size of boards we were dealing with. The boards were really heavy. So we picked up these 2 inch metal angle brackets. These worked perfect, because they were short enough to hide behind the 2.5 inch boards, but strong enough to hold the weight without bending. Something this short wouldn’t work if just holding from the back wall, but since we were putting the shelves wall-to-wall, we could have one bracket on each end to prevent the boards from sagging forward. So after cutting the boards to size, we measured the wall and found 3 somewhat evenly-spaced studs that we could connect the brackets straight into. Unfortunately, there weren’t any studs where we needed them to be on the sides, so we found some heavy-duty wall anchors, each rated to hold up to 75 pounds. We would have two anchors supporting each side bracket (a total of 4 anchors in the 2 side brackets for each board), and coupled with the back-wall brackets mounted directly to the studs, this would give us plenty of support.
After taking the measurements and deciding where the brackets would mount on the back wall, we marked these locations on our boards and routed spaces out so the brackets could set inside the boards, making them flush and less visible. You need to take the measuring part of this step serious, because the brackets are hung on the wall before you place the shelves. This means your routed out spaces need to match perfectly with where the brackets are mounted. We’ve all heard the advice to “measure twice, cut once.” Well with this, measure 5 or 6 times, pray like mad, and then cut.
After deciding the best way to stain the boards (you can read about that here), we sanded them smooth with a palm sander, equipped with 100 grit sandpaper–being careful not to over-sand, because that can impact Douglas Fir’s ability to accept stain. So we took our time to get it right.
The gel stain we mentioned earlier this week worked perfectly. We spread it on nice and thick, wiped it off with rags and paper towels, and let each coat cry for 8 hours. We did two coats of stain, plus a layer of water-based satin polycrylic–which gives off a nice low-lustre sheen. Nothing too shiny, just protects.

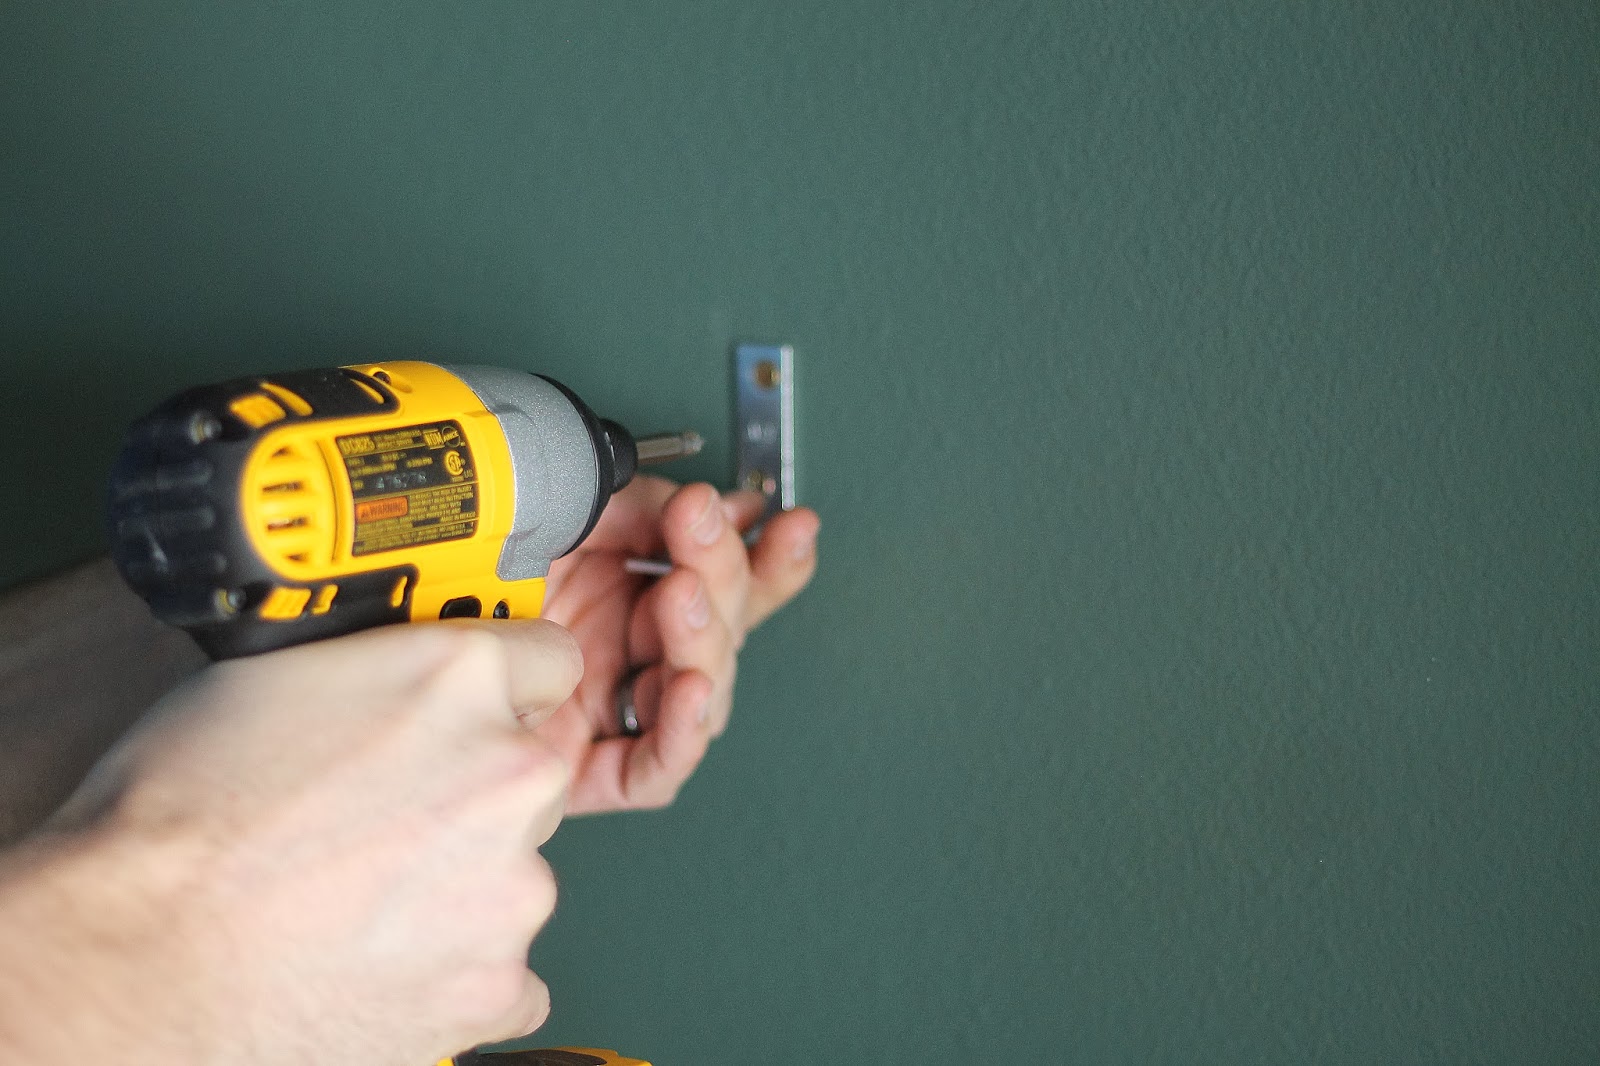
Once the shelves were cut, sanded, routed, stained and sealed, we only needed to get them mounted. Our friends at Ace Hardware sent over a heavy duty 18V DeWalt Impact driver for us to try out. We weren’t sure what to expect when comparing it to our standard drill that we’ve been using for the past three years, but, well, have you ever used an impact driver? We were dealing with solid wood and studs and it was like butter. In fact, the first stud Chris drove a bracket into, he thought he missed the stud! It was effortless. We are working on putting together a giveaway with Ace Hardware because these are one of those game-changer tools we can’t imagine living without. Stay tuned. It’s good.
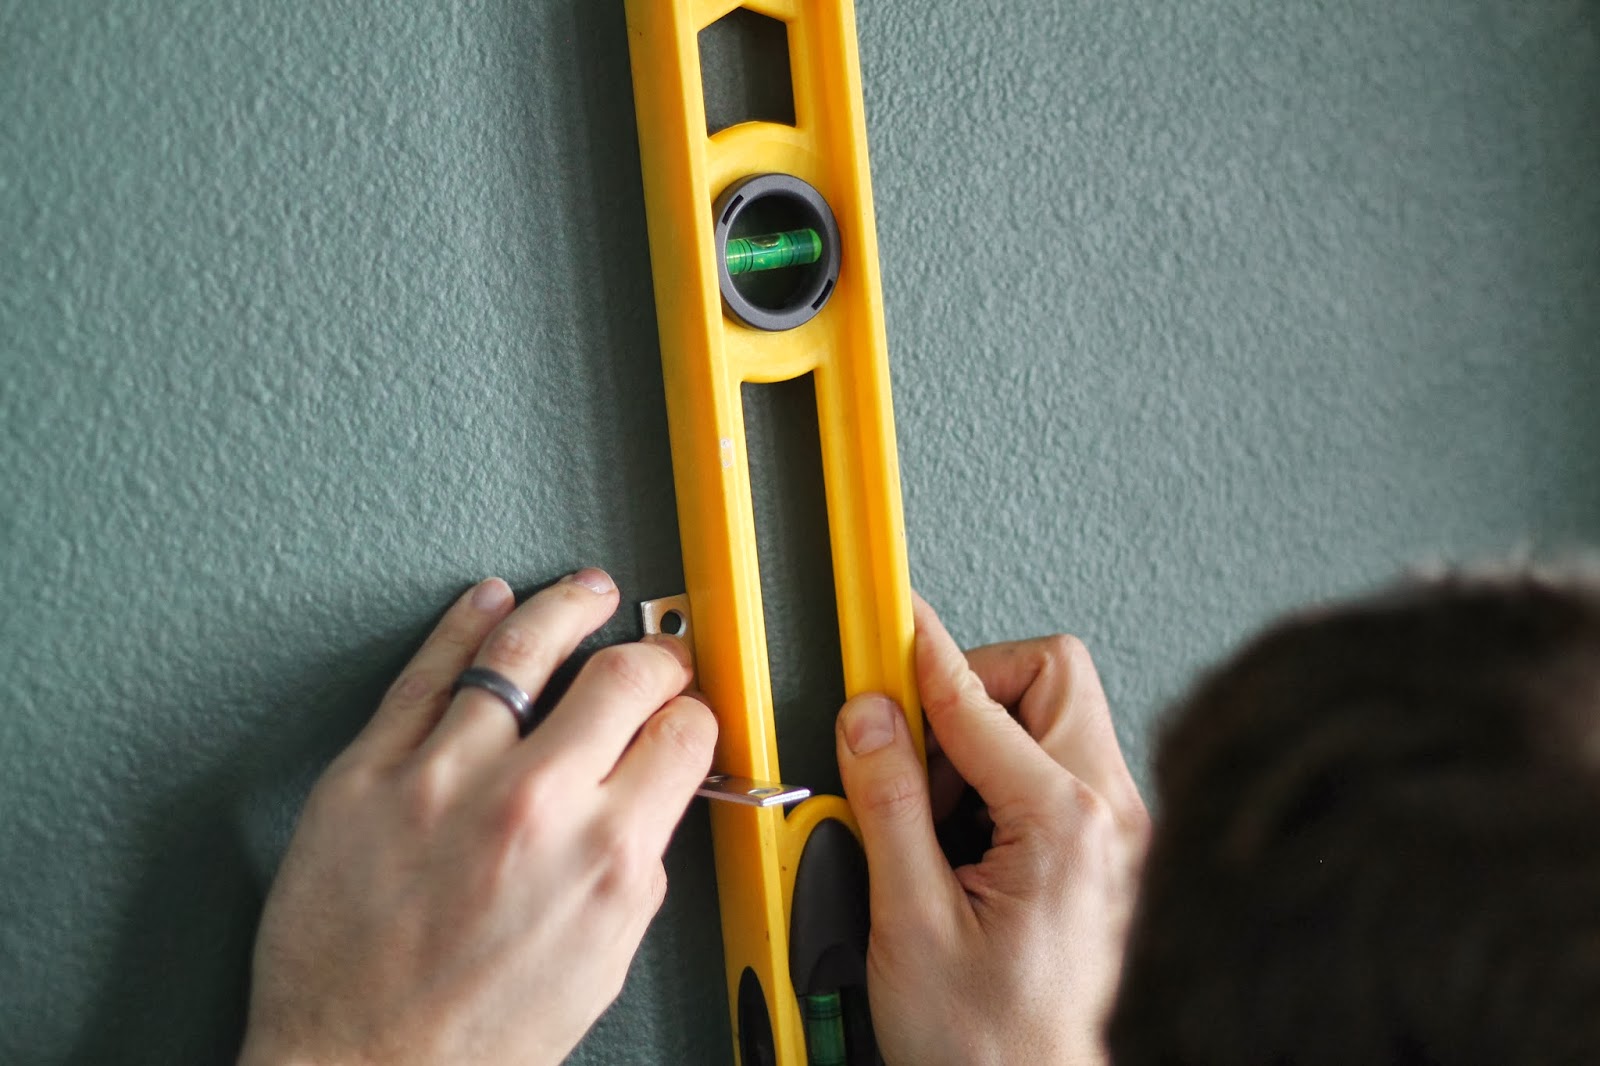 |
| Making sure the brackets were level on the wall |
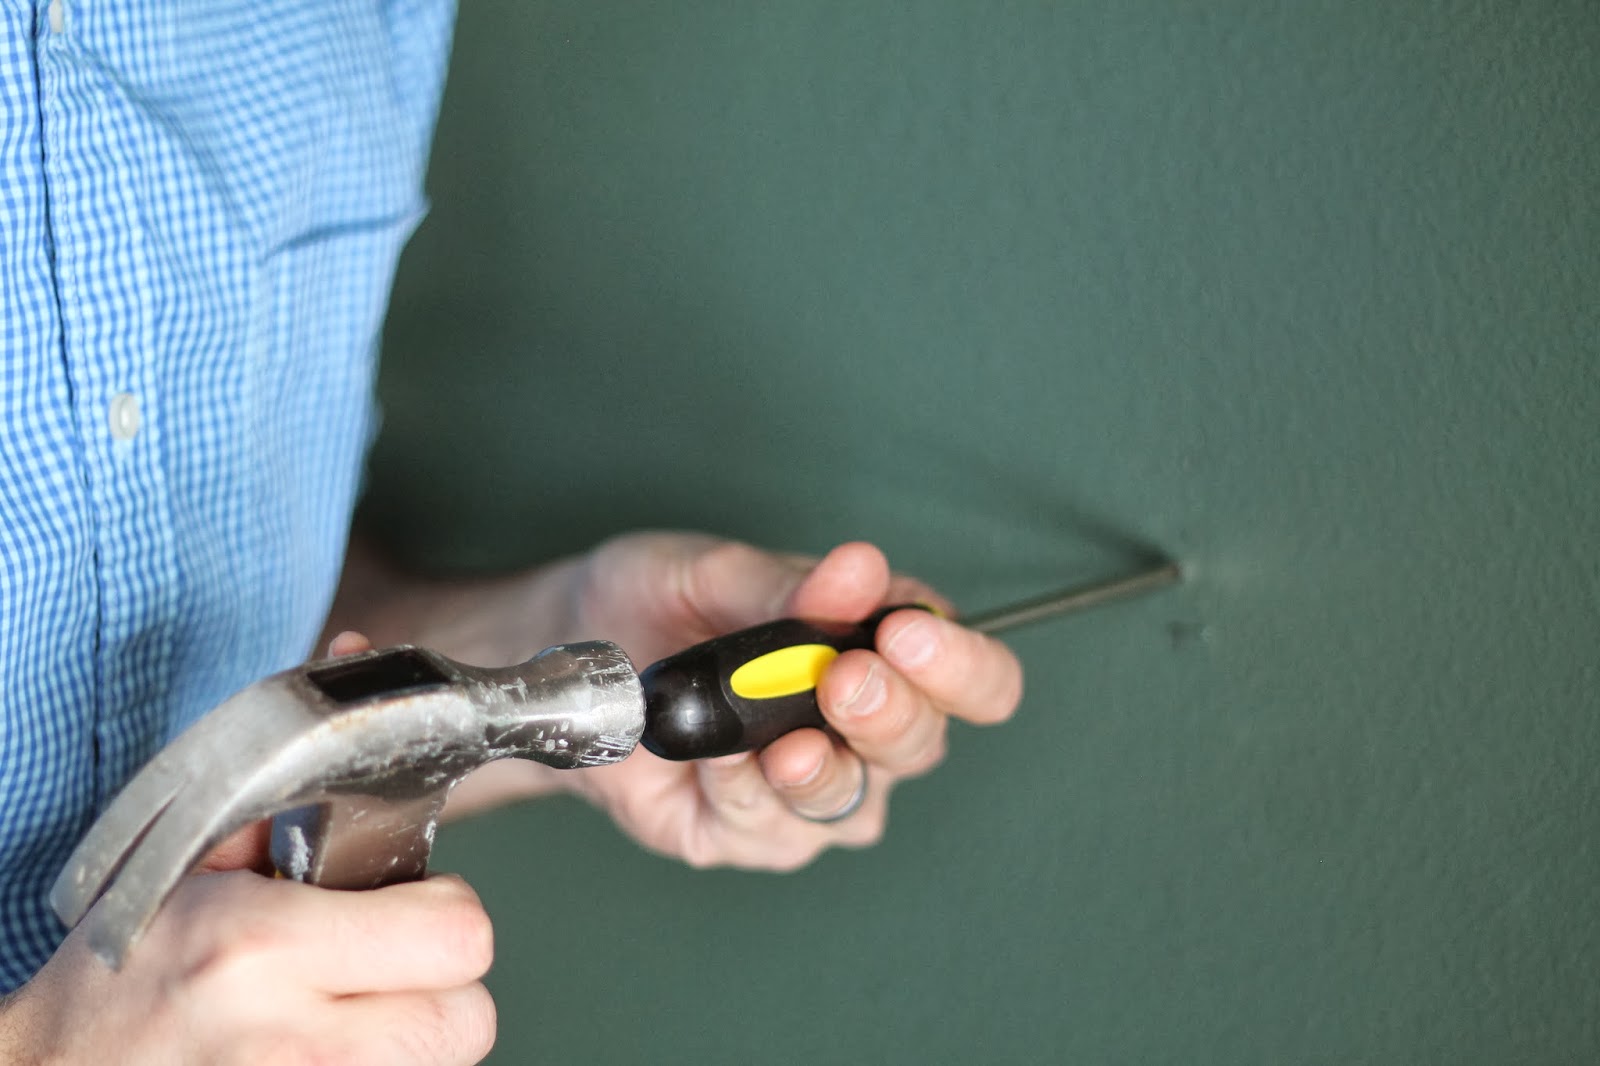 |
| We learned this trick from our friend, Preston. Hammer a phillips screwdriver (or nail) just once before drilling a screw so it doesn’t wobble when driving |
Anyway, back to it. We measured the predetermined locations for the brackets several times, drew lines, and mounted them with 2″ screws. The new driver worked perfectly and the brackets were solid. But the big unknown was if the brackets would line up with the routed slots in the shelves. We grabbed the boards, lifted them up…

held our collective breath, and…

They matched up. Perfectly. Cue sigh of relief. The hard part was over. The shelves were level. The last step was just driving 3/4″ screws into the underside of the shelves to secure them in place. And then stand back and pat ourselves on the back.
We have spent every other minute, just sitting on the couch looking at our pretty, empty shelves. But this weekend we can’t wait to load them up and wrap this room up–for now. Happy Weekend to all of you!
To read more about the transformation of our reading room, click here.
We are one of the 8 bloggers on the Ace Blogger Panel and this post was in collaboration with Ace Hardware. They sent us the impact driver to try and review and we’re currently working on a giveaway for all of you (as soon as it gets back in stock!). All opinions and words are our own. Promise.


Shelves are beautiful and appreciate detailed instructions as well as details in materials used and pricing. I am however curious if you have any suggestions for shelves that would not butt up against wall on just one end. Also curious as to the weight capacity for the shelves you installed in your reading room.
Thank you for any suggestions or advice you may have.
This looks fantastic! I’m in the middle of doing something similar. I’m curious how you did the top part with the lights to make the shelves looked recessed. From the before picture it looks like the wall was flush before.
Hi, My husband and I love this design and home projects! So fun!
We’re very curious about the lighting portion you put in near the ceiling and how that worked. Are there any other articles that detail that process?
Thanks!
Ashley
I love these shelves and would love to do this for our home office, but did you find those brackets to be enough? This will be where all of our books go, we have a LOT, and I am wondering if those tiny brackets stood the test of time?
they did!
Hi!
I was wondering if you had a paint code for the color of your walls?
Thanks!
Hi! I don’t have the code, but it was Clark+Kensington Pine Grove.