This is not a reveal post. We did that yesterday. But I couldn’t wait another day to update you on the staircase and herringbone floor progress. Remember when it looked like this??
Before
I redesigned this entire staircase and entry before we moved and shared all about that process here. And it looked like this when we moved in:
Progress

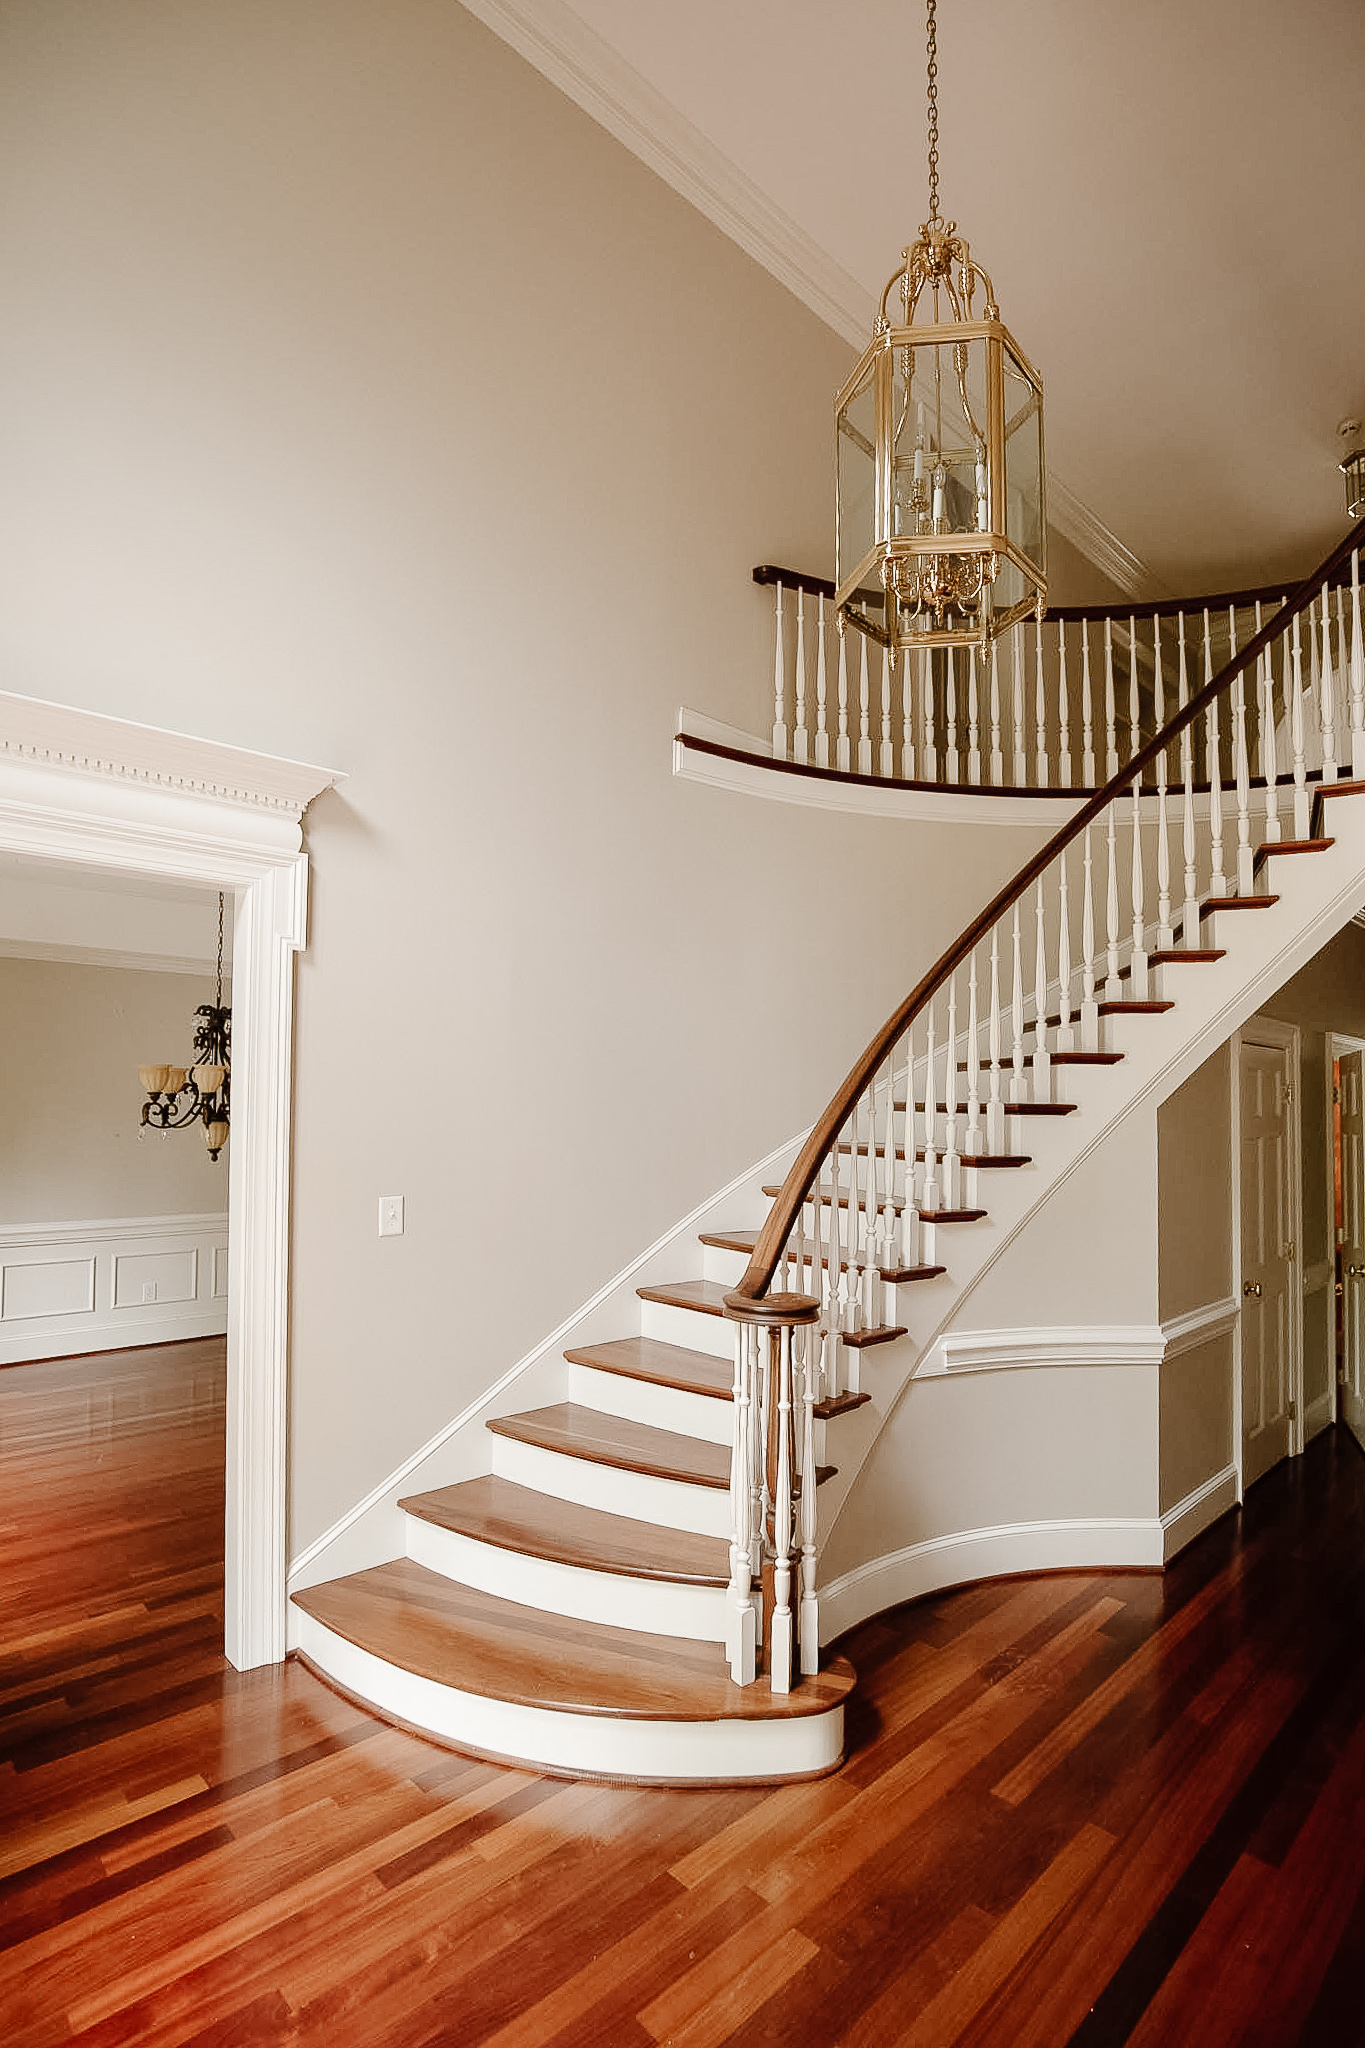
And today it looks like this:
Today

We’ve come so far and I’m so incredibly happy with how it’s coming together. Just last week we shared a list of 7 renovation projects we’re finishing before the end of the year and at the top of that list? Finish the front entry. Is today the day? Nearly. Of course you can see there’s plenty of touching up and painting, and trim work that needs to be done, but I’m calling this a win today. We do have a few tweaks.
One minor error
There’s one minor error we’re having fixed with the stairs. It’s a classic case of which comes first, chicken or egg? The herringbone floors couldn’t be installed until the front step was in. They needed to know where to start and stop the floors. especially since there was a curved border around the bottom step. The stair guy needed to know where the floors would be in order to make the bottom step flush to the floor though… I realized once the floors were getting finished that ohmygosh they’re planning on putting shoe molding trim to fill in that gap.

This is not what I had envisioned at all. I really wanted the bottom riser to be flush with the floor. Clean lines please.
In our original designs, we sent along inspiration photos you can check out in this post here. I didn’t include anything with shoe moulding at the bottom, however I didn’t specifically say I don’t want trim at the bottom.
It’s kind of a tricky thing because there were so many different contractors working on their different projects and it comes down to a little communication error. No problem, and our contractor came up with a simple solution. Simply add a wood veneer on the face of the front tread to jut it out and down. So that’s why the bottom riser isn’t sealed right now.

The other little fix we’re making is switching out the wood plugs at the bottom of the newel post. They’re necessary in keeping it reinforced, but I’d like them to match the wood tone more.
It’s honestly a mix of emotions. Just a few days ago the staircase and herringbone floor was covered in wood filler and I could hardly picture what the end result would be. To see it all finished and especially comparing it with the herringbone inspo photos I shared in this post, I’m over the moon.

The gap and the plugs were honestly the only disappointment. Can’t wait to update you on those with time!
The other big change still to come?
I’m 99.5% sure we’re painting the balusters black. Tricorn black to be specific. I thought white would do it for me, but I firmly believe every space needs a touch of black and this would be the perfect place for that. I also keep thinking back to the stair railings in our last house. We swapped out the balusters and painted them and the railings black. I’m not over it. Note: We’re keeping the wood railing to match the stairs and floor to be clear, but don’t you agree we should paint the balusters black??
Mockup of the black balusters


Still to be done:
- walls will be white
- stringers will be white (refer to this post to reference all the stair parts)
- Gonna add a lot of trim here too.
Here’s another photo for your viewing pleasure. Walking down these stairs feels like such an experience. Now imagine all those balusters painted black (insert heart eyes emoji). Tell me what you think of the staircase and herringbone combo in the comments!!


What type of floor is this and what stain did you use?
They’re 5″ white oak floors with Duraseal Weathered Oak Quick Coat Stain (2 coats!), finished with Bona Traffic HD Satin.
The herringbone floors look amazing. What were the length and width of the boards that you used for the herringbone floor? Did you use the same width planks throughout the rest of the home?
The planks are 25×5 for the herringbone, and the rest of the floors are varied sizes.
So funny! I always pick black! I love black!! I have black accents everywhere in my house but for some reason.. here I say white. Honestly I don’t think you could go wrong either way but I do like the bright airy-ness of the white.
Team white for the balusters, but I like one reader’s suggestion to finish the walls etc before going black since painting over the black would not be fun. Maybe even finish the kitchen and music room unless you’re pretty set on a version of white walls there too. I would go with a black front door for a touch of black in the entry. But only commenting since you asked….you do you, and you’ll love it!
I’ve just completed gutting/renovating my city home of 30 years (I also added a 3rd story). My new floors are 5″ white oak (with a finish that maintains the original color), and the stairway choices are the same as yours. Black ballusters were a must from the start!