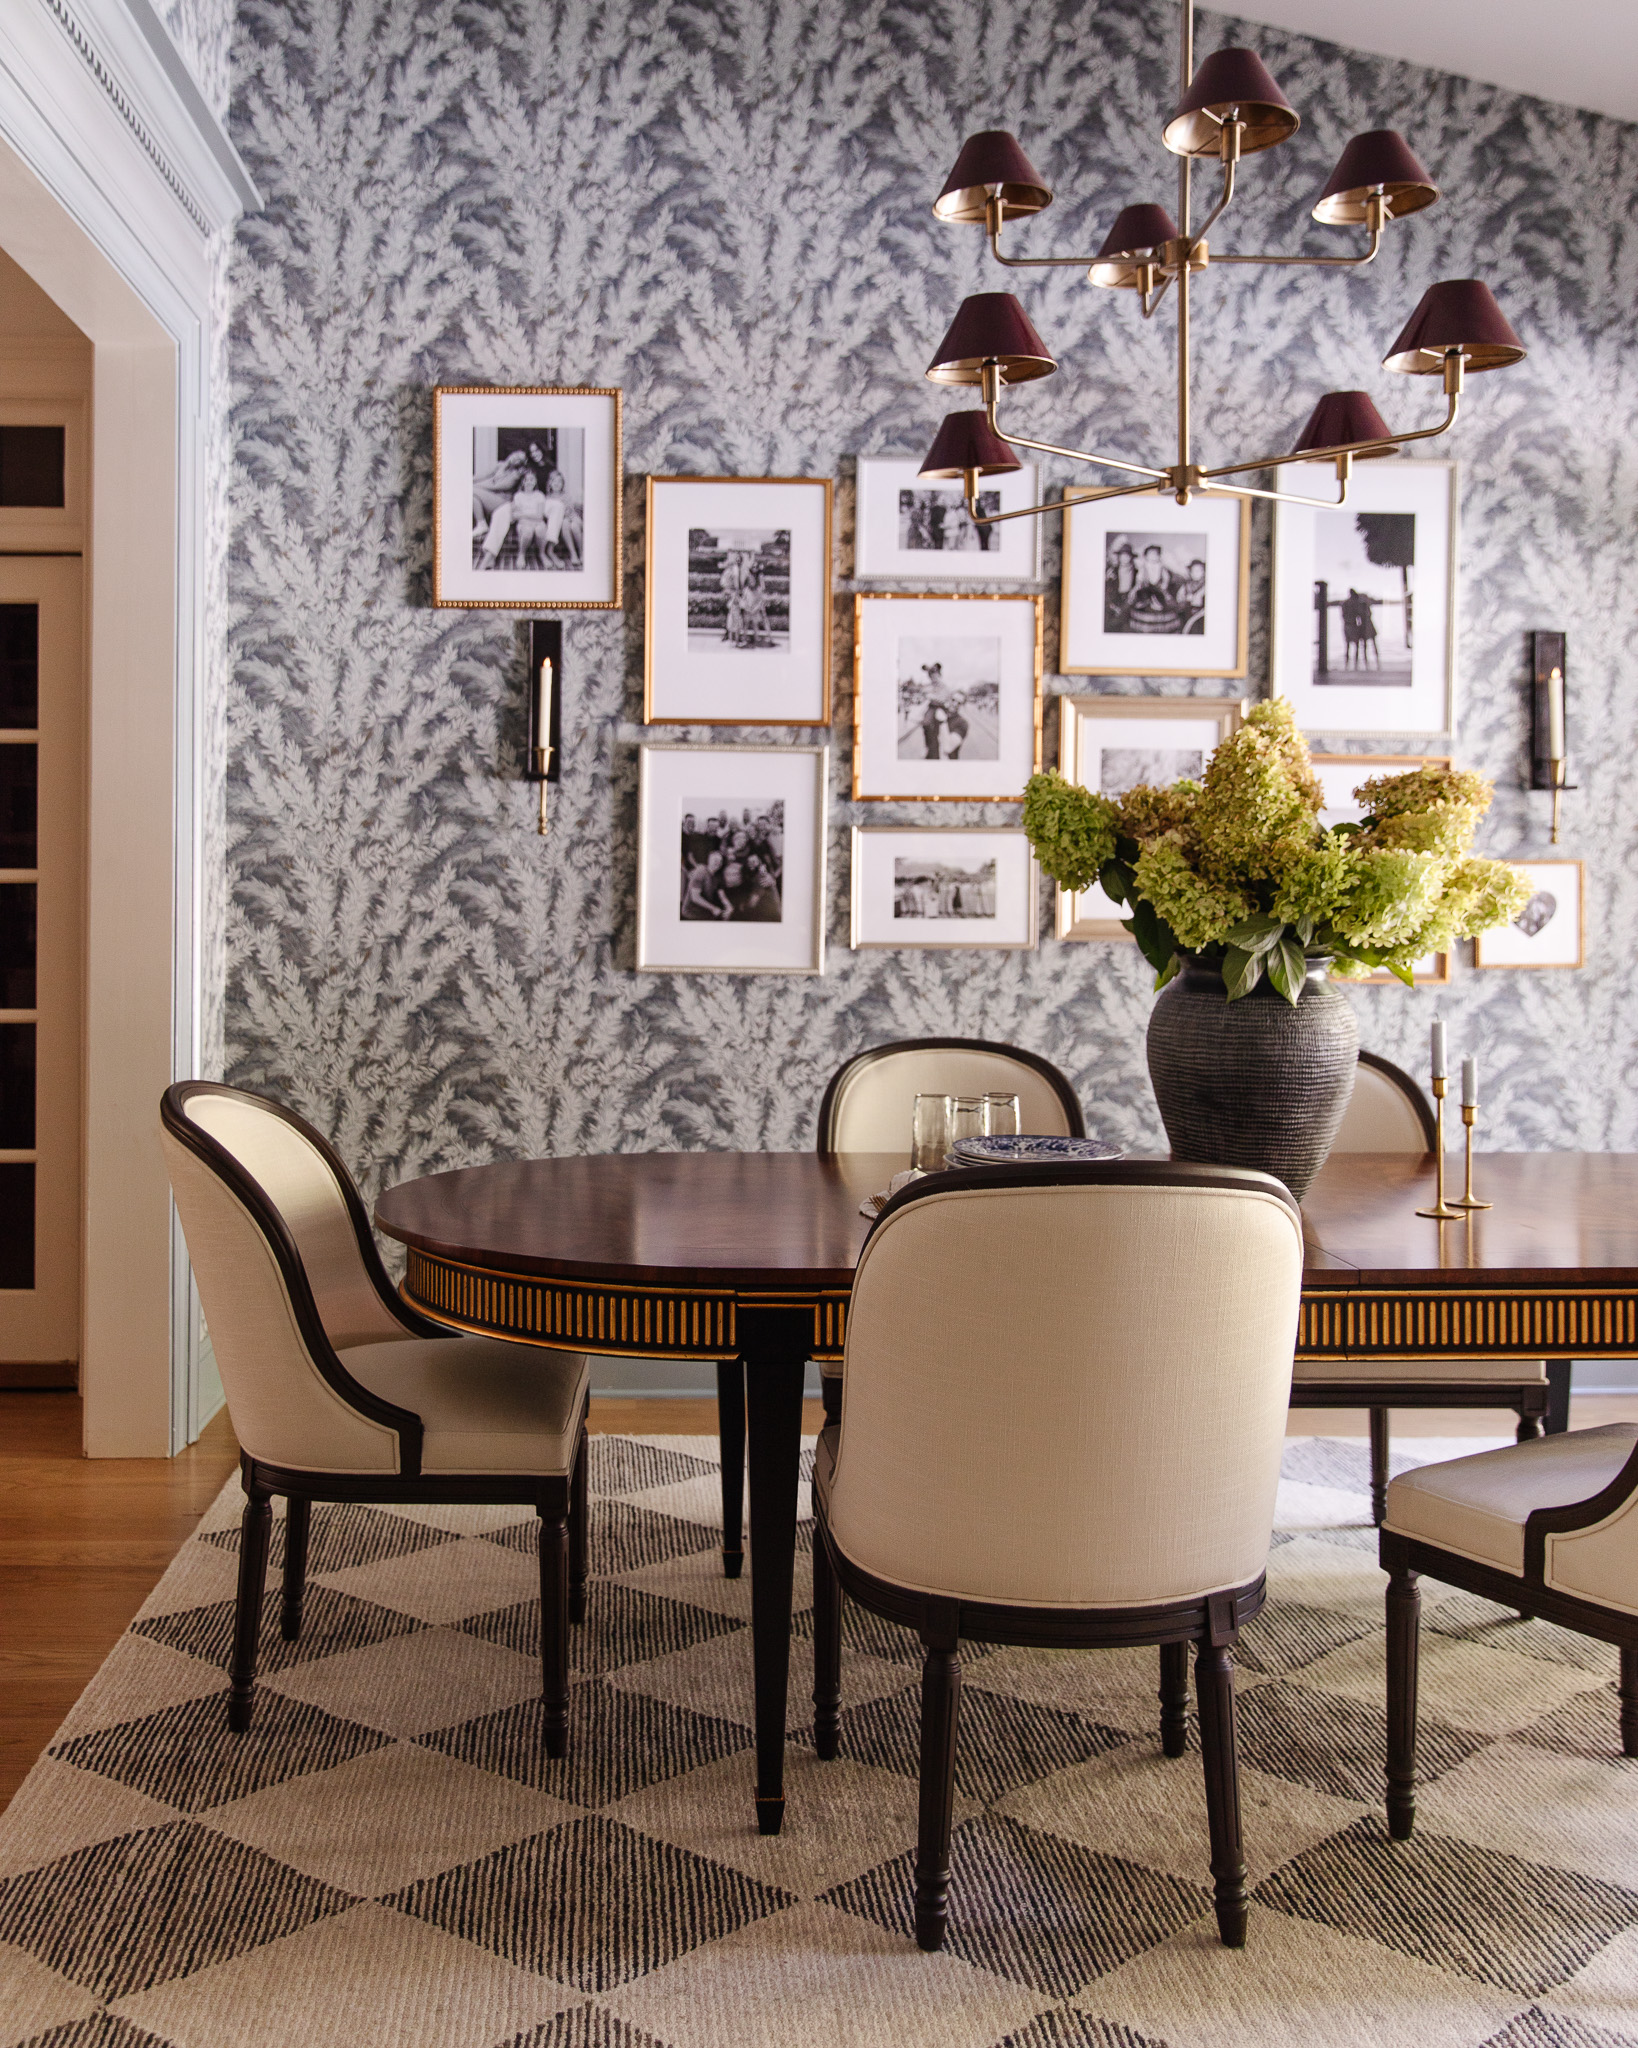
Back in March, we built a fauxdenza in the dining room and it has been a wonderful, budget-friendly way to get a lot of storage for not a lot of money. It’s called a “fauxdenza” because although it looks like a credenza (or sideboard), it’s actually made with upper kitchen cabinets! It’s an easy DIY that we’ve done a few times over the past decade (catch our initial tutorial way back in 2012 here! we used a similar technique building the entertainment center in our last house here).
The reason we haven’t shared this one yet? It’s not completely done. We had to do a storage DIY for a commercial and had just a couple days notice so while it was easy to whip out on camera, we always meant to circle back and tweak some things. That being said, I’ve been getting so many questions about it, so I thought it would be best to share what we’ve done so far and what we’d still like to do.

(All dining room sources listed at the bottom of the post!!)
We turned to our beloved Fauxdenza once again because we really wanted a large sideboard in the dining room to store all of our entertaining dishes, but finding something larger that 10′ was impossible and/or $$$$$. This project provided over 12 feet of storage for around $500. Here’s how we did it!
DIY A Fauxdenza with Upper Cabinets
1. Assemble the Cabinets
For this project we used IKEA SEKTION wall cabinets (upper kitchen cabinets). For the spacing we wanted it worked out best to do five 30x15x30in boxes, with the standard doors.

The cabinets go together super fast and assembling them is still the most time-consuming part of the whole project. By purchasing the upper cabinets from Ikea, they will come with mounting bars that attach to the studs in the wall for easy mounting.

2. Install the Mounting Bars
The mounting bars essentially allow the cabinets to hang securely from the wall so you don’t have to screw in each cabinet to the wall–you just attach the mounting bar into studs and hang the cabinets from it. Installing the mounting bars are really straight forward. Once you measure for the height you want your credenza to be (we mounted ours right above our 8″ baseboards so they sit just above 38″ high), make a line along the wall where the top of the bar will hit (keeping in mind that the top of the bar sits lower than the top of the cabinet box. There’s a little over a 1in difference–measure!). Use a stud finder to mark the studs, and mount the bars directly to the studs.
(Little peak at the crew filming the process. No pressure, Chris!)

3. Hang the Cabinets and Secure Them Together
The cabinets slip right onto the mounting bar. Slide them into place so they fit tightly together. You’ll then use the included screws to attach the cabinets to one another so they don’t separate, and lock the hanging brackets in place with the included bracket clips (little gray plastic things that keep the cabinet from sliding along the mounting bar).


Attach the Cover Panels and Countertop
IKEA offers matching cover panels for each of their cabinet door finishes. We bought two, one for each end, and secured them with wood glue and 1in pin nails from the inside of the cabinet (so the nail holes weren’t visible). We were in a bit of a pinch on countertop, so we found a large, dark cover panel in the IKEA as-is section and cut it to size. Unfortunately it wasn’t long enough so we were left with a gap (and melamine doesn’t cut super well with a table saw, so it chipped like crazy). But this countertop is temporary, while we figure out what we want long-term. I’m thinking a stone countertop would be so pretty!
In the photo below, you can see where the very obvious seam is.

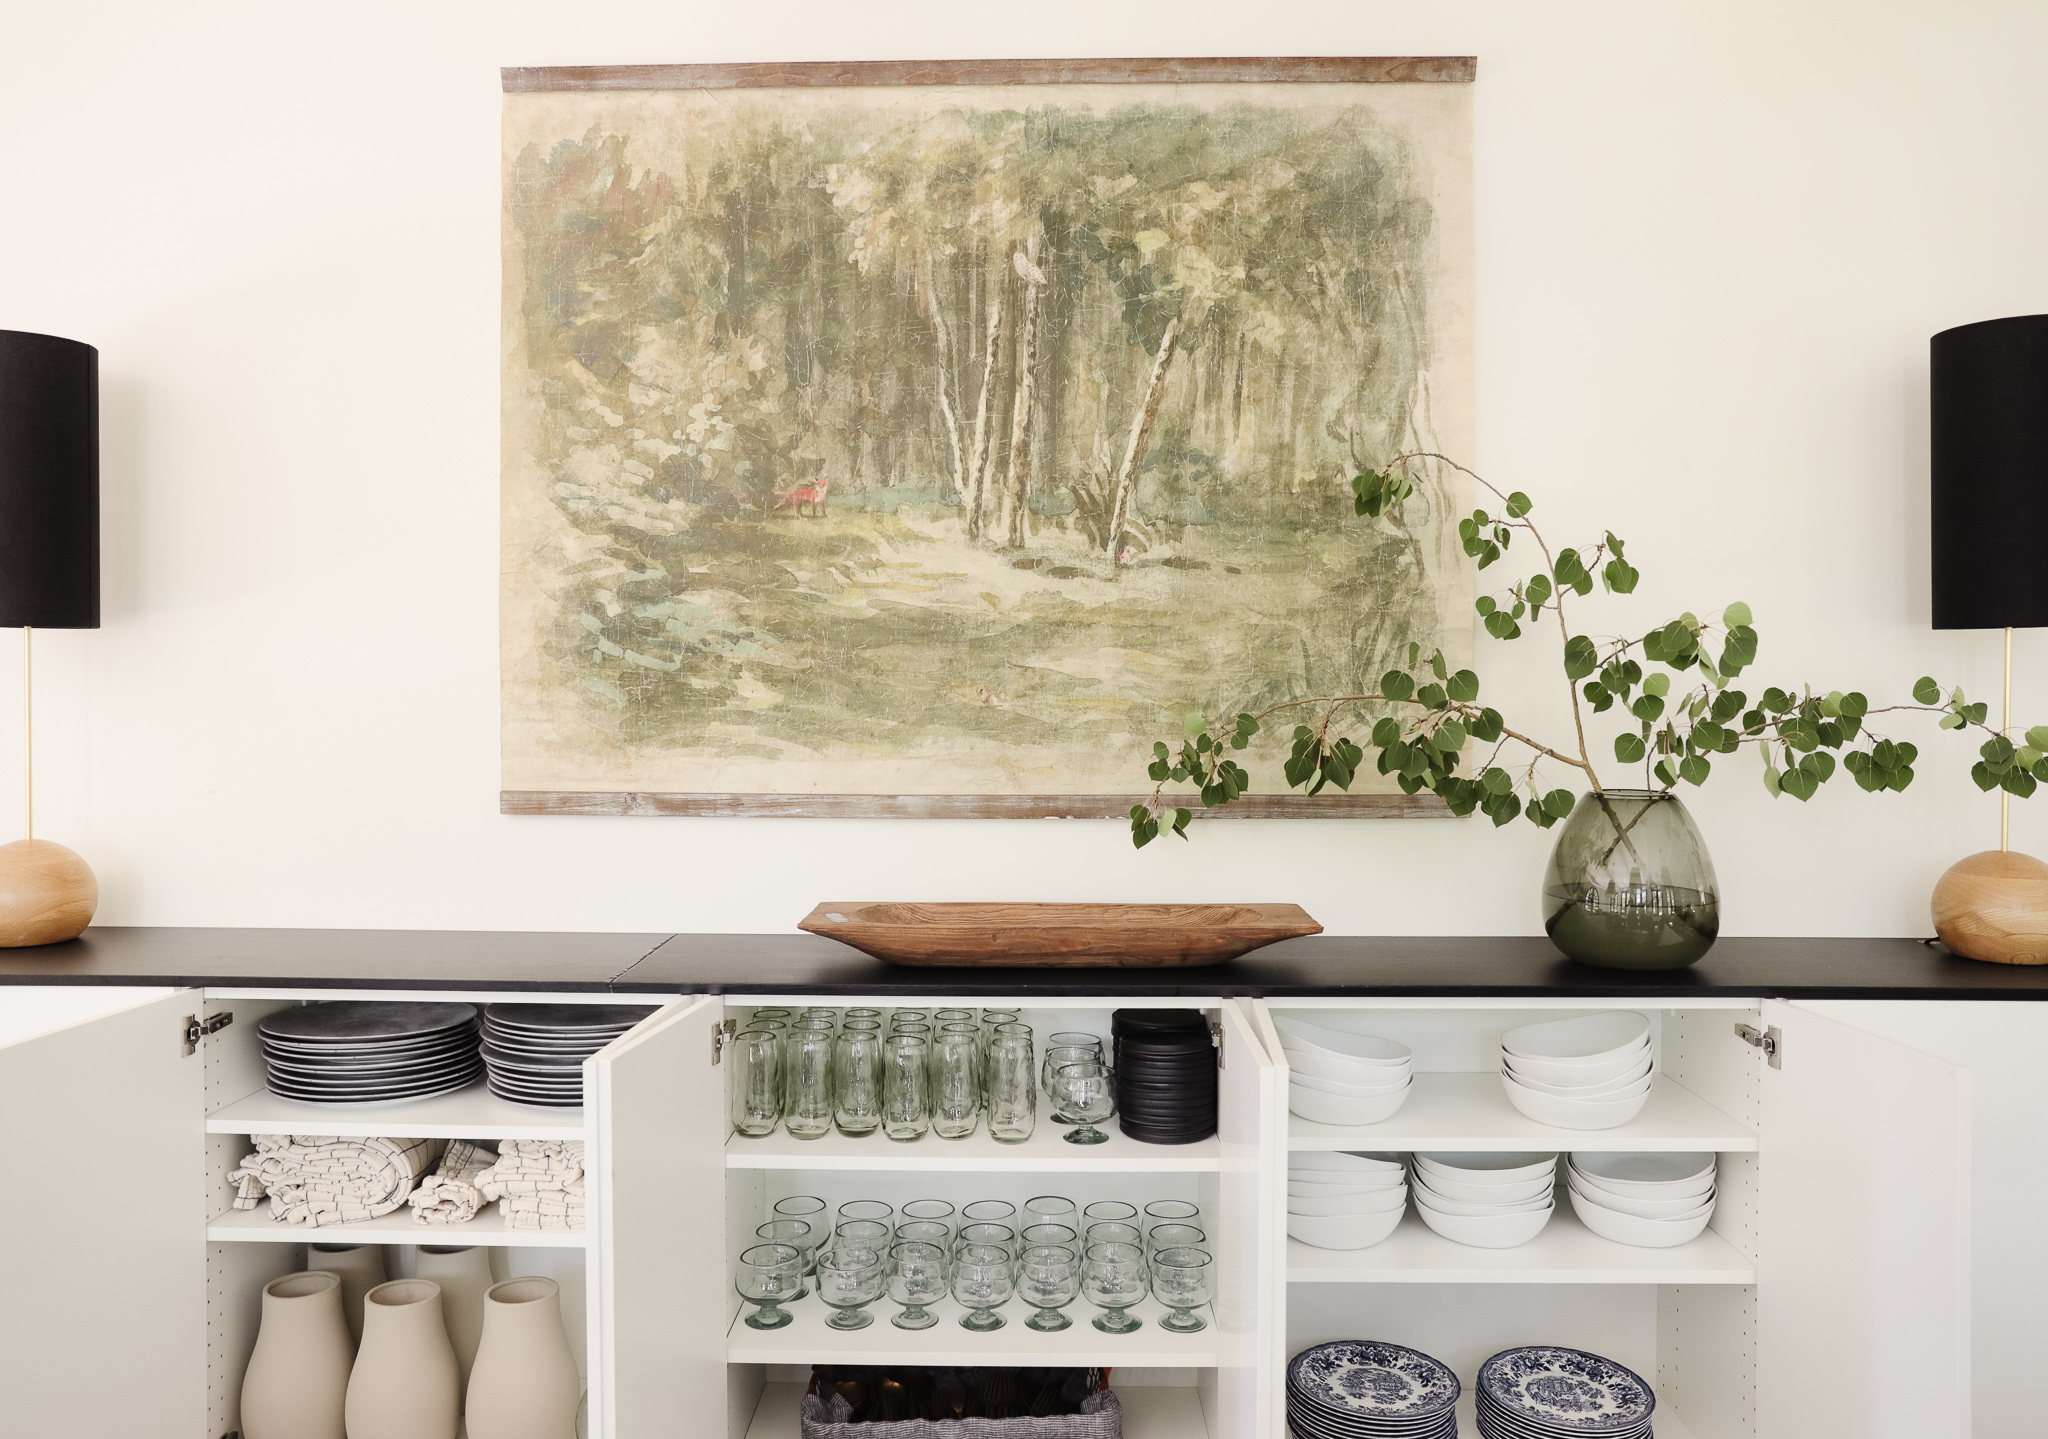
Besides the countertop, I’ve also considered using Semihandmade’s door fronts to amp up the whole look a little more and we still need hardware, too. But despite not being completely done aesthetically, it has been a WORK HORSE functionally. It stores all of our dishes, napkins, vases, candesticks, flatware, etc. we use for entertaining and it’s so nice when I do set the table to be able to pull right from here.


Whenever those things do happen, of course we’ll update you, but why does it feel like every project takes 6 months to a year now?!
DINING ROOM SOURCES
Wall Color: Alabaster by Sherwin Williams
Trim Color: Accessible Beige by Sherwin Williams
Doors: Pella
Floors (Dark: Neuro, Light: Magnifica Calacatta Oro)
Table
Chairs
Pendant Lights
Sconces
Credenza (see above)
White Vase
Faux Stems
Tapestry
Buffet Lamps
Smoked Glass Vase
Fiddle Leaf
Candlesticks
Wood Salad Bowl
Chargers
Plates
Appetizer Plates
Bowls
Silverware
Glasses
Napkins

Hi- What are the end pieces covering? The pictures on Ikea look like the cabinet has a finished side, but you note that you added cover panels. Thanks!
Also would like to know what panels you used. It doesn’t look like they’re there in the final pictures too?
Love this! How did you attach the countertop?
I love this! Fabulous scale and such a great hack.
Those lamps and fabric panel are ????????????! Let me know if you would like me to send you some Battle Creek Hardware to finish it off. I would love to serve you in this way. We have contemporary finger pulls in black that might go with this esthetic perfectly.
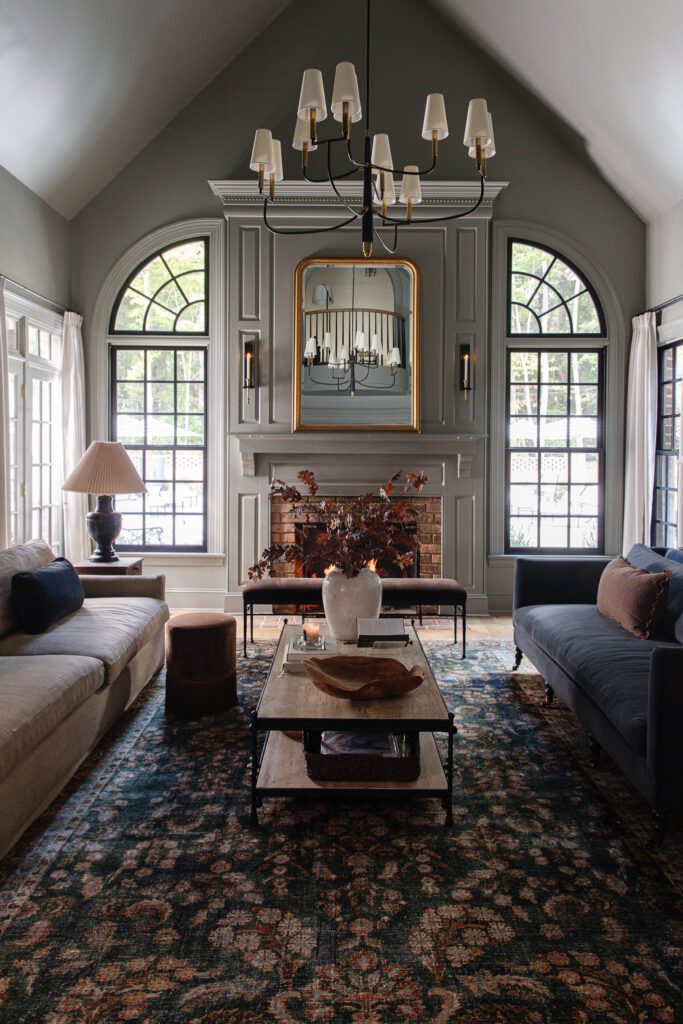
Those lamps are awesome, well done! I have an off topic question about the fireplace as we have a similar situation (huge opening, no screen). What is your solution for staying safe when the fire is lit? We find that most of the removable screens are not large enough for the opening, or they are large enough but we don’t want them out all the time and they would be very large to store. Those horrible chain screen situations that slide along the top of the opening are just ugly. BUT, we can’t have a fire in a fireplace the size of a small person just open to the room for obvious reasons. Maybe a post in the future (fall/winter) with solutions to this problem?
We’ll definitely address that soon! Sadly, it hasn’t worked yet. :/