When Jules gets an idea in her head, it’s not a matter of “if” so much as “when”. So when she brought up the idea of making the extra door in our family room, that leads into the playroom, hidden, I knew I had to figure a way to make it happen.
Though this was my first time building a hidden door and I was a little nervous, she was right – it made such a difference in the space. Plus, once I really got going this project quickly became one of my all-time favorites.
The Door Before

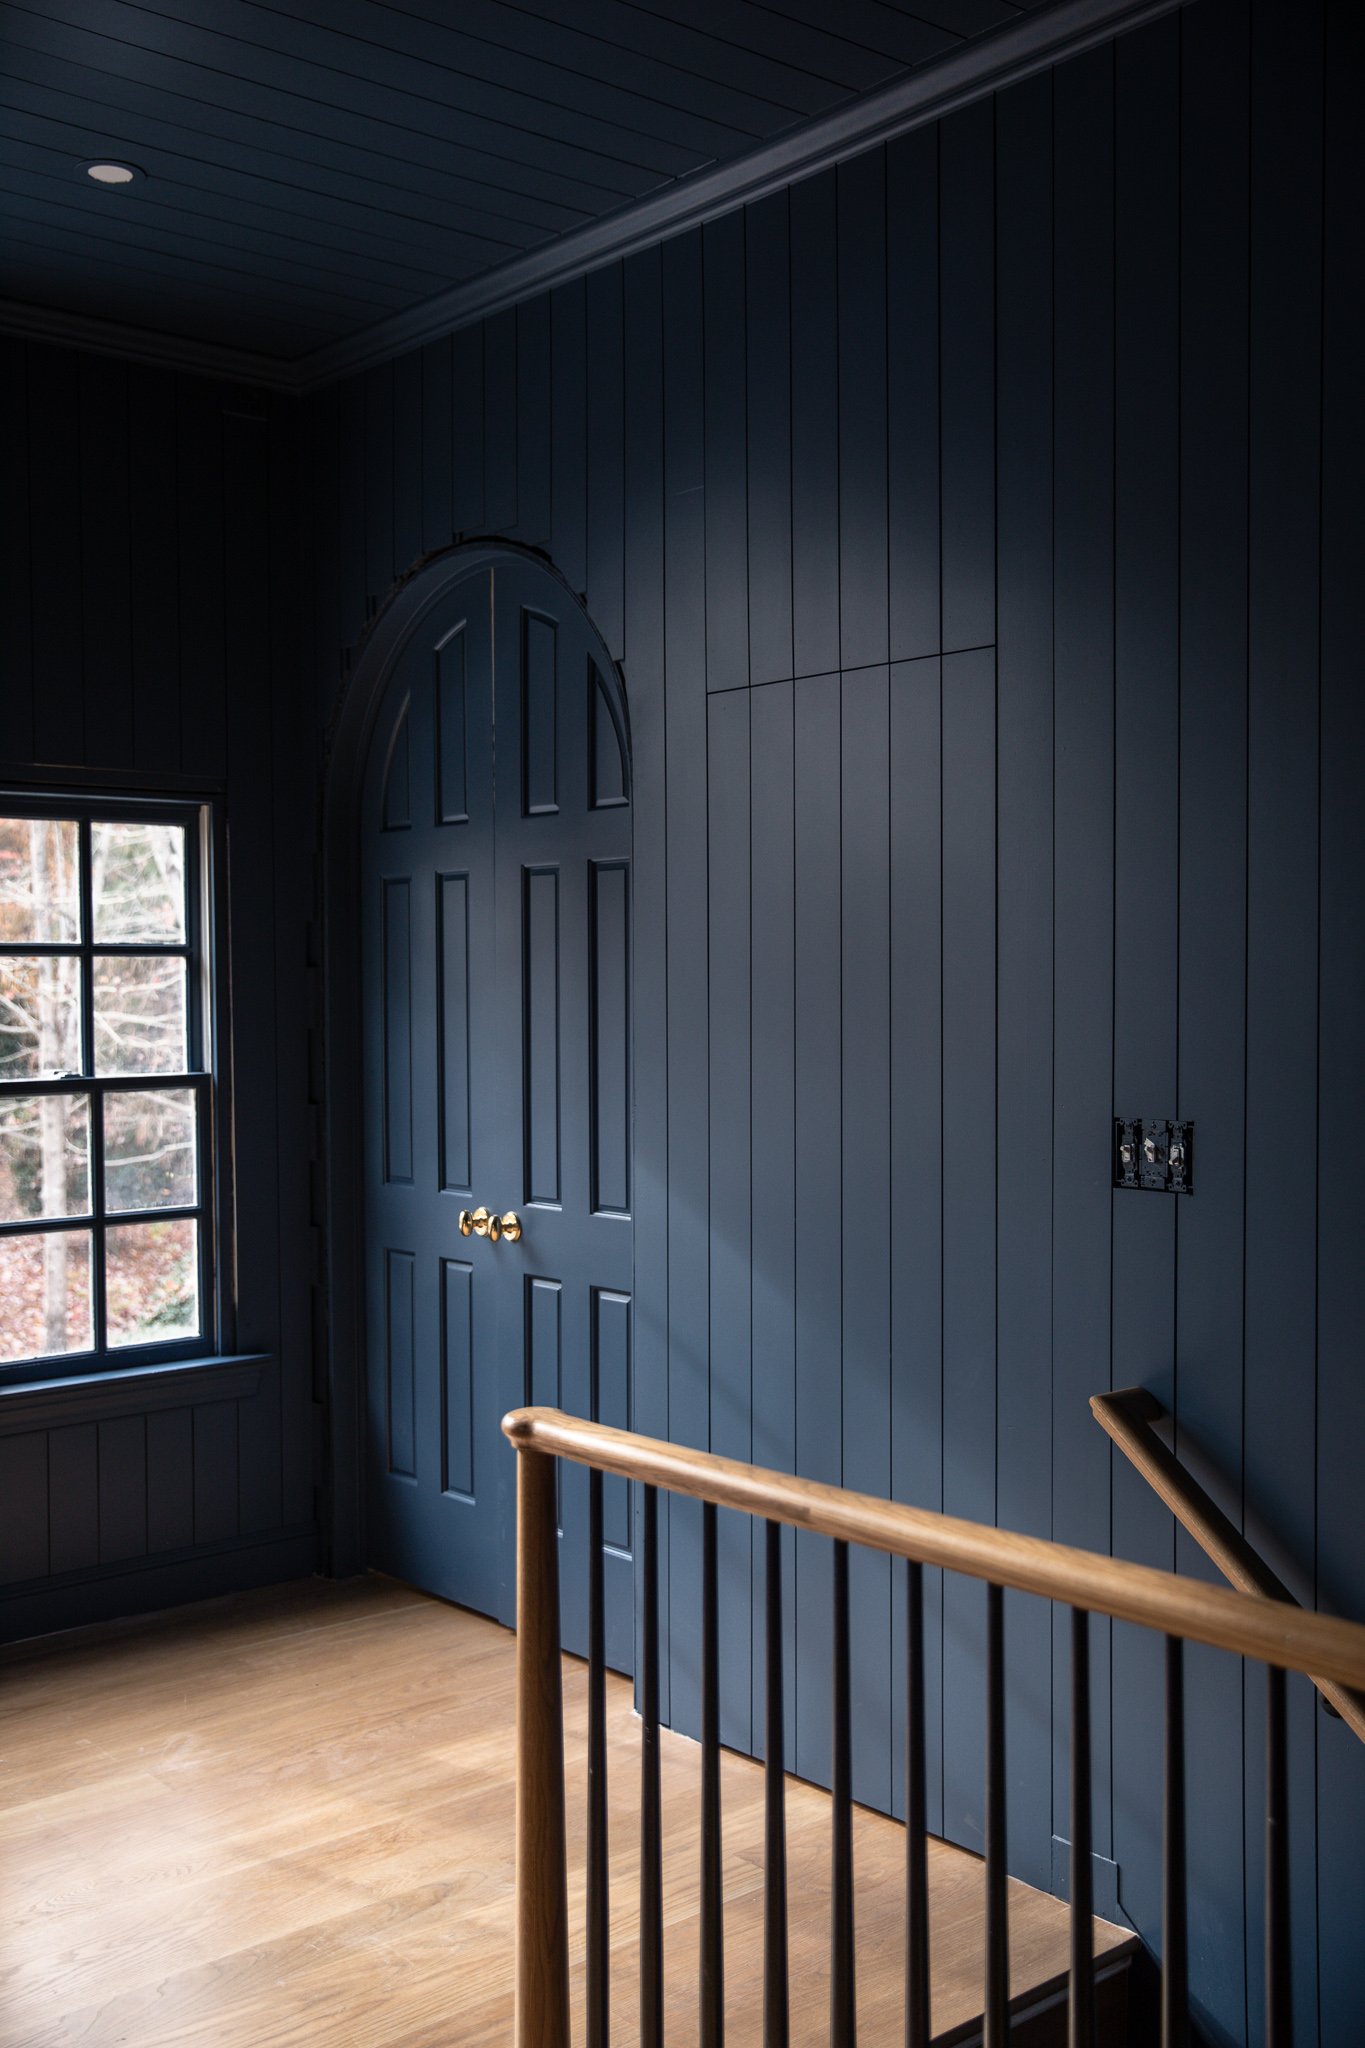
The Hidden Door After

The trim around arched doorway, as well as baseboards and the switch plate cover are next, I promise.
Of course every situation is unique, but following are the steps that I took to build and install this hidden door (otherwise known as a jib door), with the paneling. If you’re looking to install a hidden door, definitely adjust as needed!
Frame the Doorway and Build Your Jamb
I knew the best way to hide the door would be to get the seams to line up with the vertical paneling we were already adding to the space. This made the door slightly smaller than what was currently there, but only by a couple of inches. I removed the old door and jamb, then put the edge panel pieces in place as my guide.
Once I had those, I could then build the new jamb out of primed pine. I had to plane the new pieces down to about 3/8-inch thickness, then shim every few inches to keep it level and sturdy.
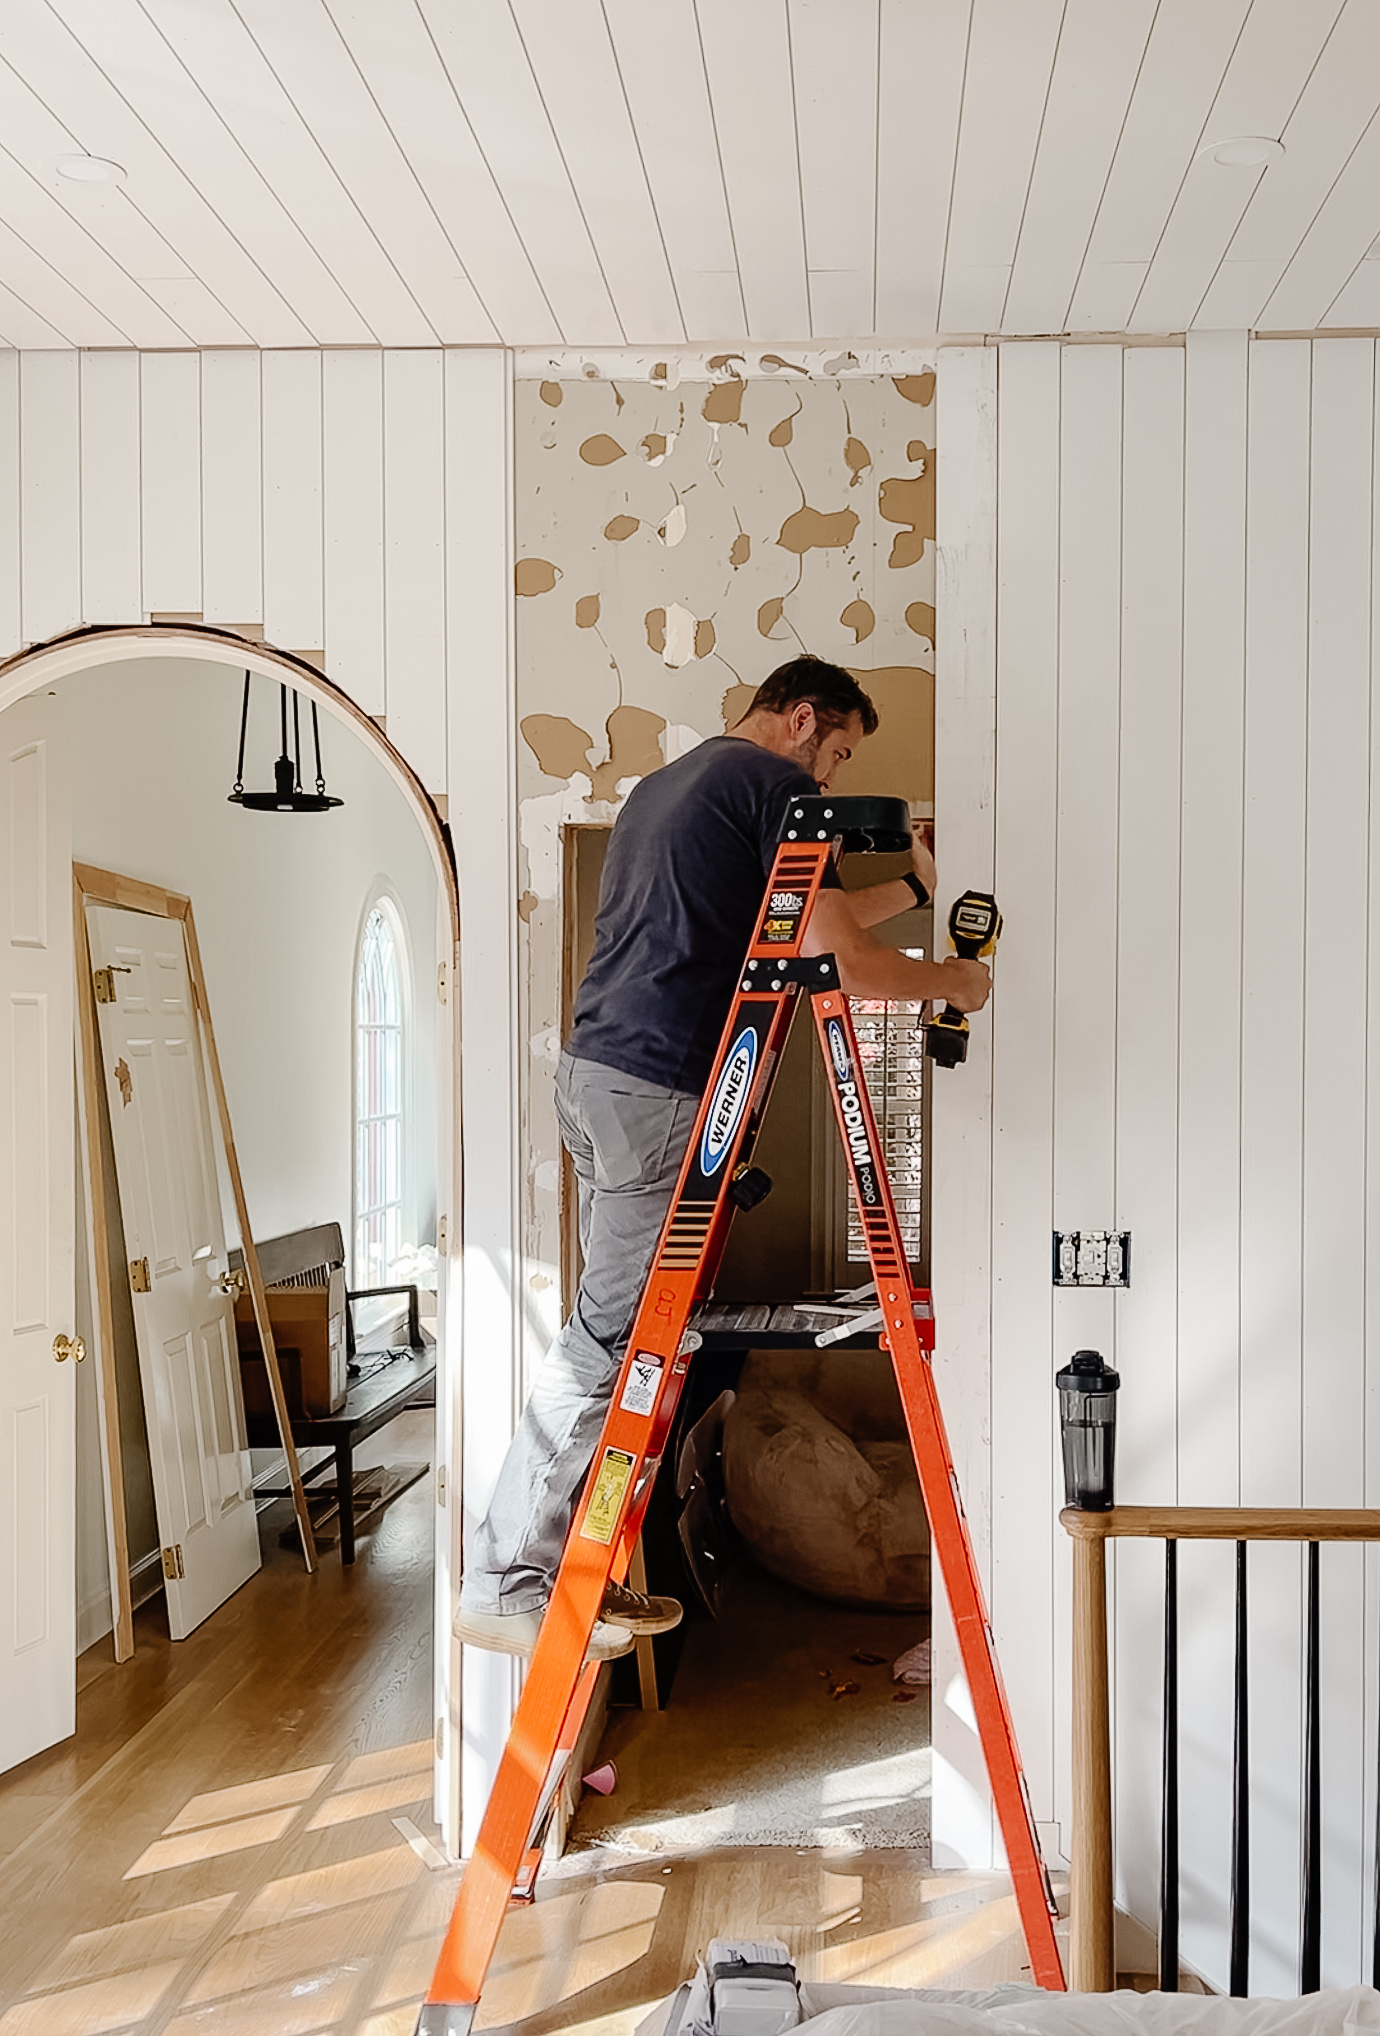
When creating the new jamb, I made sure to factor in a 1-inch overhang on the handle side to act as a stop for the door.
How to Build the Hidden Door
Where this door was leading into a kid’s play area, I knew I didn’t want it to be super heavy. So I decided to use 1-inch thick primed project boards for the perimeter, and square aluminum tubing inside of that to create a rigid structure that was light weight.
I used 90 degree brackets in the corner and self-tapping metal screws to connect everything together, then drilled holes through the aluminum with a metal bit so I could screw the inner metal frame to the outer wooden frame.

The aluminum tubing was also crucial to keeping my door level and preventing warping, since I was building the door on an uneven surface. I used cabinet clamps to make sure all of my seams were tight.

To keep the door from feeling hollow, I added inch thick foam insulation in the center using liquid nails, along with more of the inch thick, 2 1/2″ wide project boards as nailers.

The frame was sandwiched between two panels of 1/4″ plywood to reach a standard 1.5in thickness.
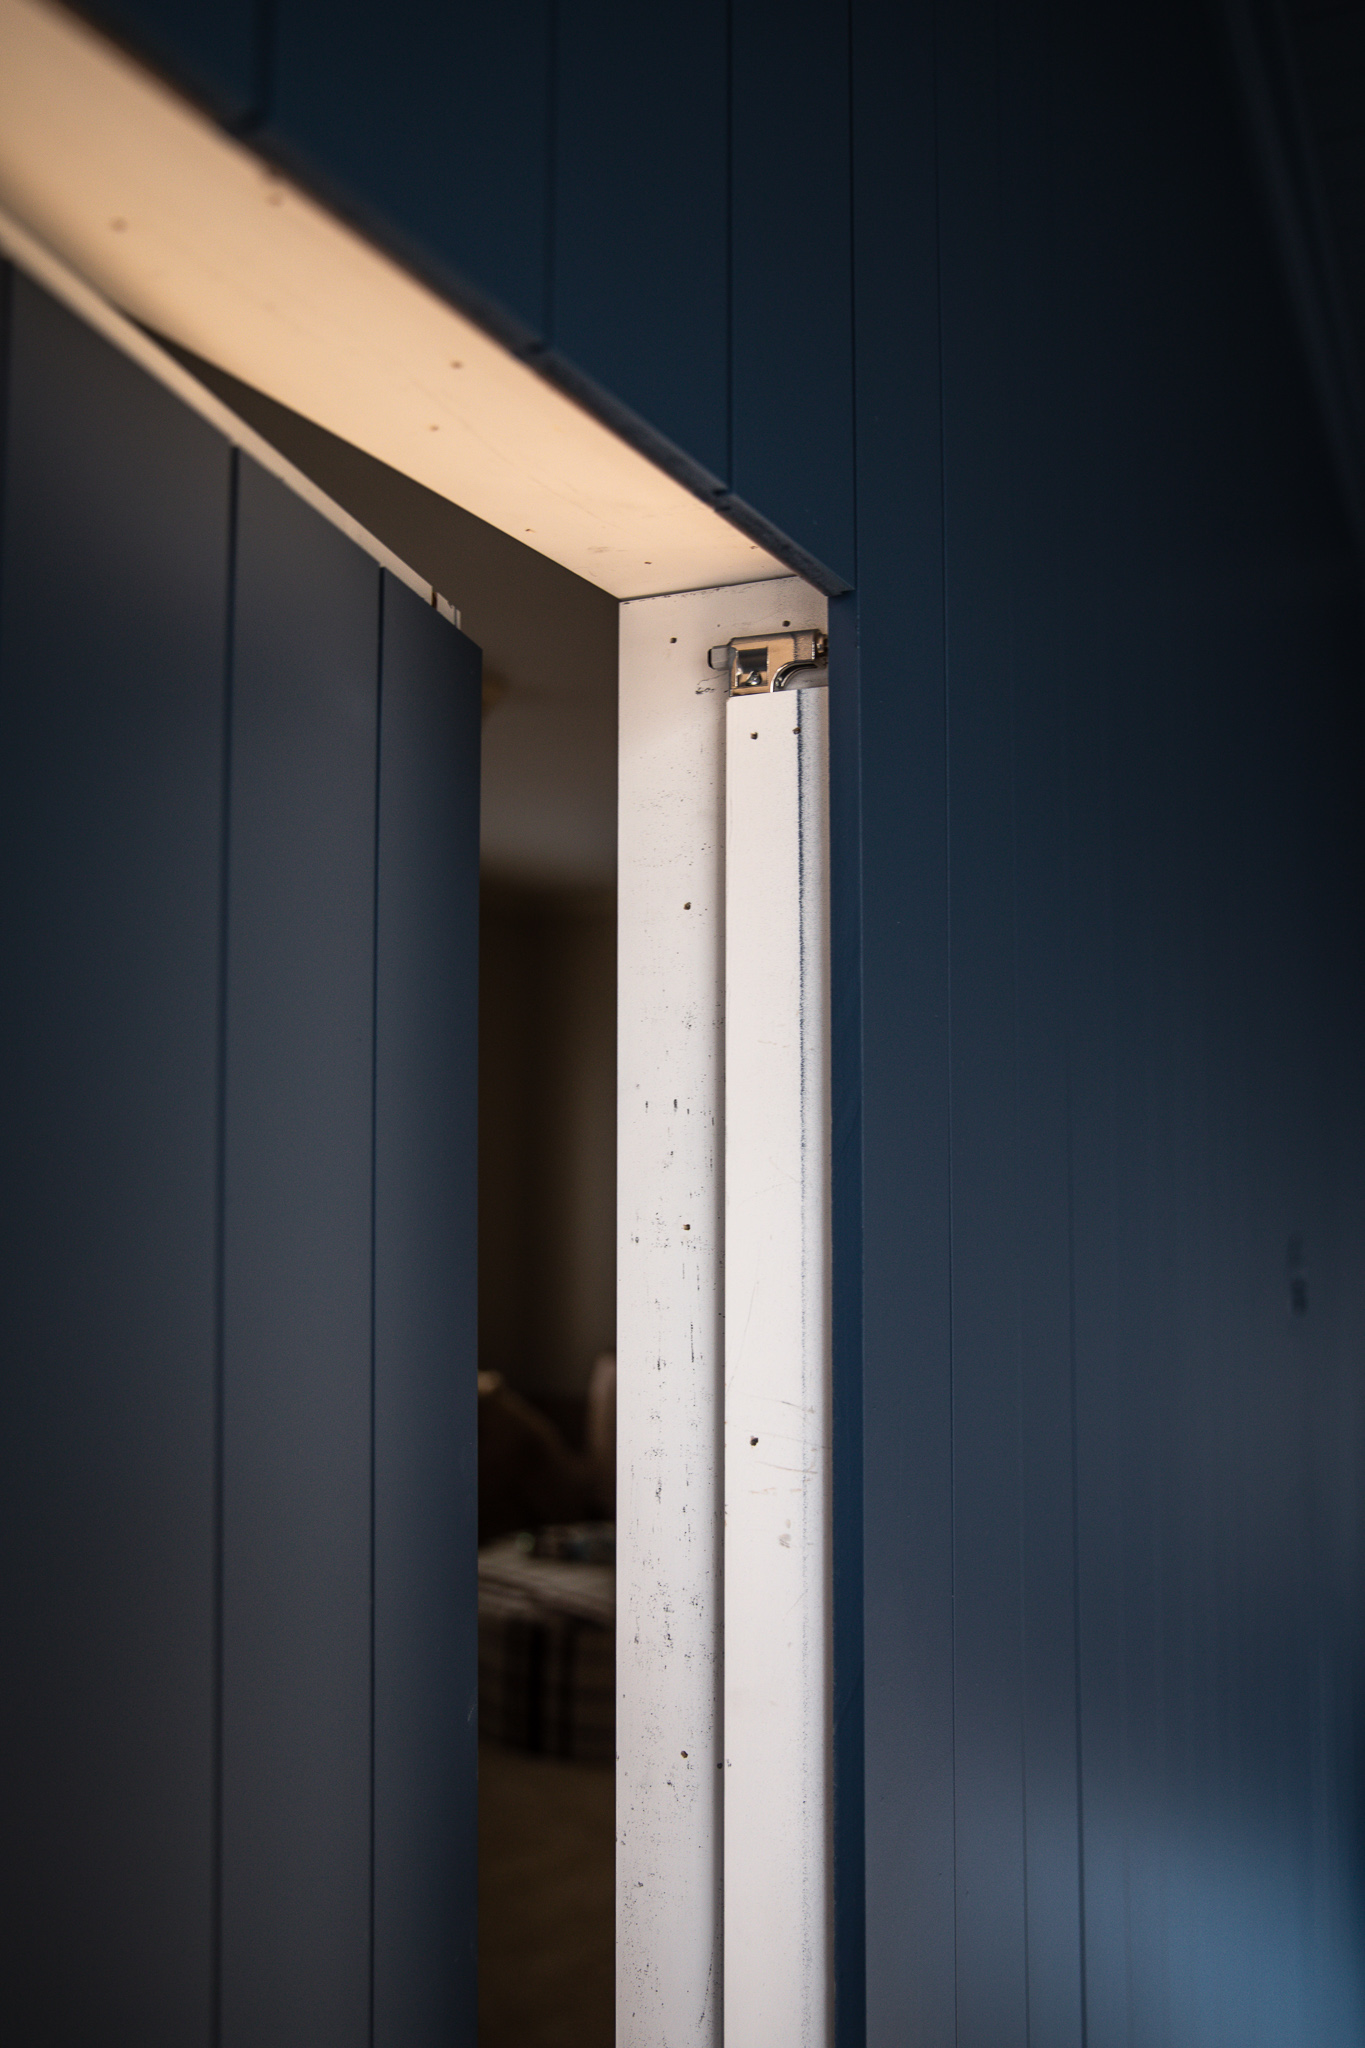
How to Hang the Hidden Door
I used a router to route out the hinge locations on the door, so that the hinges sit flush. We used self-close hinges so that the door will close on its own without having to use a knob on the outside, maintaining the hidden look.

I set the door in place using shims to hold it up, then I marked the hinge locations on the door frame and routed those out as well. Once that was done I could hang the door.
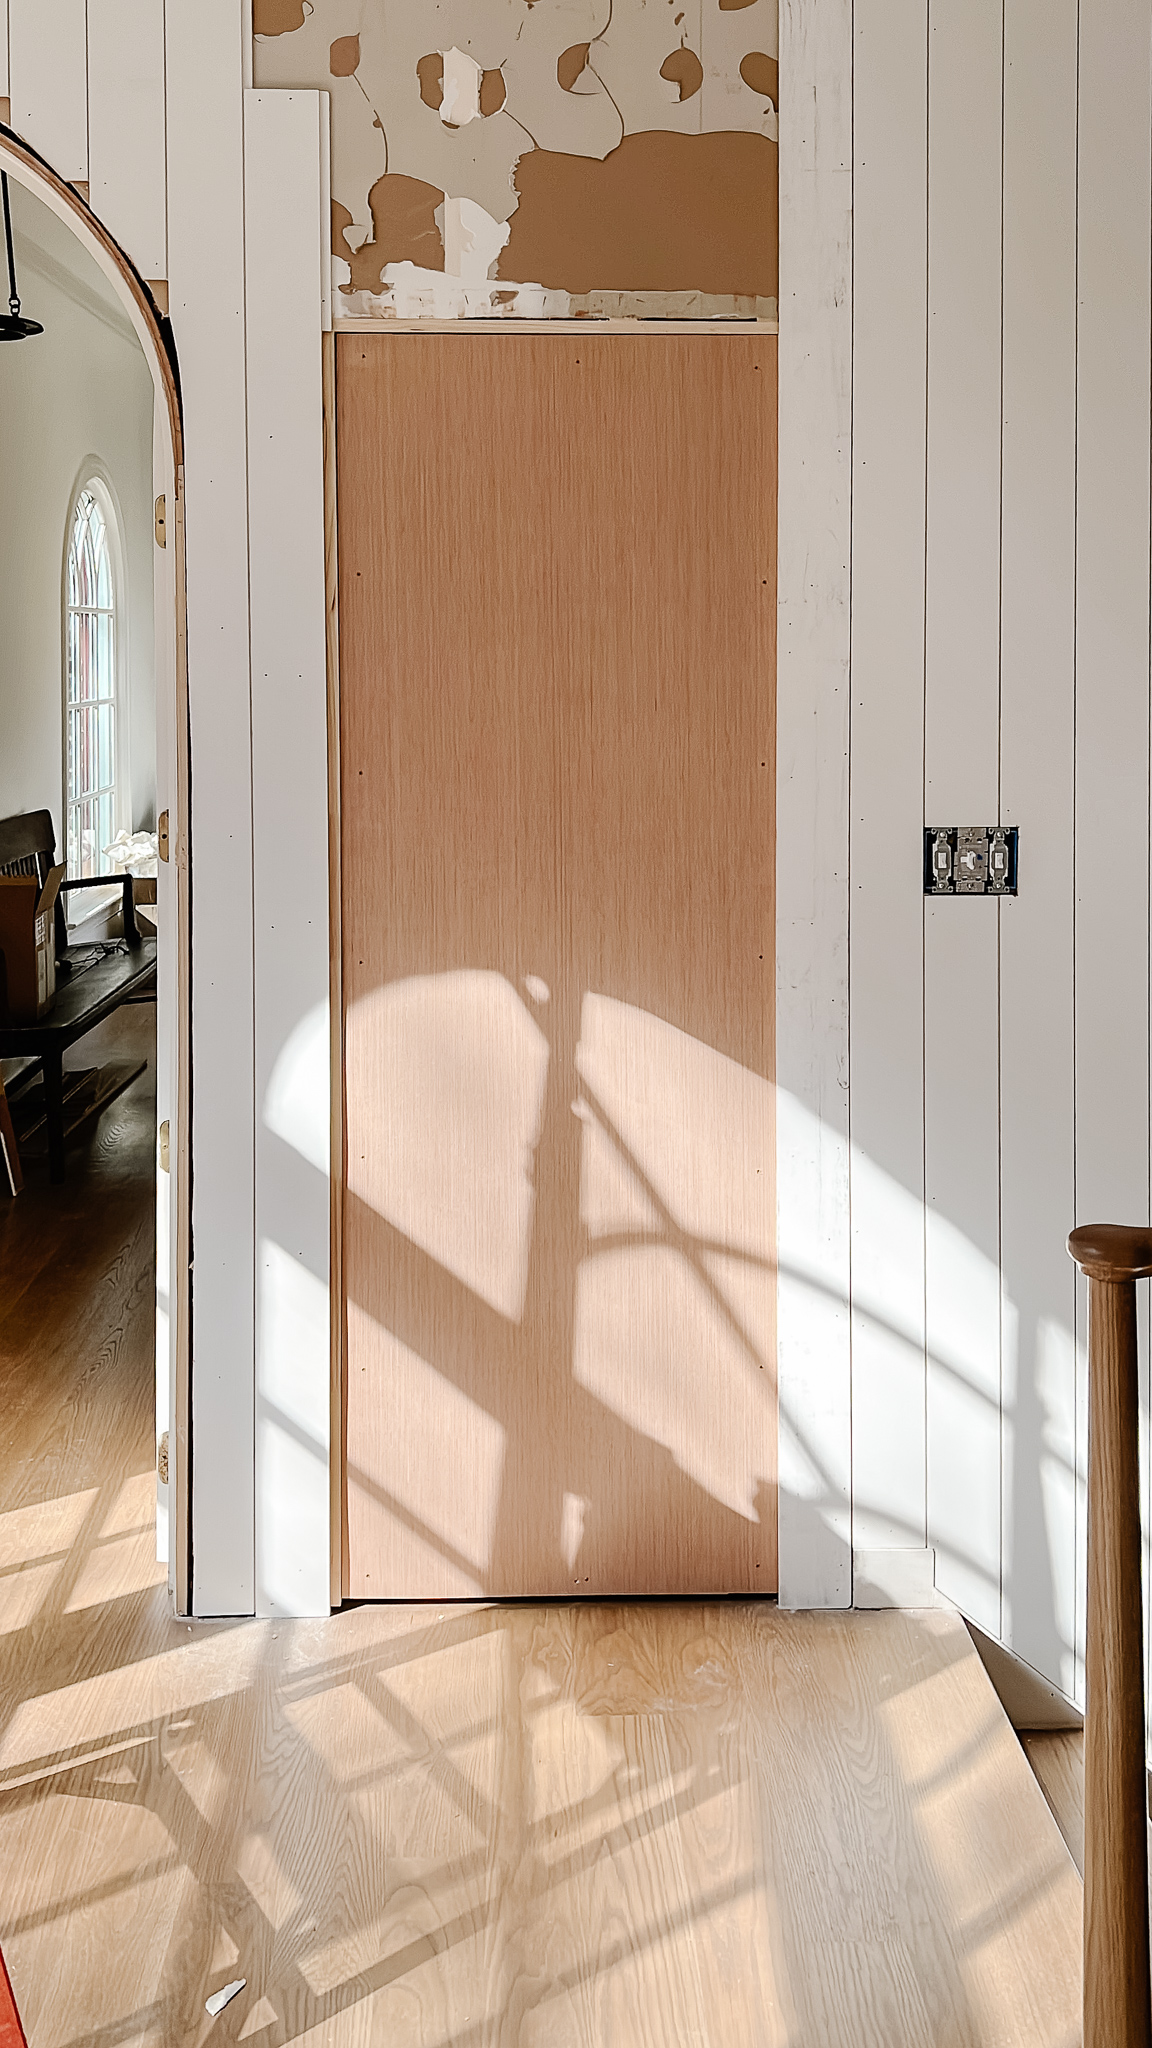
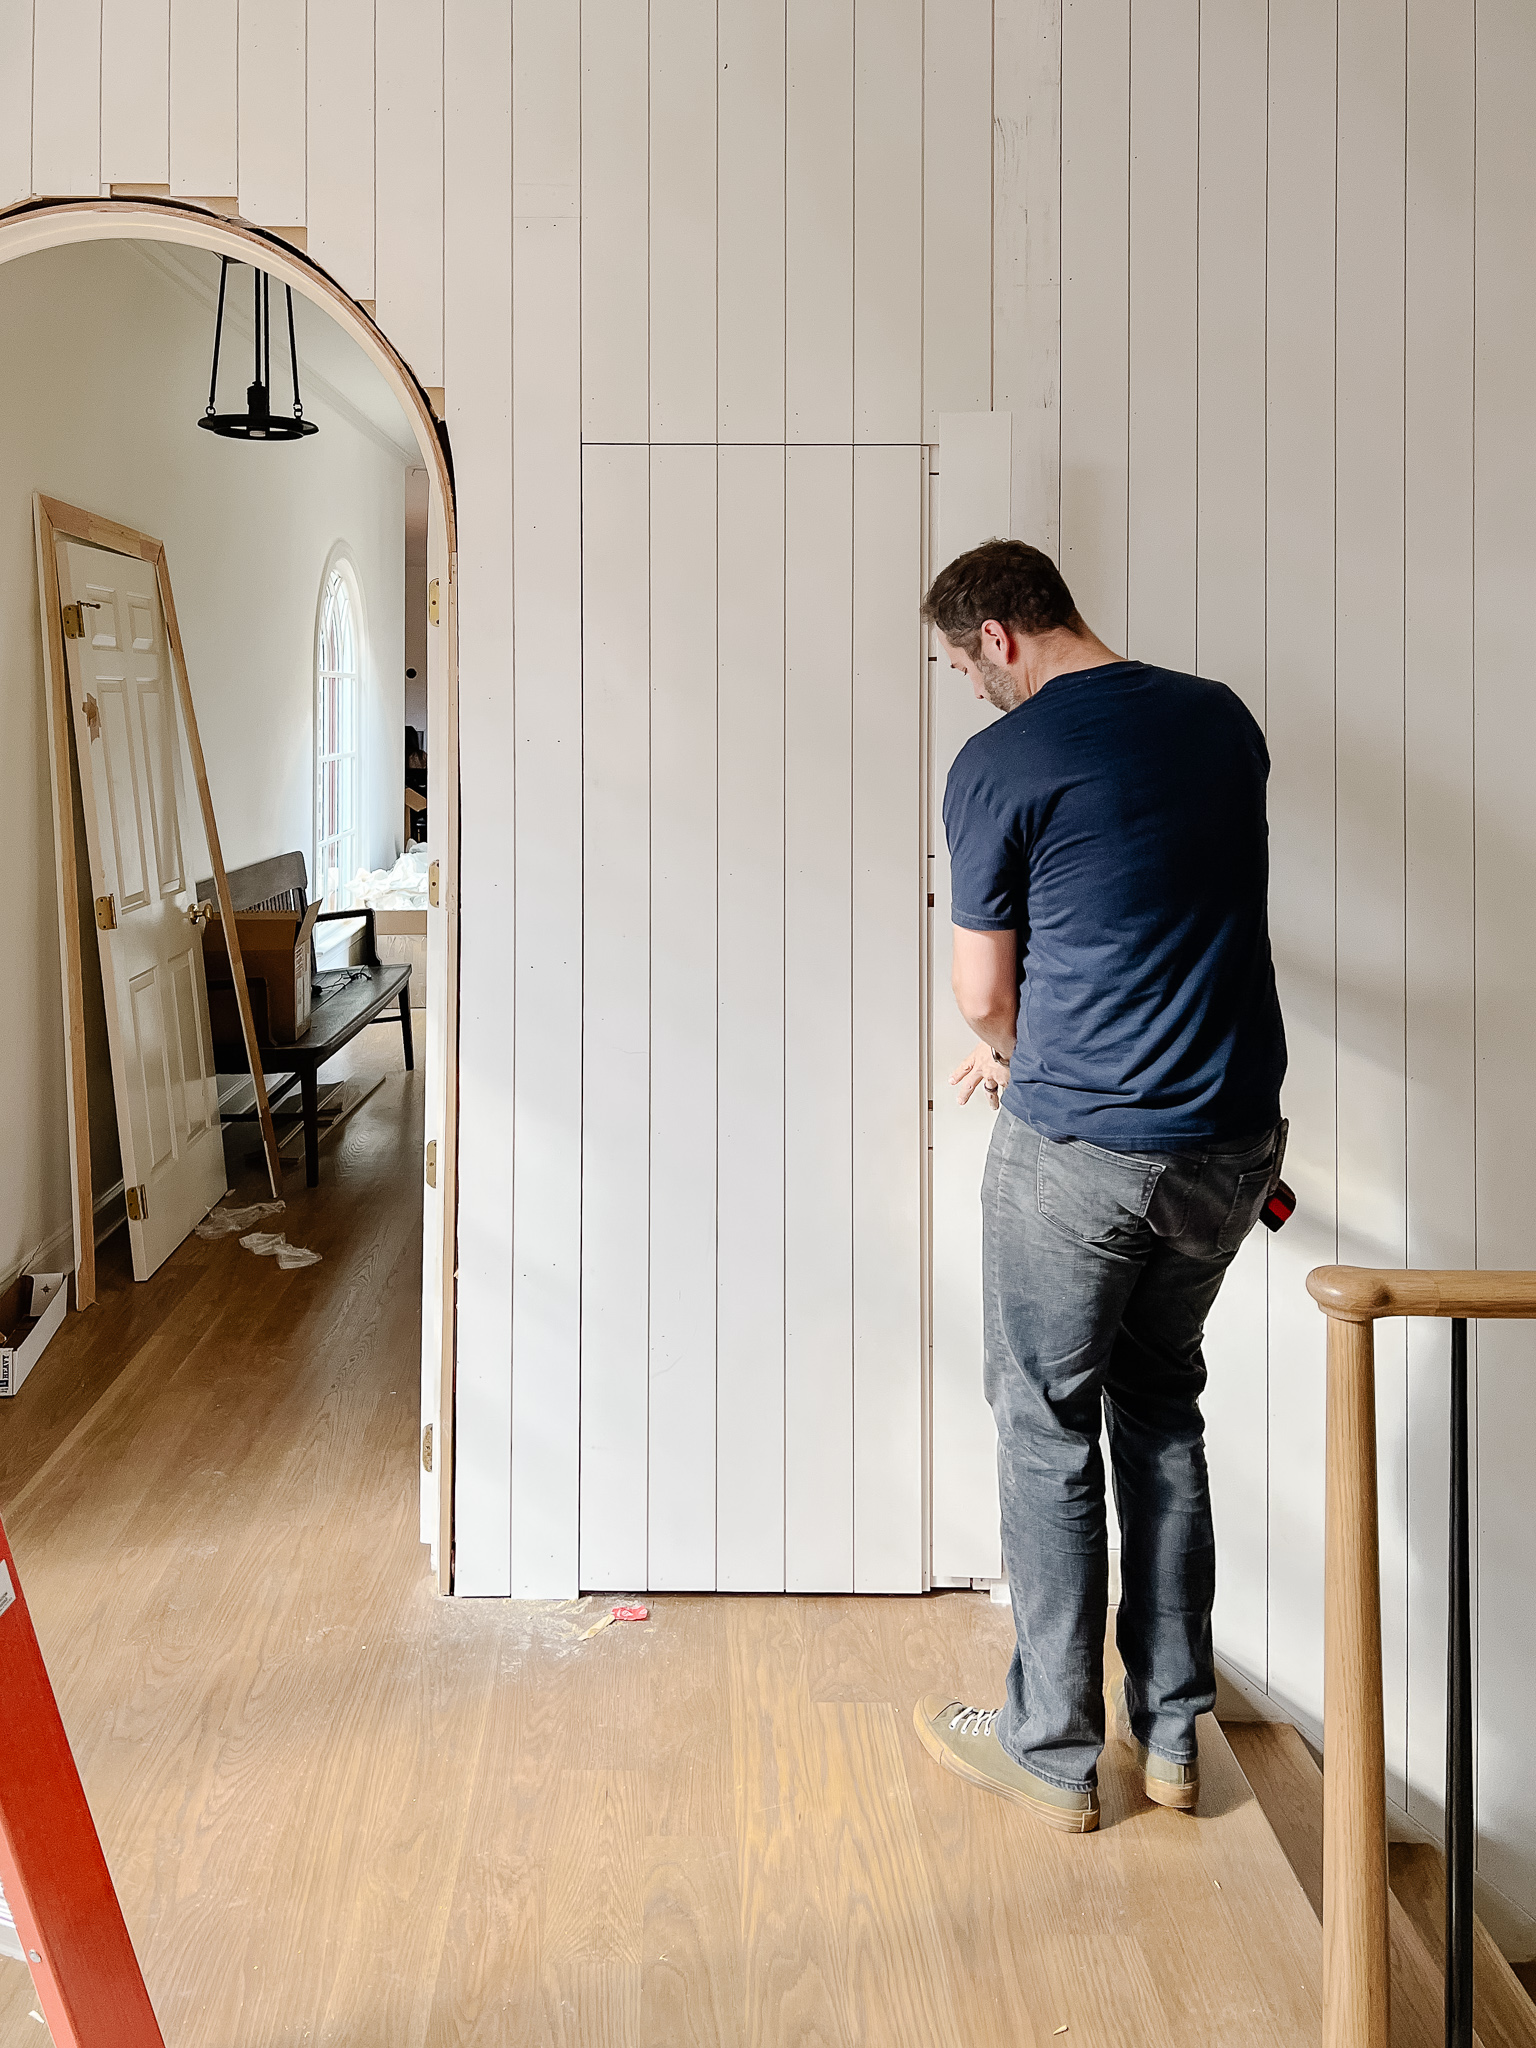
Add Paneling to the Wall and Door
With the door in place I could now tell exactly where it stopped, how it swung, and I could add all the paneling to truly make it hidden. I extended the thickness of the front of the door so that when I added the paneling, it would be flush with the paneling on the wall.
I did this using some wood I planed to get the right thickness, and thinner sheets of foam insulation. (I braced the door from behind so that it wouldn’t move while I worked on it).

I added the paneling to the wall above the door, then continued onto the door one piece at a time. I used a 1/8″ tile spacer at the top and sides of the door to match the 1/8″ spacing between the paneling. Each board was glued and nailed in place to prevent any vibration or loosening over time.
I’ve found that, even with the self-closing hinges, sometimes the door will still sit open a crack so I ordered some magnets that I will set into the door and frame to hold it closed and flush with the wall. But even without that, with the room painted, the door just disappears. How satisfying is that??

I spent a total of 4 days working on this project, an average of 3-4 hours a day. All-in-all, not bad for my first door and super cool to boot. Once we get the rest of the trim in the room, I’ll add a little piece of baseboard along the bottom as well to finish it off.
For now we’re just enjoying the cool factor of this hidden door, and the unhindered beauty of the arched door next to it.


Stunning! What is the wood paneling you used?
Linked all of the products used in this DIY planking post.
Nice blending of the door into adjacent panels!
Curious if this would be possible with an exterior door? Trying to find a unique way to hide a door to our garage that’s on the same wall as a TV!
No, you’d have to have knobs, latches, and dead bolts as required by law for exterior doors.
Please, I need to see the other side of the hidden door. My contractor is building this now. Thank you!
Working on adding one!
Did you post a picture of other side of the jib door? Please share a link. Great job btw, beautiful wall!
We haven’t, but will take a pic one of these days!
How do you open the door? I want to do this to hide my door that leads to my basement.
You can push it open from the bonus room, and from the inside of the storage room, there’s a handle.
Great way to hide an extra door. Looking to do this for a coat closet. Curious as to how you close it from the outside? Are the hinges self closing?
They are self-closing, yes!