This post is sponsored by Metrie.
We wrapped filming for the Lowe’s Bathroom Makeover we’re doing at our friends’ home late last night. Although the four how-to videos are all done, we still have a few loose ends to tie up before the bathroom is completely finished–but, we are ecstatic about much we accomplished in just one week. Because of the tight timeline, we really needed a beautiful, quick solution for the walls and we found just the ticket in Metrie Complete® Pre-Painted Shiplap. Yup, pre-painted!

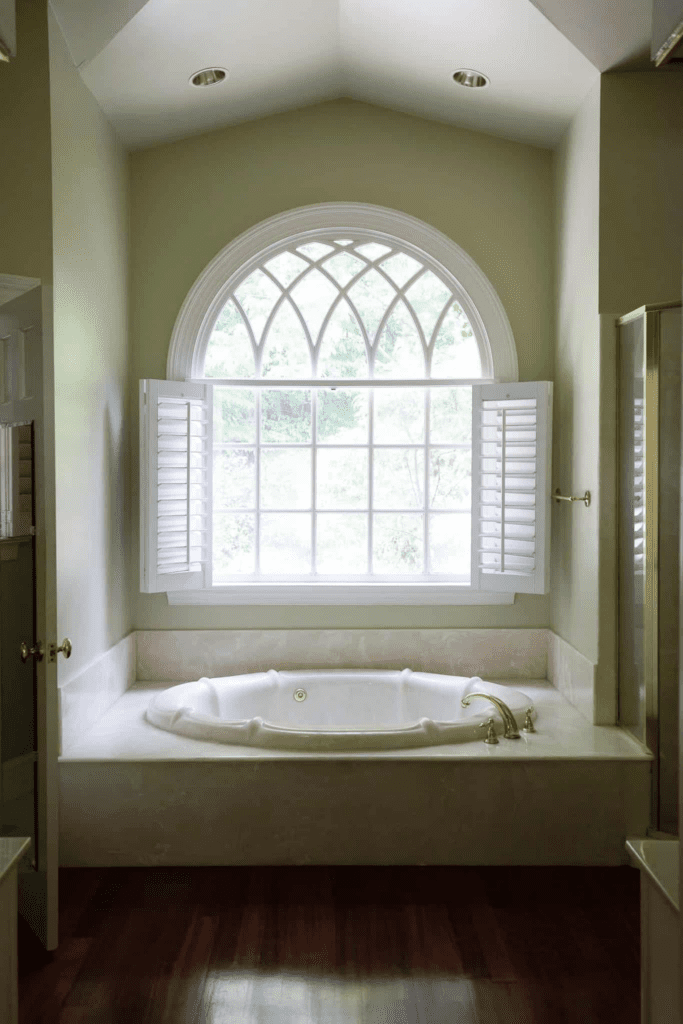
If you can remember, just one week ago, the bathroom looked like this:

We had demoed all the wall tile and the arch (and the majority of the space to be honest) and were left with a lot of cinderblock walls. This Pre-Painted Shiplap from Metrie helped transform this room in just one day! The shiplap boards are already primed and painted a Polar-White color–a really beautiful white–perfect for any decor scheme. Thereʼs no paint prep, or paint to clean up—just install and youʼre done!
While not always needed, we used liquid nails on the back of our boards since we were attaching them to cinderblock walls. Each board overlaps the one next to it, so there’s no visible wall showing through in between the boards.


We then had to drive a few nails into the fronts because of the crooked walls. But! Metrie sent along this “magic stick,” as we started calling it, that made the nail holes disappear instantly. Pre-painted boards! Disappearing nail holes! It really doesn’t get easier.

It’s called the Metrie Complete Premium Wax filler. You just go over the hole and buff off the excess and it’s filled and doesn’t even need any additional paint, sanding, or caulk. We took a quick video to show how easy it is.
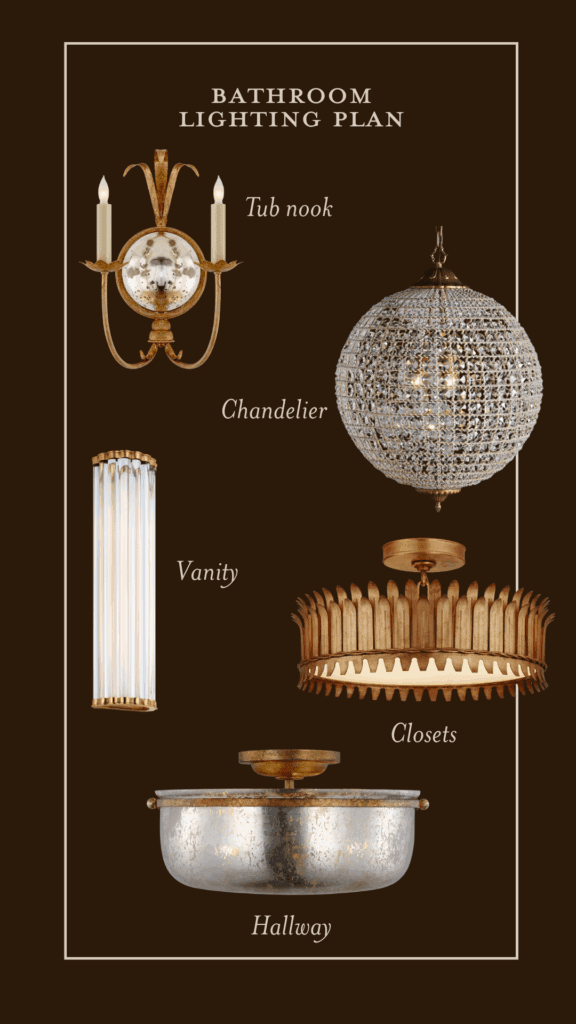
We carried the boards all around the bathroom, including above the tub surround where you’d normally have regular sheet rock. It really makes the bathroom feel special and high end, along with the crown molding (that still does need paint–why can’t everything come painted again?) and that gorgeous shower head. (See more of our choices and sources for this space in this post.)

While the process could not have been simpler, this page has a great how-to video, step-by-step instructions including imagery, a complete shopping list for everything you’ll need to complete the shiplap installation project, a Where to Buy map to find the closest retailer to you (you can order it through the Pro Services desk at your local Lowe’s!), and a product calculator so you’ll know how much product you need before you even go to the store.
Shiplap is traditionally installed horizontally, but we love the fresh vertical take on it here. And with so many other moving parts to this project, it was so nice that this aspect was straight forward and swift at covering those unsightly old walls.

We’ll end with a little sneak peek at what’s to come. Can’t wait to show you the afters! Anyone else into vertical paneling lately? Or dreaming of pre-painted trim!? Dreams come true. Dreams come true.


This is such a fantastic idea! I love the look of pre-painted vertical shiplap, and it’s great to see how it can completely transform a bathroom. The tips you shared for installation are super helpful too. Can’t wait to try this in my own space!
I love the floor tile in this bathroom, what is it and where did you purchase?
It’s marble from Lowe’s!
Hi! Since it’s going in the bathroom did you need to stain the boards because of moisture?
Thank you
Amy
Nope! The bathrooms is vented well and the paint on the shiplap holds up well, but each space may require a different approach.
These boards come pre-painted and sealed.
Is the baseboard trim right over top of the vertical panels? It looks like you ran the paneling all the way to the floor. In this case, aren’t there tiny gaps behind the baseboard trim where each groove is in the paneling? Did you caulk these gaps? Curious to know how you completed that part of the project as I am working on a similar one. Thank you!
I did caulk those little gaps. I cut my caulk gun to the tiniest hole so it’s all very minimal
I’m belatedly catching up on older blog posts and and really digging this vertical shiplap! How did you handle the corner where the tub wall meets the closet wall? I’ve been squinting at the pictures for clues, but you did such a good, seamless job I can’t tell how you did it. Part of me (well, most) is hoping that it isn’t mitered because even the thought of having to do that scares me!
Gah! It’s mitered! You could also do a L-corner trim piece if mitered is too much for you.