I do a lot of cooking for food restrictions, but this recipe is none of those things. These dinner rolls are my mom’s recipe, and they’re one of her signature dishes. She has made them for almost every gathering since I was a kid. The smell of these…it’s the smell of every family event in my childhood. I was always climbing on the cabinet as a toddler, getting into things. But the kitchen held really happy memories.
We’re coming up to the holidays, so what better time to be nostalgic? I invited my mom to share her recipe, and more importantly, show me how she makes her delicious homemade rolls. It was pretty special to make these with her.
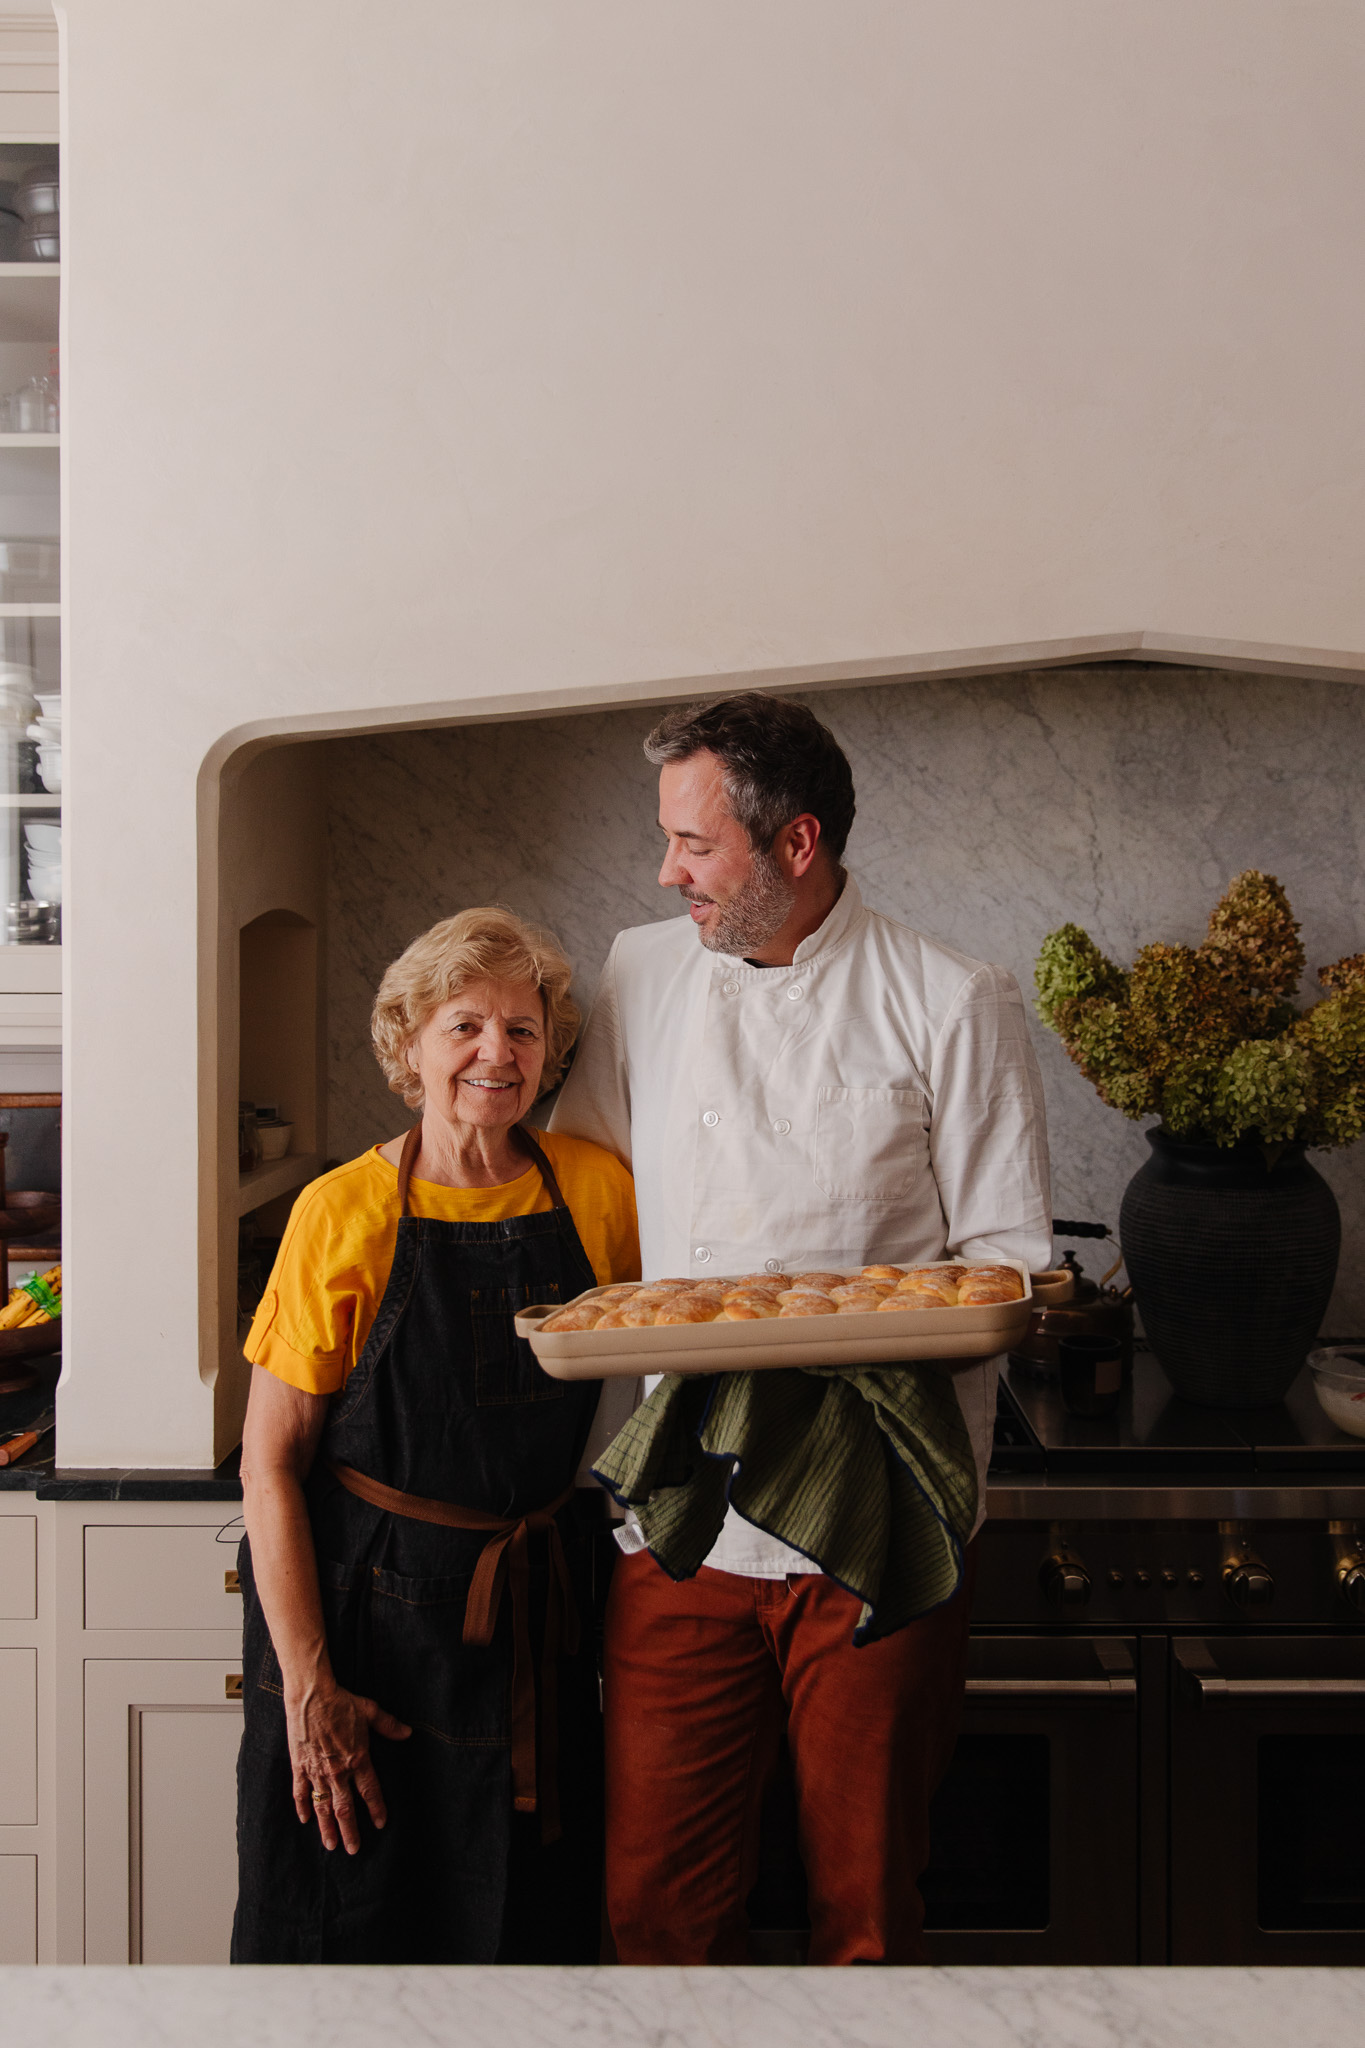
Watch the Video (featuring Special Guest, Mom!)
This is one of those recipes where you’ll be in better shape if you watch the video to get the texture of the dough right (and the assembly of the rolls—which I failed the first go-round).

How to Make Fluffy & Buttery Dinner Rolls
I usually tend to cook/roast/grill over baking. A baked good needs some precise measurements and a good technique. My mom walked me through all of the steps to make these, and I’m happy to share those with you today!
Marble Rolling Pin | Marble Bowl
Activate the Yeast
First, we have to activate the yeast. We’ll add to warm water (typically 105-115 degrees is considered best) and some sugar to activate it. Yeast expands with sugar and dies with salt. This mixture will sit for 10 minutes until it starts bubbling up and “blooms”.
Prepare the Dough Mixture
Add the eggs and salt into the stand mixer bowl fitted with the whisk or paddle attachment (we’ll get to using the dough hook later). I always crack my eggs into a separate bowl so it’s easy to take out any pieces of shell that may have accidentally gotten in.
Next we add 3/4 cup of sugar and turn the mixer on low. That may seem like a lot of sugar, but when you add in the flour, it balances out. They don’t come out like a sweet roll, they’re just really delicious.
Now we pour in the oil. You can use different types of oil: I like the flavor notes that a good olive oil adds. Sometimes mom uses avocado oil, but you can use canola or whatever neutral oil you have on hand. Finally we add in 2.5 cups very warm water, mix it in.
(This is where I start cleaning up the measuring cups. When I was first starting to cook, my mom was very encouraging, telling me I could cook for the family. But I always would use every dish in the kitchen and would make a giant mess, so I’ve tried to start cleaning as I go.)
We’ll measure out the flour and add it to the bowl in phases with the mixer on low until about 4 cups go in.
Note: My mom never cooks without a sifter but she says you can also spoon the flour into the measuring cups. The key is to loosen up the flour a little bit or the rolls could turn out dense.
You’ll see some lumps in there as the mixture moistens. This is when I switch the stand mixer to a dough hook and carry on. We’ll add more flour until it starts coming together a little bit in the middle and but is still a bit sticky against the sides. You’re looking for a lot of elastic texture—it won’t be fully separated from the sides of the bowl like a dense ball of dough (check out the video for the texture you’re looking for).
Let the Dough Rise
I add oil to a large glass bowl all over the sides as it will rise quite a lot. Use your hands or a brush to cover it all. Add the dough to the bowl and then flip it over so it’s fully coated in oil. Put a warm wet tea towel overtop of it, which helps give the yeast a happy microclimate to expand.
The dough needs to double in volume, which will take around 1.5-2 hours depending on your home’s humidity and elevation. Once it has risen, you will remove the tea towel and punch the dough down. Give it a little turn until you have more of a dough ball, flip it over, and recover it with the tea towel. This second proof will take 30-60 more minutes.
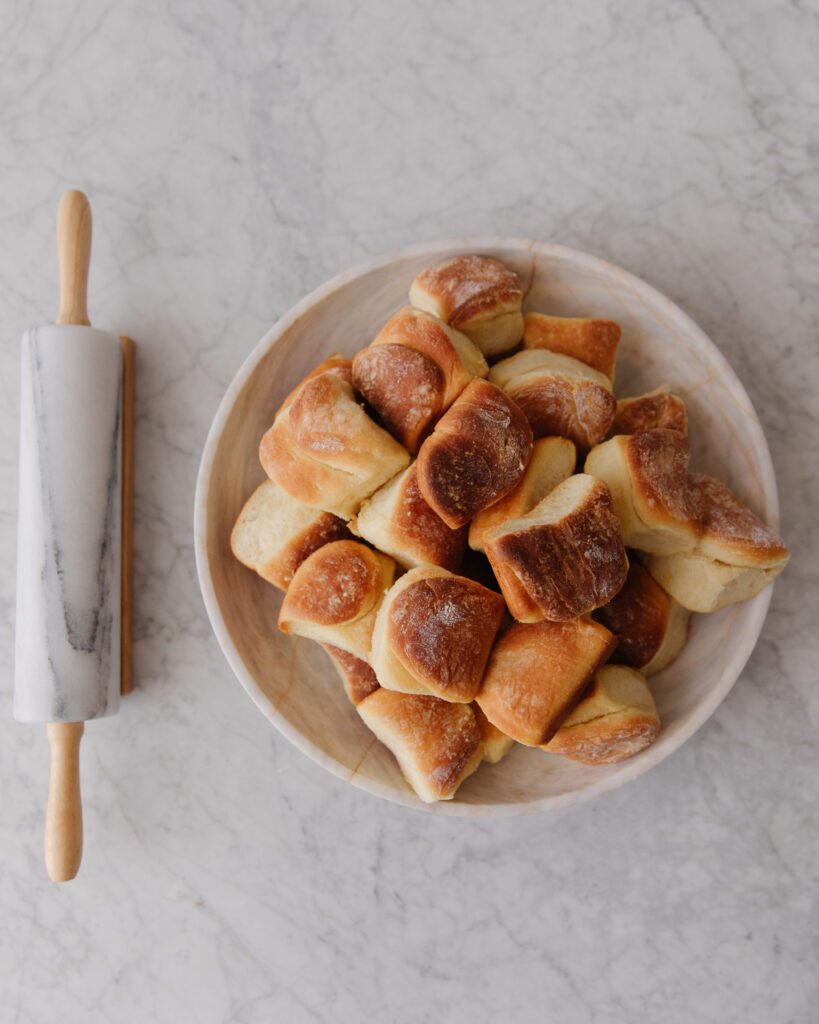
How to Assemble the Rolls
Baking Pan | Kitchen Towel (similar)
Preheat the oven to 375 degrees. Take out a baking pan that’s around a 9×13 size (ceramic works great) and add 3/4 stick of butter to the bottom. Put it in the oven to melt, and then remove it and put it on a hot pad near your dough prep area.
Add flour generously to your counter surface, and pull out the dough. Sprinkle a little more flour overtop, and roll the dough out with a rolling pin until the dough is about a 1/2-inch thick.
Take a biscuit cutter or a water glass that’s approximately 2.5” wide to cut out circles in the flattened dough. Place each round in the pan flat, flip it over to coat the other side in butter, then fold the circle in half and put it up against the corner. Continue doing this until the pan is filled with the half-moon rolls. You want them just touching each other.
Now these dough rolls are left to rise again in the pan for about 30-60 minutes until doubled in size. (Mom says you don’t even have to cover them! The butter will keep it so they don’t get dried out.)

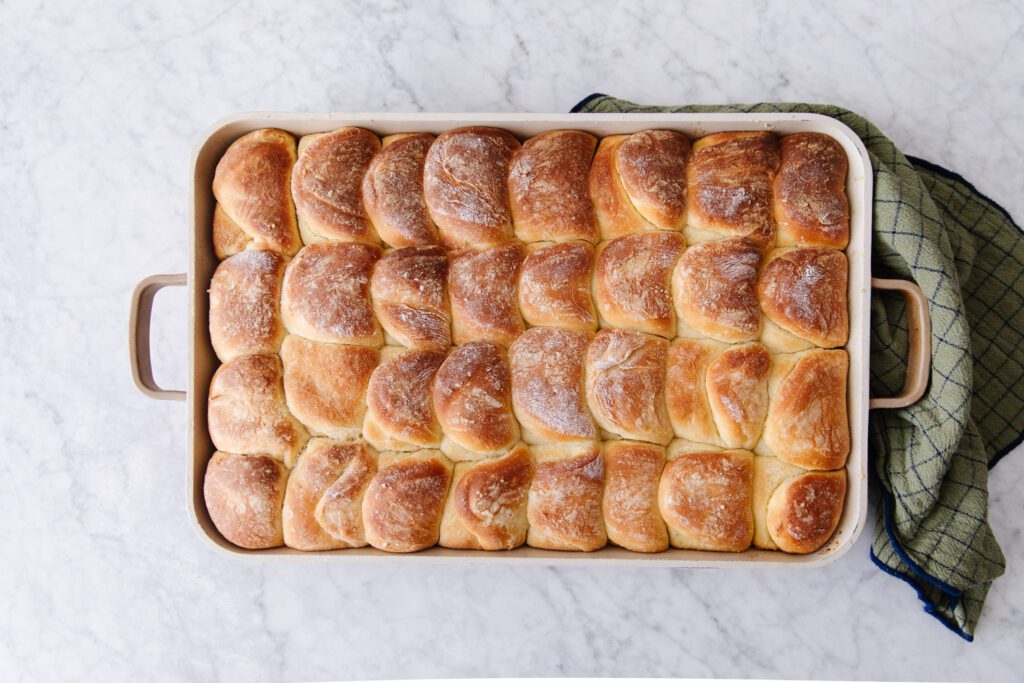
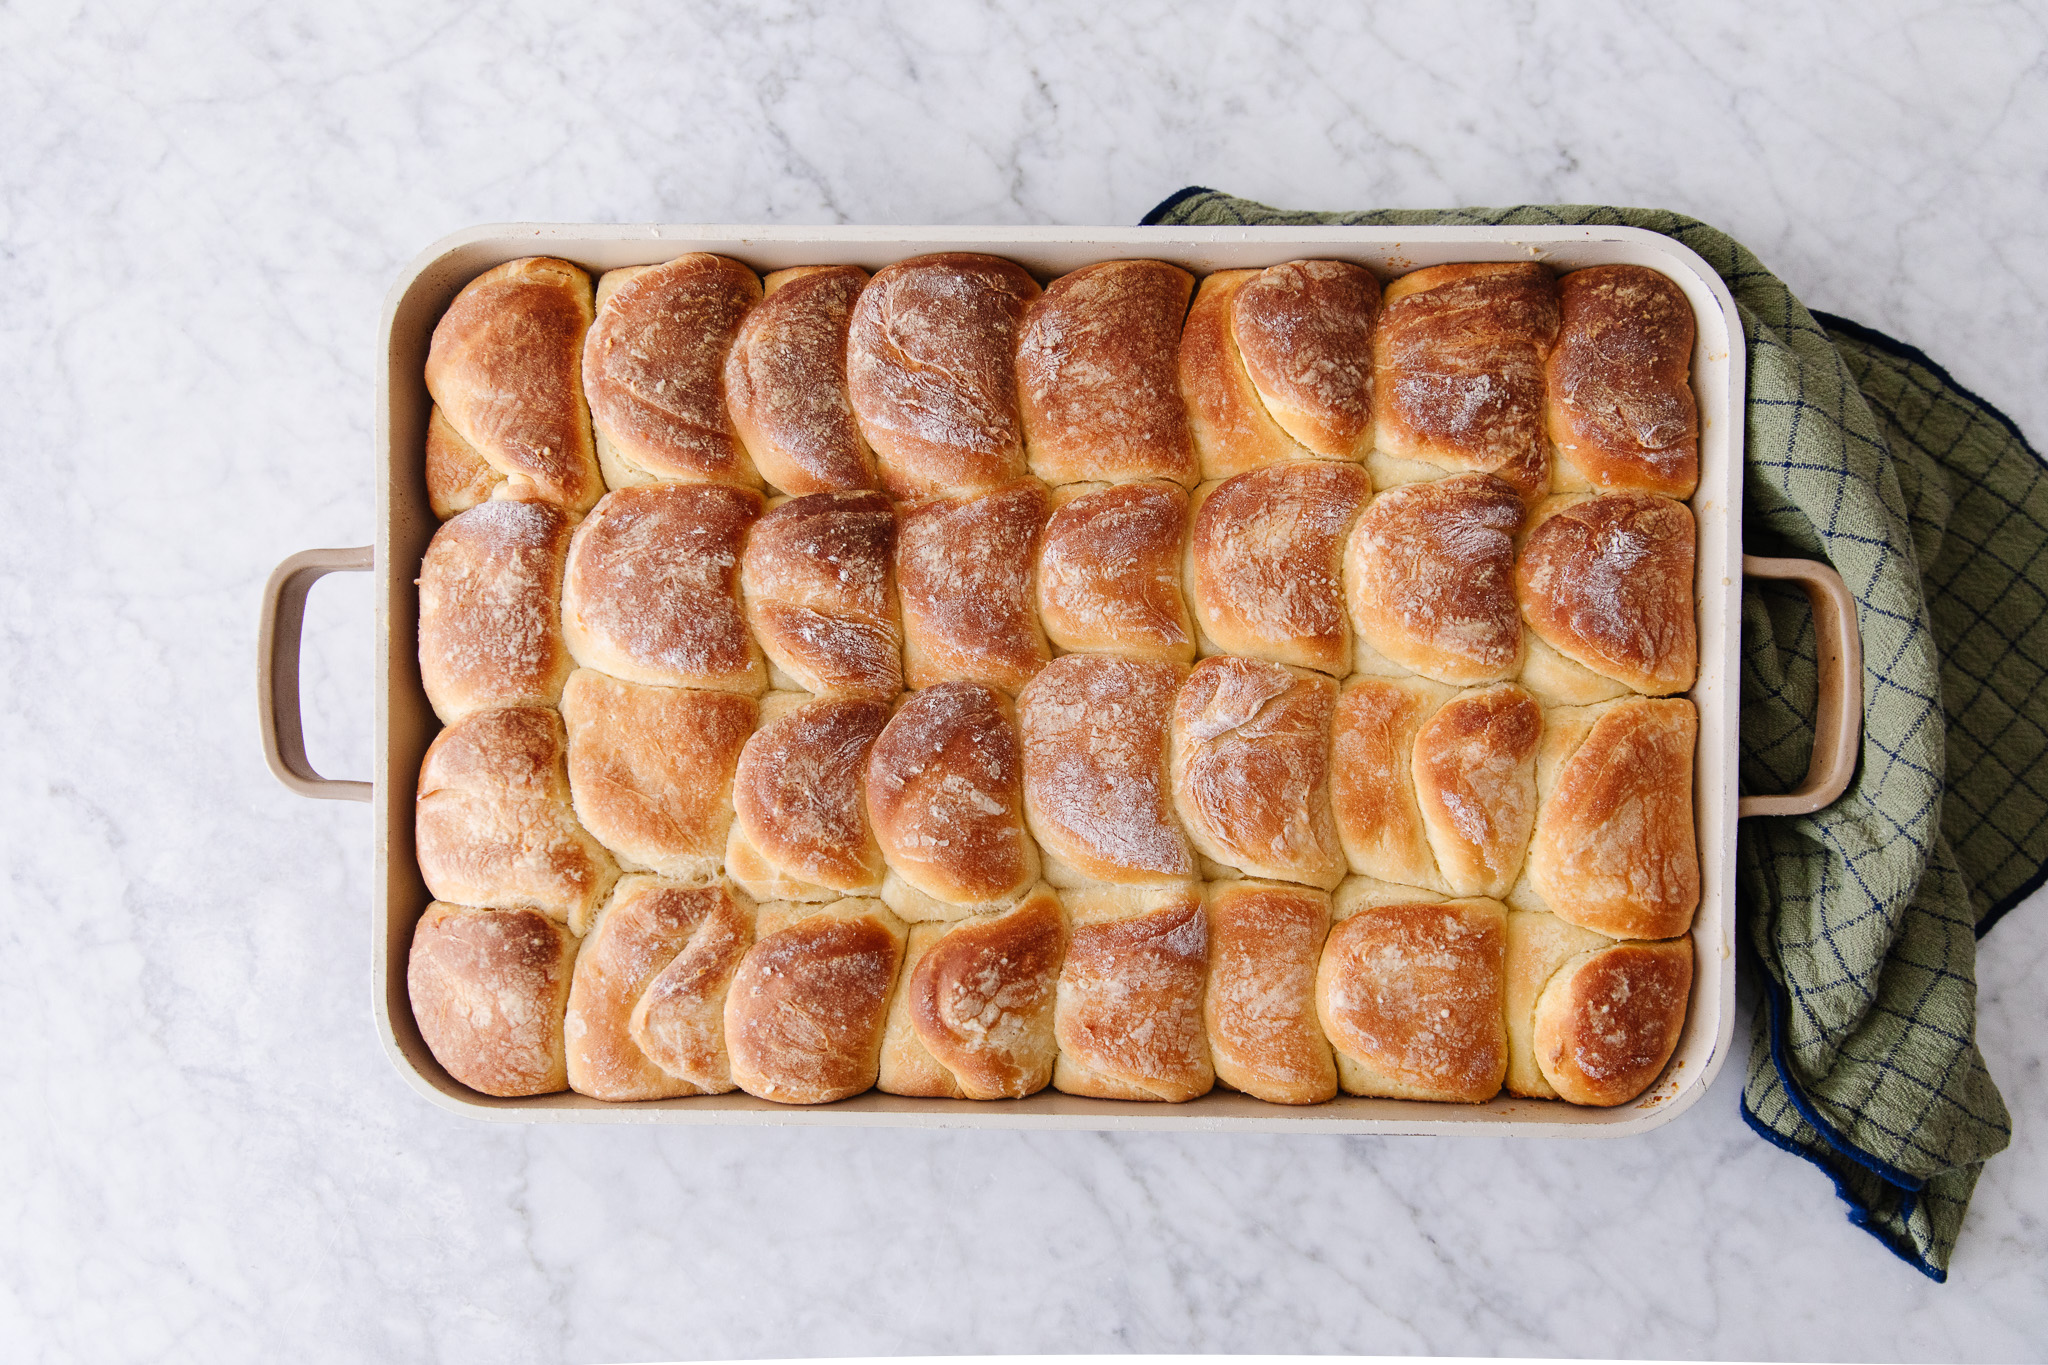
Time to Bake the Rolls & Serve!
Once the rolls have doubled in size, put them in the 375 degree oven for 20 minutes until they’re golden brown on top. Let cool slightly (but really, who can wait for a roll to cool) and then dig in.
They’re so good when they’re still warm and fresh. These homemade rolls take me BACK. I hope this light and fluffy bread roll recipe will become a staple of your special events around the holidays. Give it a try and make it for someone you care about!
Mom’s Light & Fluffy Homemade Dinner Rolls
Ingredients:
To Activate the Yeast
- 2 Tbsp Active dry yeast
- 1/2 cup warm water
- 1 tsp sugar
For the Dough
- 4 large eggs, beaten
- 2 tsp fine sea salt
- 3/4 cup sugar
- 1/2 cup avocado or olive oil
- 2 1/2 cups very warm water
- 8-10 cups all purpose flour
Directions:
- Dissolve the yeast and 1 tsp of sugar in 1/2 cup water in a bowl. Set aside for 10 minutes.
- In a large mixing bowl combine the eggs, salt, sugar, oil, and water. Whisk together until combined uniformly. Once the yeast has bloomed, add to the mixing bowl along with 4 cups of flour. Knead by hand or mix with the paddle attachment (if using a mixer) until smooth.
- Add 4-6 more cups of flour, one at a time, kneading by hand (or using the dough hook attachment if using a mixer). Only add the flour until the dough is not so sticky. Once the right consistency is achieved, knead for 5-7 minutes.
- Grease a large bowl with olive or avocado oil, pour the dough into the bowl then flip to oil on all sides. Cover with a damp cloth and let rise until double, 1-2 hours. Punch dough down and let rise another 30-60 minutes.
- Melt 1/2 to 1 cube of butter on a large cookie sheet. Cut dough with glass or cookie cutter, dip onto the melted butter and fold over to form the roll. Let these rise about 1/2 hour until doubled.
- Bake at 375 °F for 20 minutes on the convection setting. They will rise in the oven as well.


Could these be made ahead of time and frozen to then bake day-of?
I haven’t tried it, but I would stop at step 5 right before “Let these rise about 1/2 hour until doubled.” Make sure they’re covered. The day of, take them out to thaw and then rise for 4 to 5 hours at room temperature, then you can continue on with step 6.
We made these Easter 2025. Absolutely wonderful. Light & fluffy. Best rolls we’ve made. Thank you for sharing this recipe.
Have you ever made this recipe with King Arthur’s GF flour or GF bread flour? I’d love to attempt these for my family with Celiac.
I’m not a gluten-free baker (or really even much of a baker), but I’d probably try a gluten-free all-purpose flour. Let me know how it goes if you try it!
Please is the flour bleached or unbleached? Also, can you give measurements for half the recipe please? They look absolutely delicious 😋
I use unbleached King Arthur Organic All-Purpose Flour. You should be able to halve the ingredients for a half-batch.
These are DELICIOUS!! Thank you for posting this recipe!