
We’ve wrapped up so many campaigns over the last couple months and it’s fun to finally be able to spill some of the projects we’ve been working on. Before Polly was born, we were asked to be a part of a video campaign with HP to launch their new photo printer. A blog post was not a part of the campaign, so this post isn’t sponsored, but since it all went down in our home as part of a room refresh, I thought it made sense to share why the reading room is looking a little different these days.

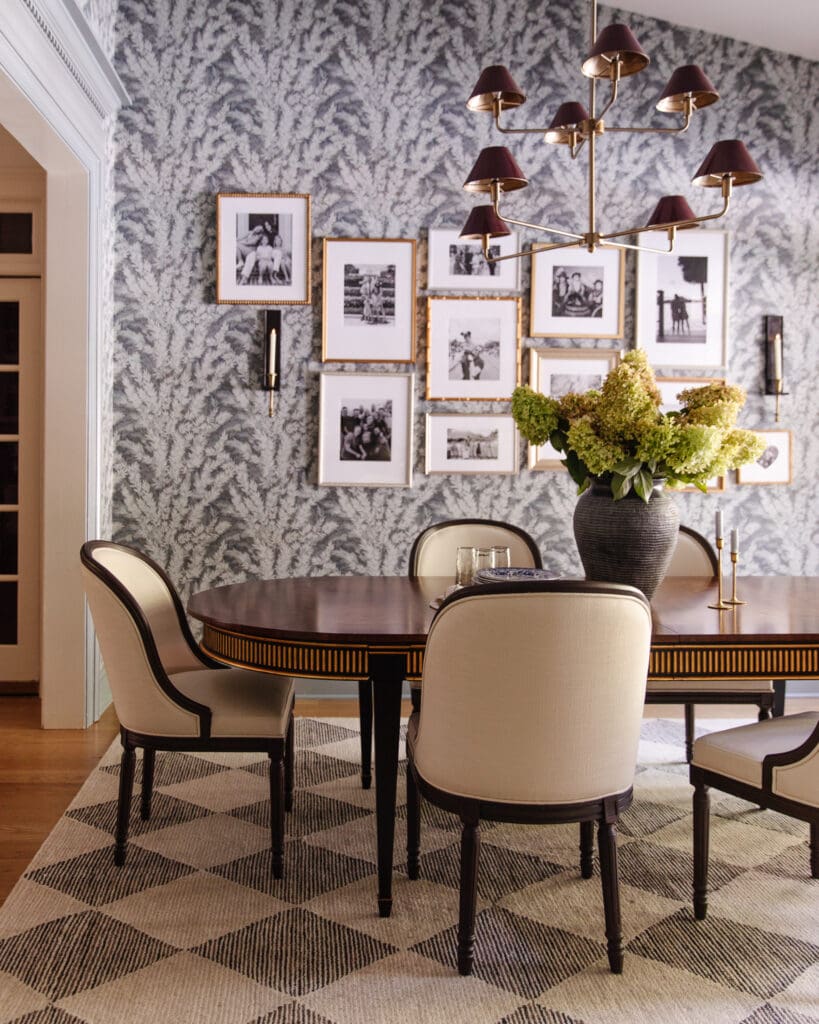
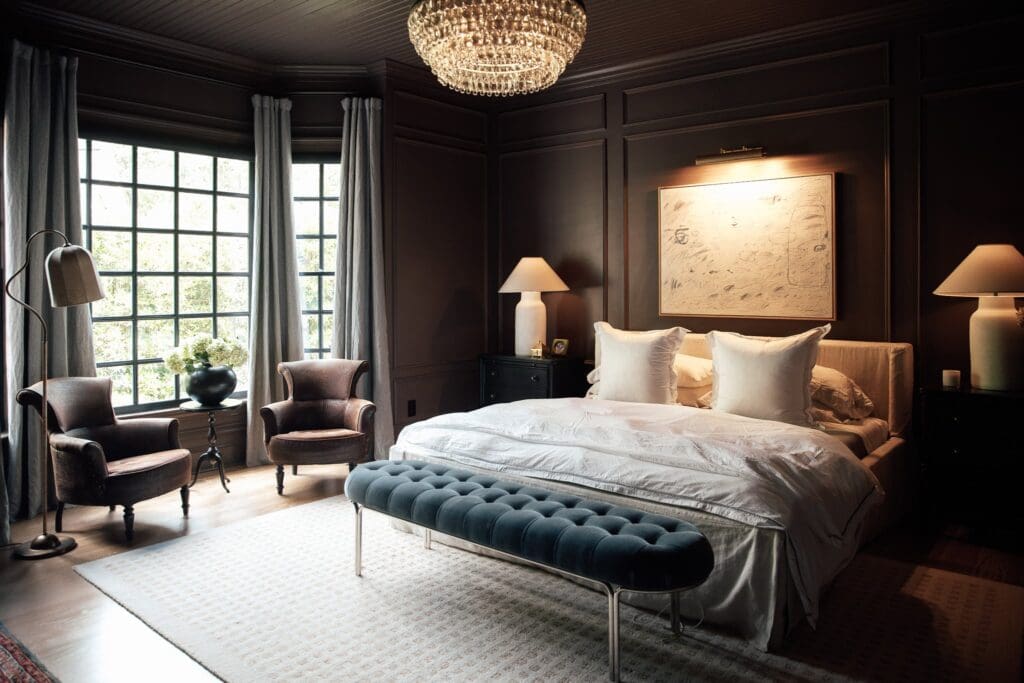
We ditched the coffee table and our faux cowhide rug in favor of this lighter persian rug (from here!) that really allows our dark leather sofa from Article and dark walls (Pine Grove by Clark+Kensington) to really pop. We also finally gave up on our money tree that has been dying for a year in the corner and brought in a small chair (we found at furniture row of all places! It’s actually for adults and surprisingly a super fun and comfortable place to sit!) and lamp for an additional seating option. I also decluttered the shelves quite a bit–which was the real focus of the project. Although I think it looked fine in pictures, in real life, there were some random things on there that I don’t even know how they GOT there! Like a can of soup? Haha. Bottom line: the whole room feels larger and cozier now.
Here’s the video we made with Spectre Films for HP documenting the process when Polly was just a few weeks old!

The wonderful thing about this partnership is we actually LOVE the printer! It’s amazing quality and I have since printed many other photos around the house–you can even print directly from your phone! It’s available right here on Amazon and we’d definitely recommend it.
In the video you saw us print photos to make a mood board, a digital print we purchased from Jenny’s Print Shop instantly…

And we also made these 3D photo dolls of our family that are such a big hit with the girls, they now live in their doll house in the playroom permanently.

When we pitched the 3D doll project to HP, they absolutely loved it, but asked that we print them in color, instead of black and white like we originally planned. Like I said, they are a huge hit with the girls, so they don’t mind either way. But I think these would make such a great kid-friendly decor piece on shelves–and especially chic in black and white. Almost like a 3D photo!
To make them:
You can see in the video, we took some quick pictures of each member of our family individually on my phone (!!) and printed them directly from my phone to the ENVY printer, and cut out the shapes. After tracing the cutouts onto a scrap block of wood and cutting it out with a band saw (you can also use a coping saw or a jigsaw), we pasted the pictures on the blocks with Mod Podge to finish them. I added an extra layer of Mod Podge on top to seal them. I also think it would be fun to paint the sides a fun color!

This room has always been a favorite place for our whole family to unwind–often one at a time. Whether I’m working at my little desk in the corner or Chris is reading a cookbook sprawled out on the couch or Greta is waiting anxiously for a friend to come over, we really appreciate the peaceful nature of “the reading room,” as our family so lovingly calls it.
READING ROOM SOURCES (click arrows to scroll through)


This room is beautiful….where did you purchase the rug…..I love it.
Do you have a link to how you did those shelves? I am obsessed and want to do something similar but would love a guide if you have one!
Thanks!
Check out this post for more on those shelves.
Everything looks so great! I was thinking of getting the faux hide for an-L-shaped sofa in a den where a rectangular rug just isn’t working. After more time with it, would you still recommend? Anything you wish was different with it? I appreciate any insight you can share before we make the plunge!
We actually loved it. The only word of warning I would give is my vacuum would always suck up the edges and I had to do a kind of dance to hold the rug down with my feet on the edges while vacuuming. Haha.
Thank you!!!
How many inches wide is the block of wood that the pictures are glued on? I want mine to be sturdy.
I LOVE these and thanks for sharing!
It’s a 1 inch thick board, which ends up around 3/4 inches thick.
The updates look so good! I didn’t think this room could get any better and then it did!
Quick question about the printer. Do you use it for all your regular document printing as well? Or is this a separate printer you use for photo type projects?
We have a printer upstairs and downstairs, so the one we use depends on where we are. But this one prints regular documents really well, as well.