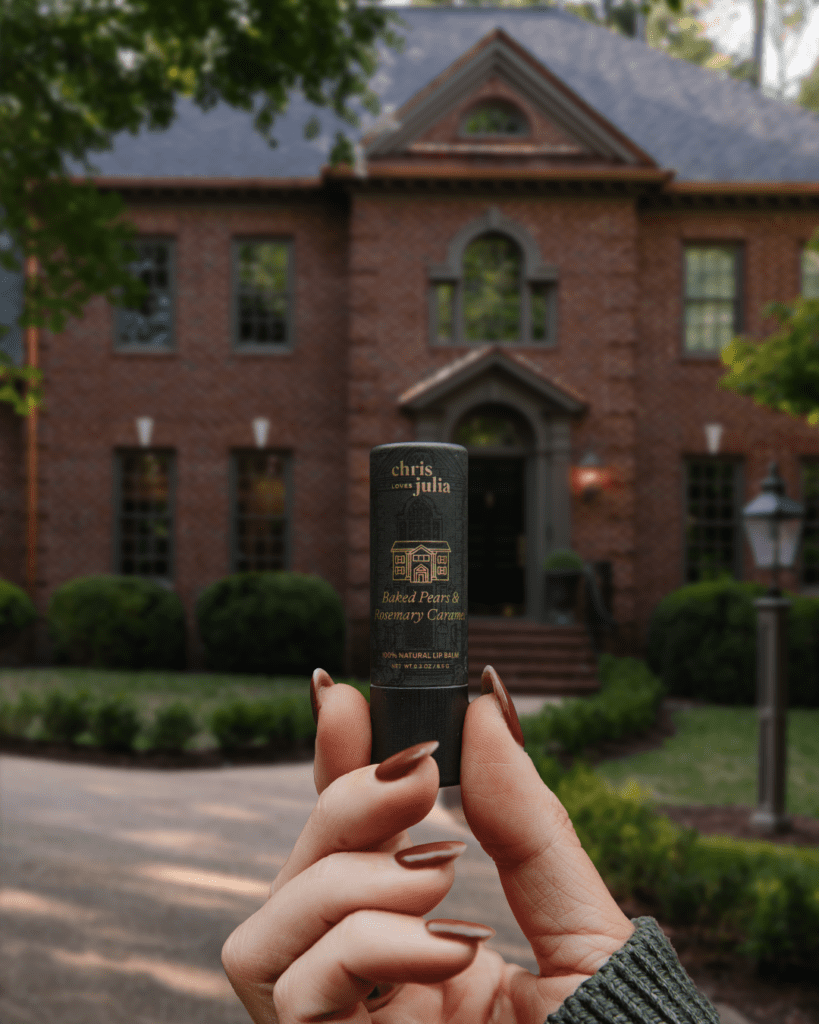
I'm excited to share today's recipe with you because it's more than just a dessert—this baked pears & rosemary caramel recipe inspired a lip balm flavor! That's right, we launched a collaboration with our friends at Poppy & Pout based on three fall desserts that I developed just for you. We love Poppy & Pout because they're just great people who created an all-natural lip balm company out of my home state of Idaho. If you want to snag the limited-edition collaboration, get your set here!
There's something so warm and comforting about baked pears. Especially when they're paired with a woodsy-spiced caramel sauce that flips everything you knew about caramel sauces on its head. My spiced rosemary caramel is dairy-free and beyond delicious. Be sure to make this for friends and family with food restrictions—they will be thrilled. Thrilled, I tell you.

Watch the Video
Does making a caramel sauce make you nervous? Not to fear! I show you the step-by-step in this video. (Spoiler: it's easier than you think.)
Make the Rosemary Caramel Sauce
I really think this is the best caramel sauce I've ever had, dairy-free or otherwise. Make it and prove me wrong! Other than the amazing flavor, the best part about this caramel sauce is that it's not fussy. The whole "no stirring allowed" bit? Throw that out the window. You don't have to helplessly stare it into submission while you wait for it to turn the perfect shade of amber. This one is a lot more forgiving and it will turn out perfectly.
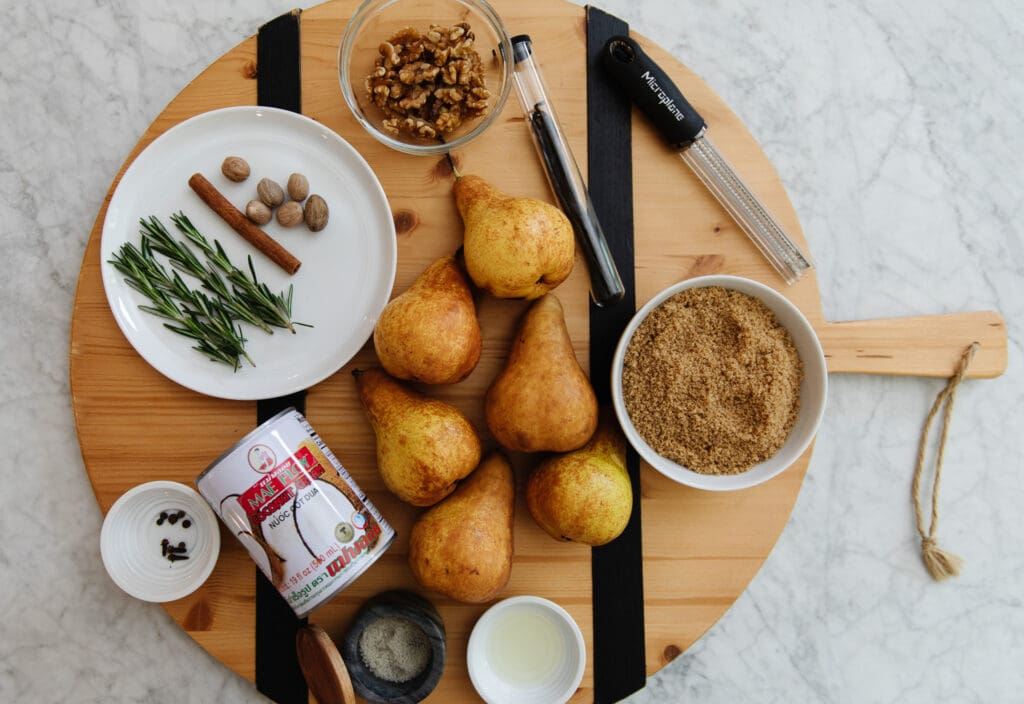
We'll start with a can of coconut cream in a saucepan. I'm using Mae Ploy brand. You can use a full-fat coconut milk too, just make sure it's not a light version. We'll add brown sugar for that toffee-like flavor, plus a cinnamon stick, lemon juice, and some herbs and spices. Allspice berries and whole cloves give it a nice sweet and peppery flavor, and sprigs of fresh rosemary which really make this special. Finally, I add a vanilla bean, freshly ground nutmeg, and good quality sea salt. Adjust the heat so that sauce goes onto a simmer for around 20-30 minutes, stirring occasionally so it doesn't burn on the bottom.
The caramel will reduce and turn a little darker. Once you can take a spoon and drizzle the caramel into a loose ribbon, cut off the heat, and strain it into a heatproof bowl. The consistency should be pretty thick, since the pears will release juice and thin it out slightly.
Prep the Pears
I like to use Bosc pears in this recipe. They're perfect for baking as they are a more firm, dense fruit. Also, you don't have to worry about them being perfectly ripe, like other pears. This variety has a complex, honey-sweetness even before they are fully softened.
Inspect the pears for any imperfections (I only use the "good" half if I see any), remove the stems, and cut the pears in half. Remove the interior seeds with a knife, serrated spoon, or melon baller. Add the halved pears into a baking dish.
Make the Toasted Walnut Topping
Into a dry saute pan, add a sprig of rosemary and some walnuts with a little sea salt, and toast gently over medium heat for a few minutes. Set it aside to cool, and then rougly chop the walnuts.
Bake the Pears & Rosemary Caramel
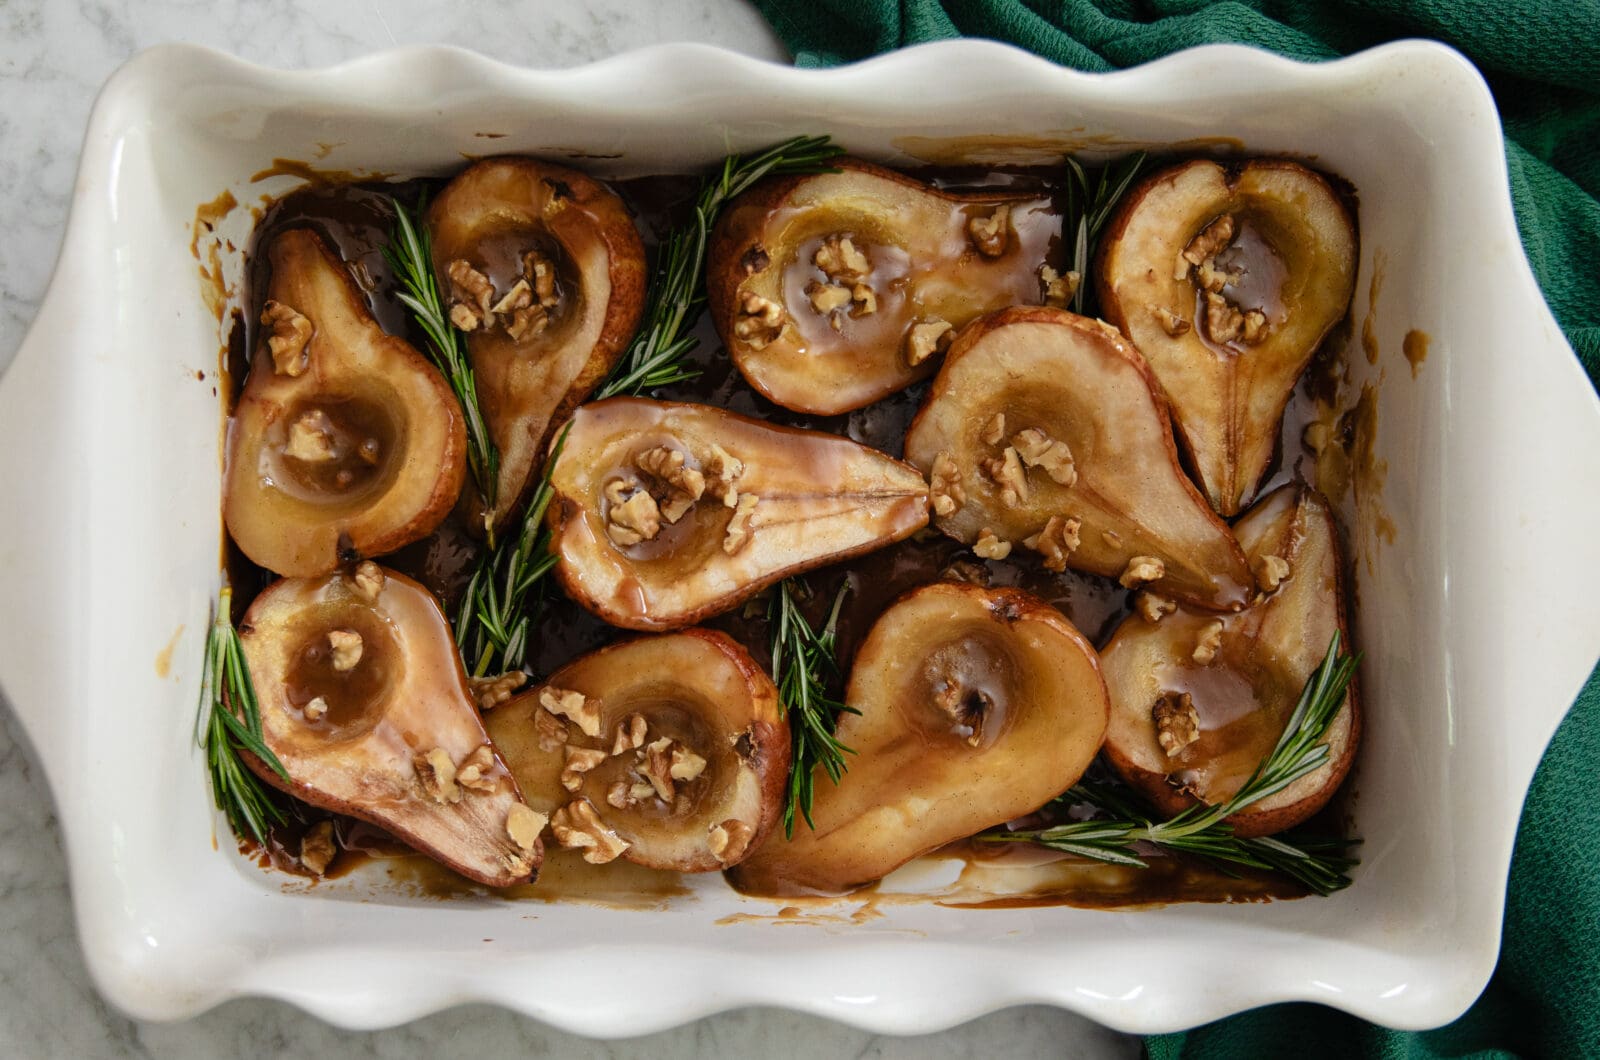
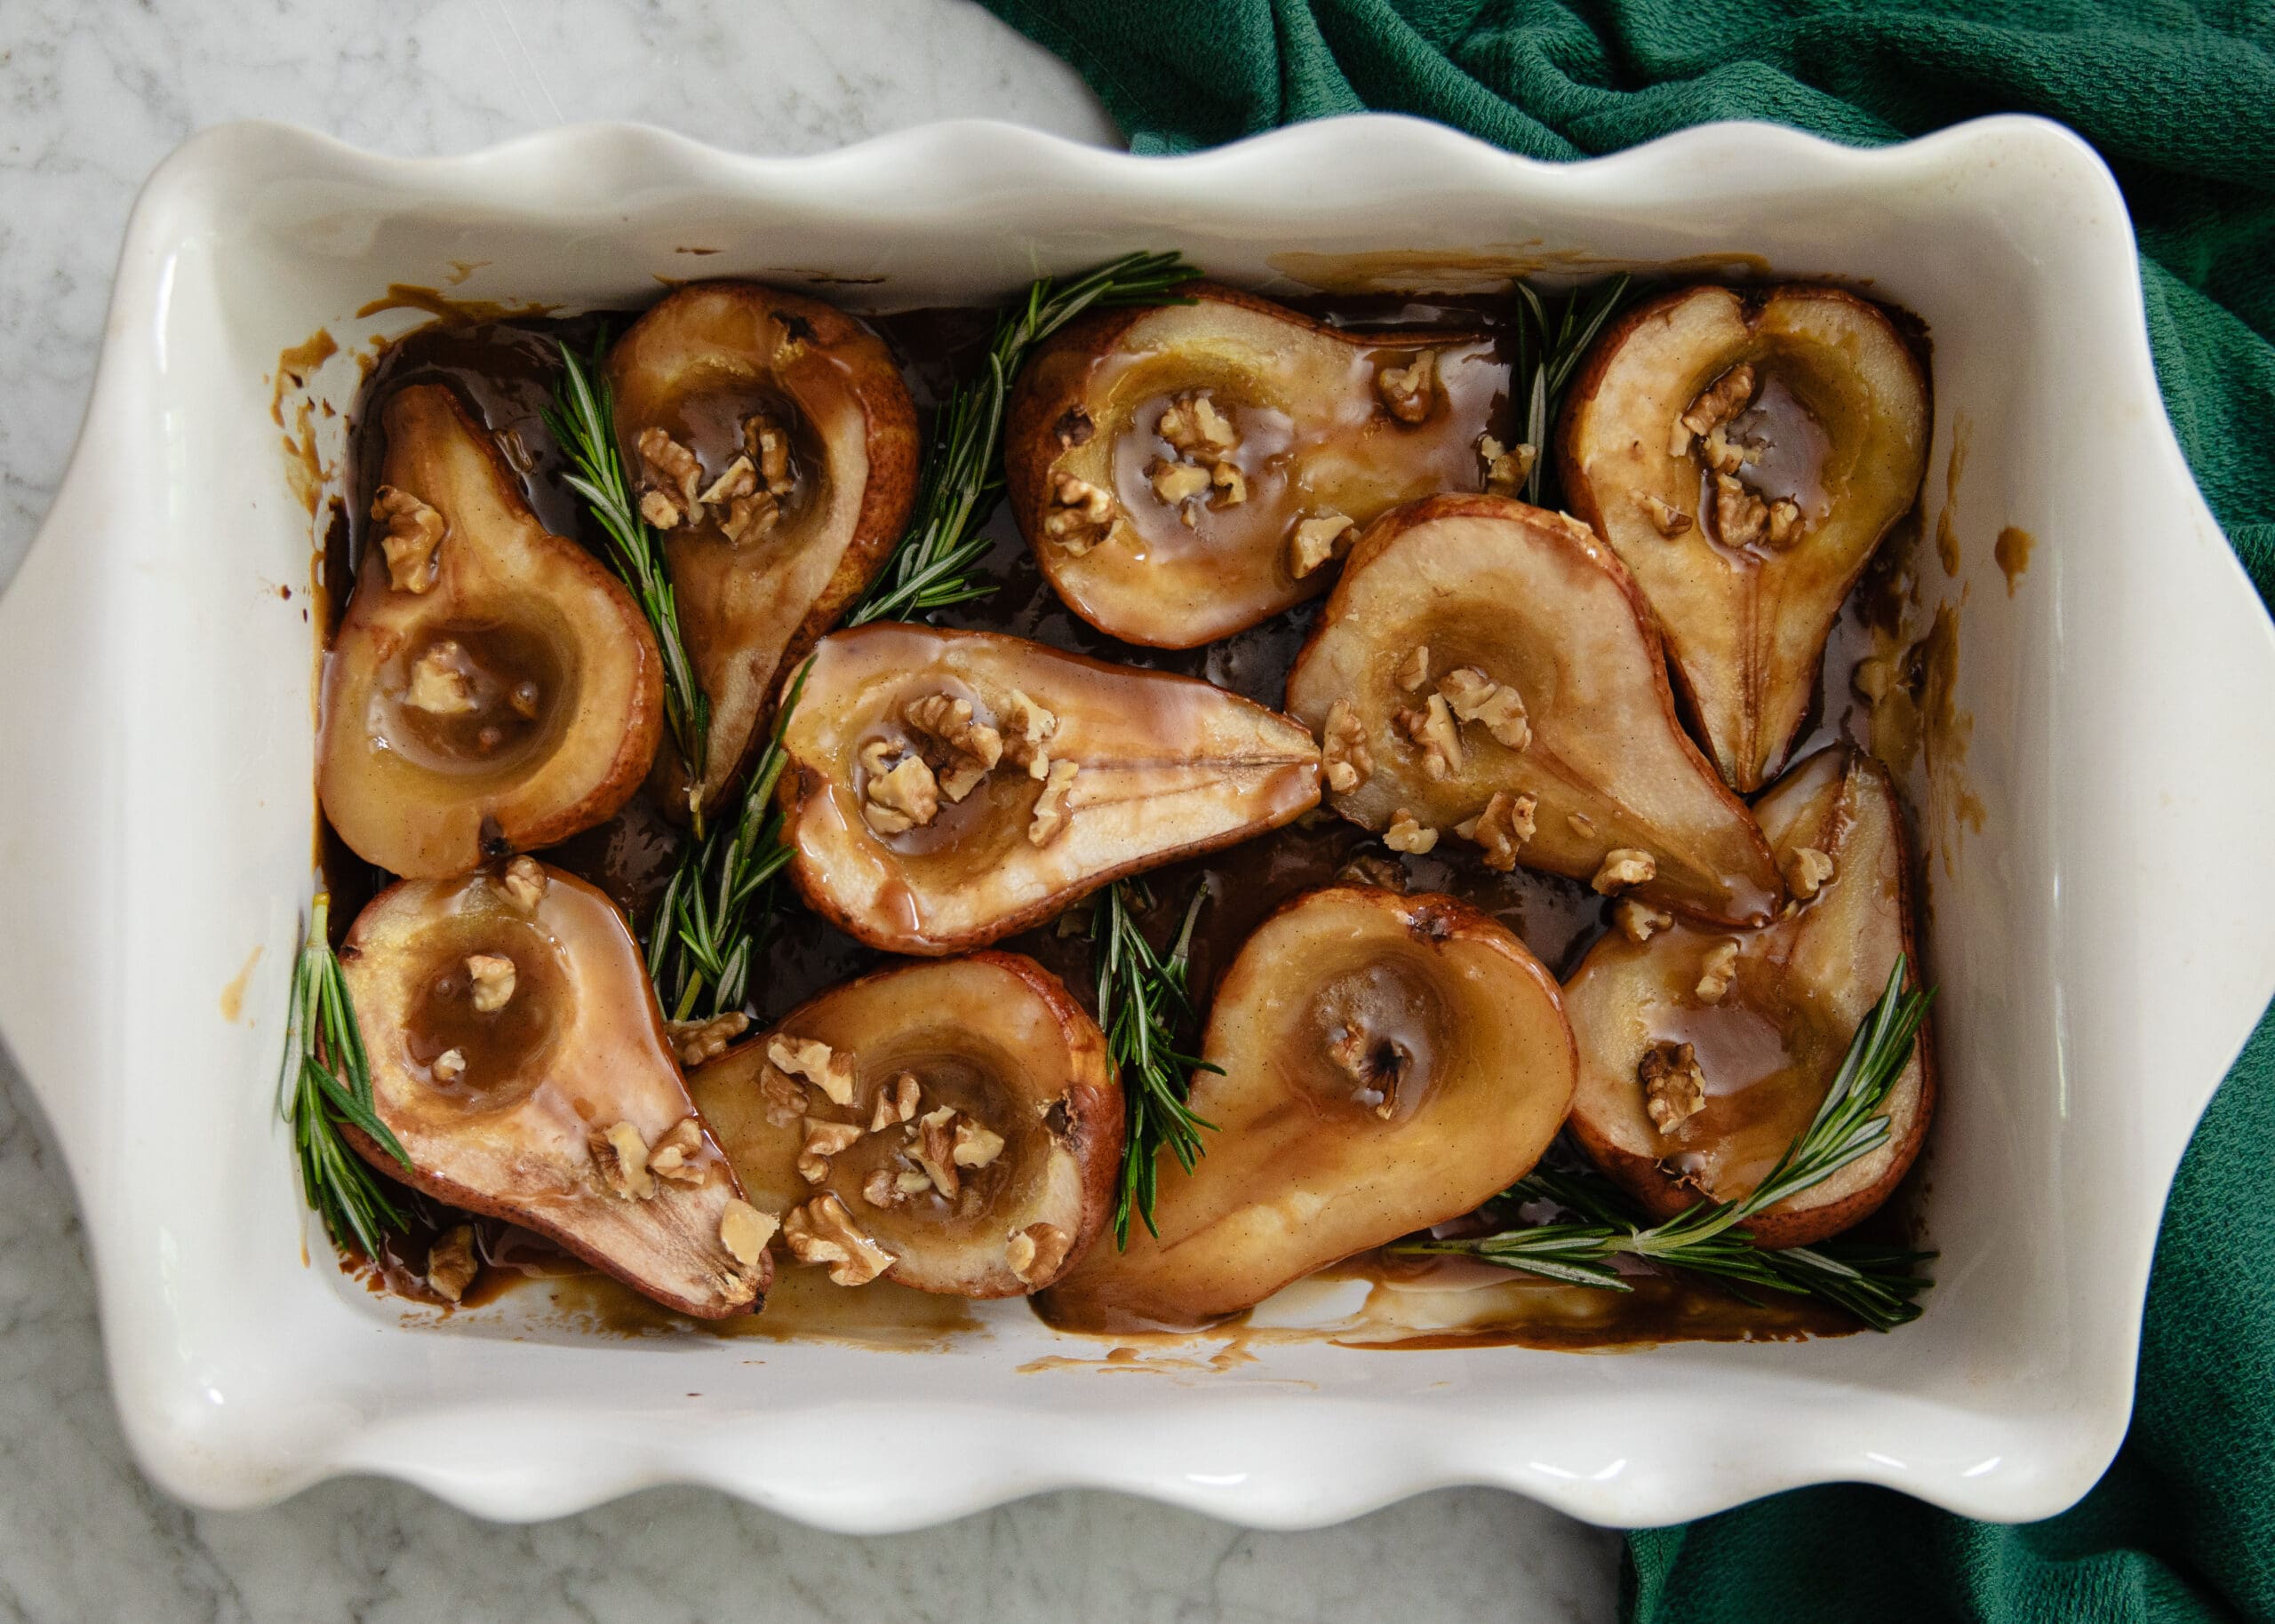
Drizzle the caramel sauce over the pears, cover the dish with aluminum foil, and place the dish into the oven at 375 convection setting for 20-30 minutes. Take the foil off and let it cook for another 10 minutes or so. The smell of the caramel sauce alone is going to change your whole outlook on food alternatives...
Serve It Up
To plate the dessert, I scoop out a halved pear and drizzle it with more caramel sauce and sprinkle with the chopped walnuts. And let me tell you, this dish is special. I wish you could smell it in your kitchen right now. Go ahead and make it and let me know what you think! And if you want to enjoy this scent any time of day, be sure to grab the new lip balm set from Poppy & Pout!
Baked Pears & Rosemary Caramel
6
servings30
minutes40
minutesIngredients
6 Bosc pears
- For the Caramel Sauce
19 oz coconut cream or full fat coconut milk
2 cups brown sugar
1 split vanilla bean
1 stick cinnamon
3 whole cloves
6 whole allspice berries
1/8 tsp ground nutmeg
1 tbsp fresh lemon juice
4 sprigs rosemary
1/4 tsp salt
- Topping
2/3 cup walnuts
1 sprig rosemary
pinch salt
Directions
- Prep the pears
- Preheat oven to 375 degrees. Cut the pears in half, removing top stems and scooping out any seeds in the center. Arrange in a casserole dish with the cut sides facing up.
- Make the caramel sauce
- To a medium saucepan, add all of the caramel ingredients. Place over medium high heat for 20-30 minutes until reduced by 1/3.
- Bake the pears
- Pour the caramel sauce over the pears, cover the dish with foil and place in the oven for 30 minutes (if using the convection setting). Remove the foil and cook for another 10-15 minutes until done
- Toast the walnuts
- To a low-sided pan, add the walnuts, rosemary and pinch of salt. Toast on medium until fragrant, remove from the pan (discard the rosemary) and roughly chop.
- Serve
- Plate each serving with two slices of pear, a drizzle of the caramel sauce from inside the pan, and some of the toasted walnuts on top. Garnish with fresh rosemary if desired. Serve warm.
Shop CLJ x Poppy & Pout Lip Balm Trio
I'm even more excited to share today's recipe with you because it's more than just a dessert—it inspired a lip balm flavor! That's right, we just launched a collaboration with our friends at Poppy & Pout based on three fall desserts that I developed just for you. We love Poppy & Pout because they're just great people who created an all-natural lip balm company out of my home state of Idaho. If you want to snag the limited-edition collaboration, get your set here!
Back to the spiced peach crumble, the dessert. I've mentioned this before, but peaches are my favorite fruit. I just love 'em. While they're especially great fresh this time of year, I often use frozen peaches in my cooking since they're just easier to come by anytime. I like desserts that really let them shine as the star of the show.
Since we're mostly grain-free, gluten-free, and dairy-free over here, I often turn to nuts as my flour and texture of choice with desserts. This recipe combines the best of all of those worlds, because peaches and almonds go so well together. They're actually related botanically—the pit inside a stone of a peach has a bitter almond-like flavor.
The other nice thing is when a dessert comes together in one pan, from stovetop to oven. Grab your trusty cast iron skillet, and you're ready to roll!
Spiced Peach Crumble Video
If you want to see how beautifully this cooks up, follow along as I take you through the steps in this video.
Prepare the Peaches
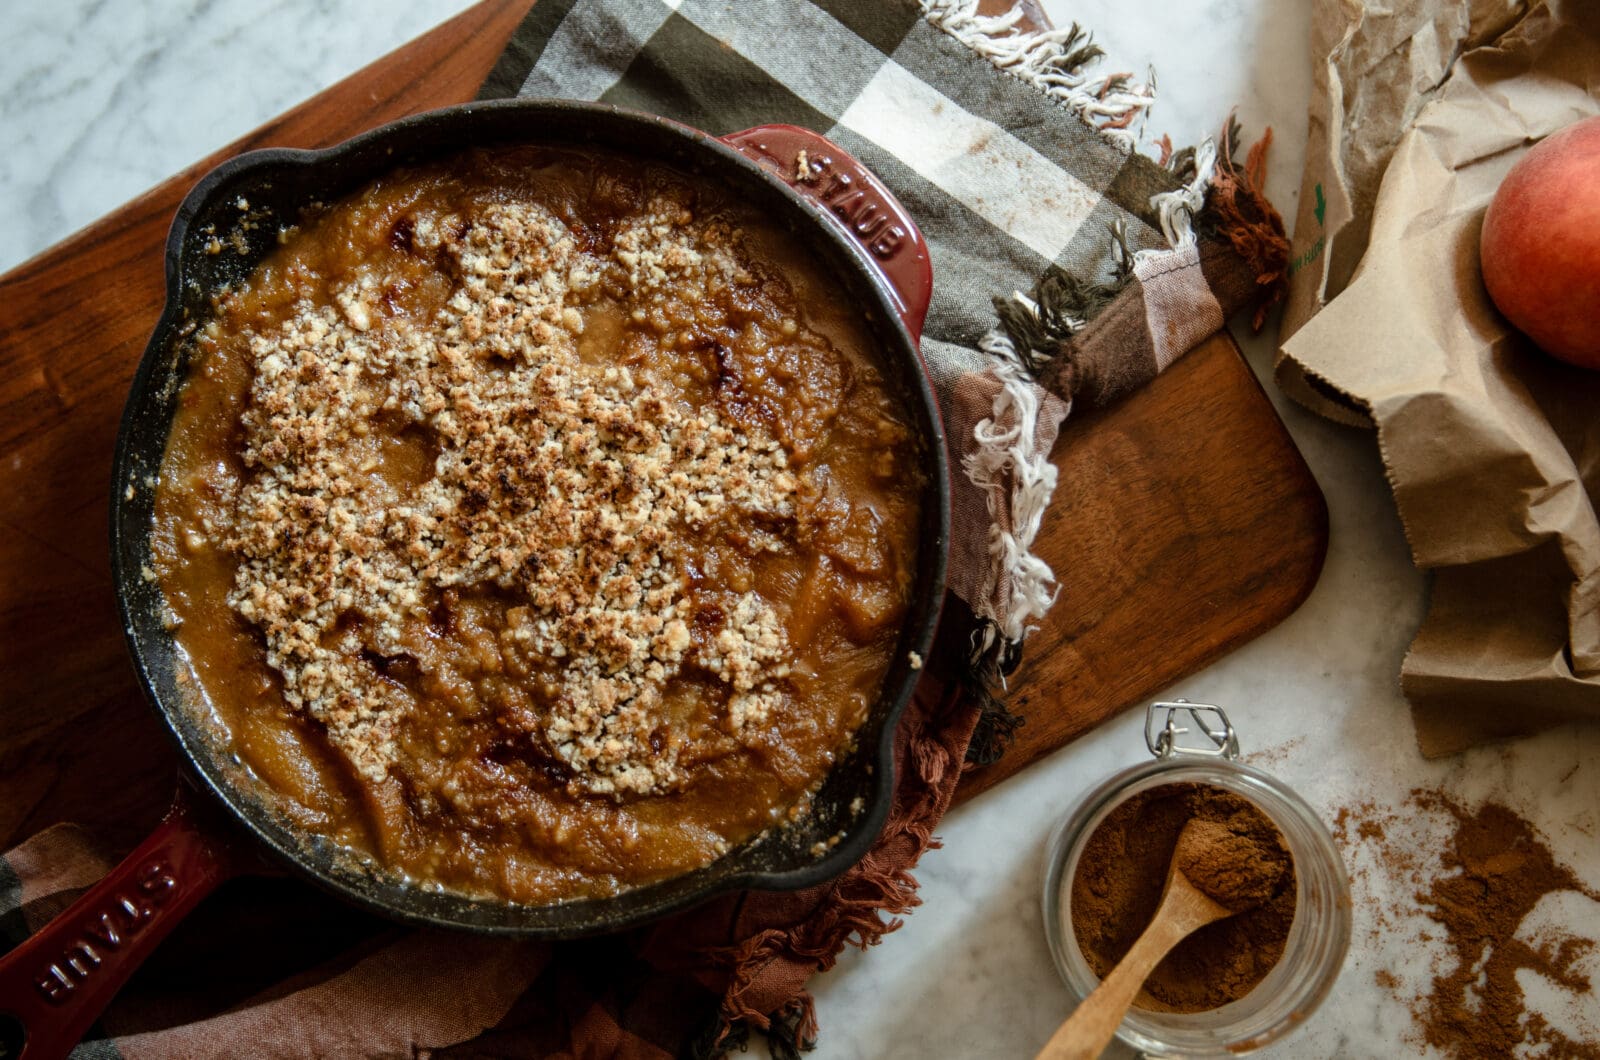
To start on the fruit part of the crisp, we dump a bag of frozen peaches (no thawing necessary!) into a 9-inch skillet with a bit of water and cook over medium heat until the peaches soften a little and the water looks more glossy. As it heats, I add some spices. First salt (a flavor enhancer that actually brings out the sweetness) and pumpkin pie spice (a mixture of cinnamon, ginger, nutmeg, allspice, and cloves).
When the mixture is simmering, I reduce the heat and let it cook until it's bubbling around the edges. Then we add the sweeteners—you don't need a lot. I use a combo of maple syrup and coconut sugar—this adds great caramelized flavor without making the sauce too watery or dry. Let this reduce until the liquid is thicker.
Make the Crumble Topping
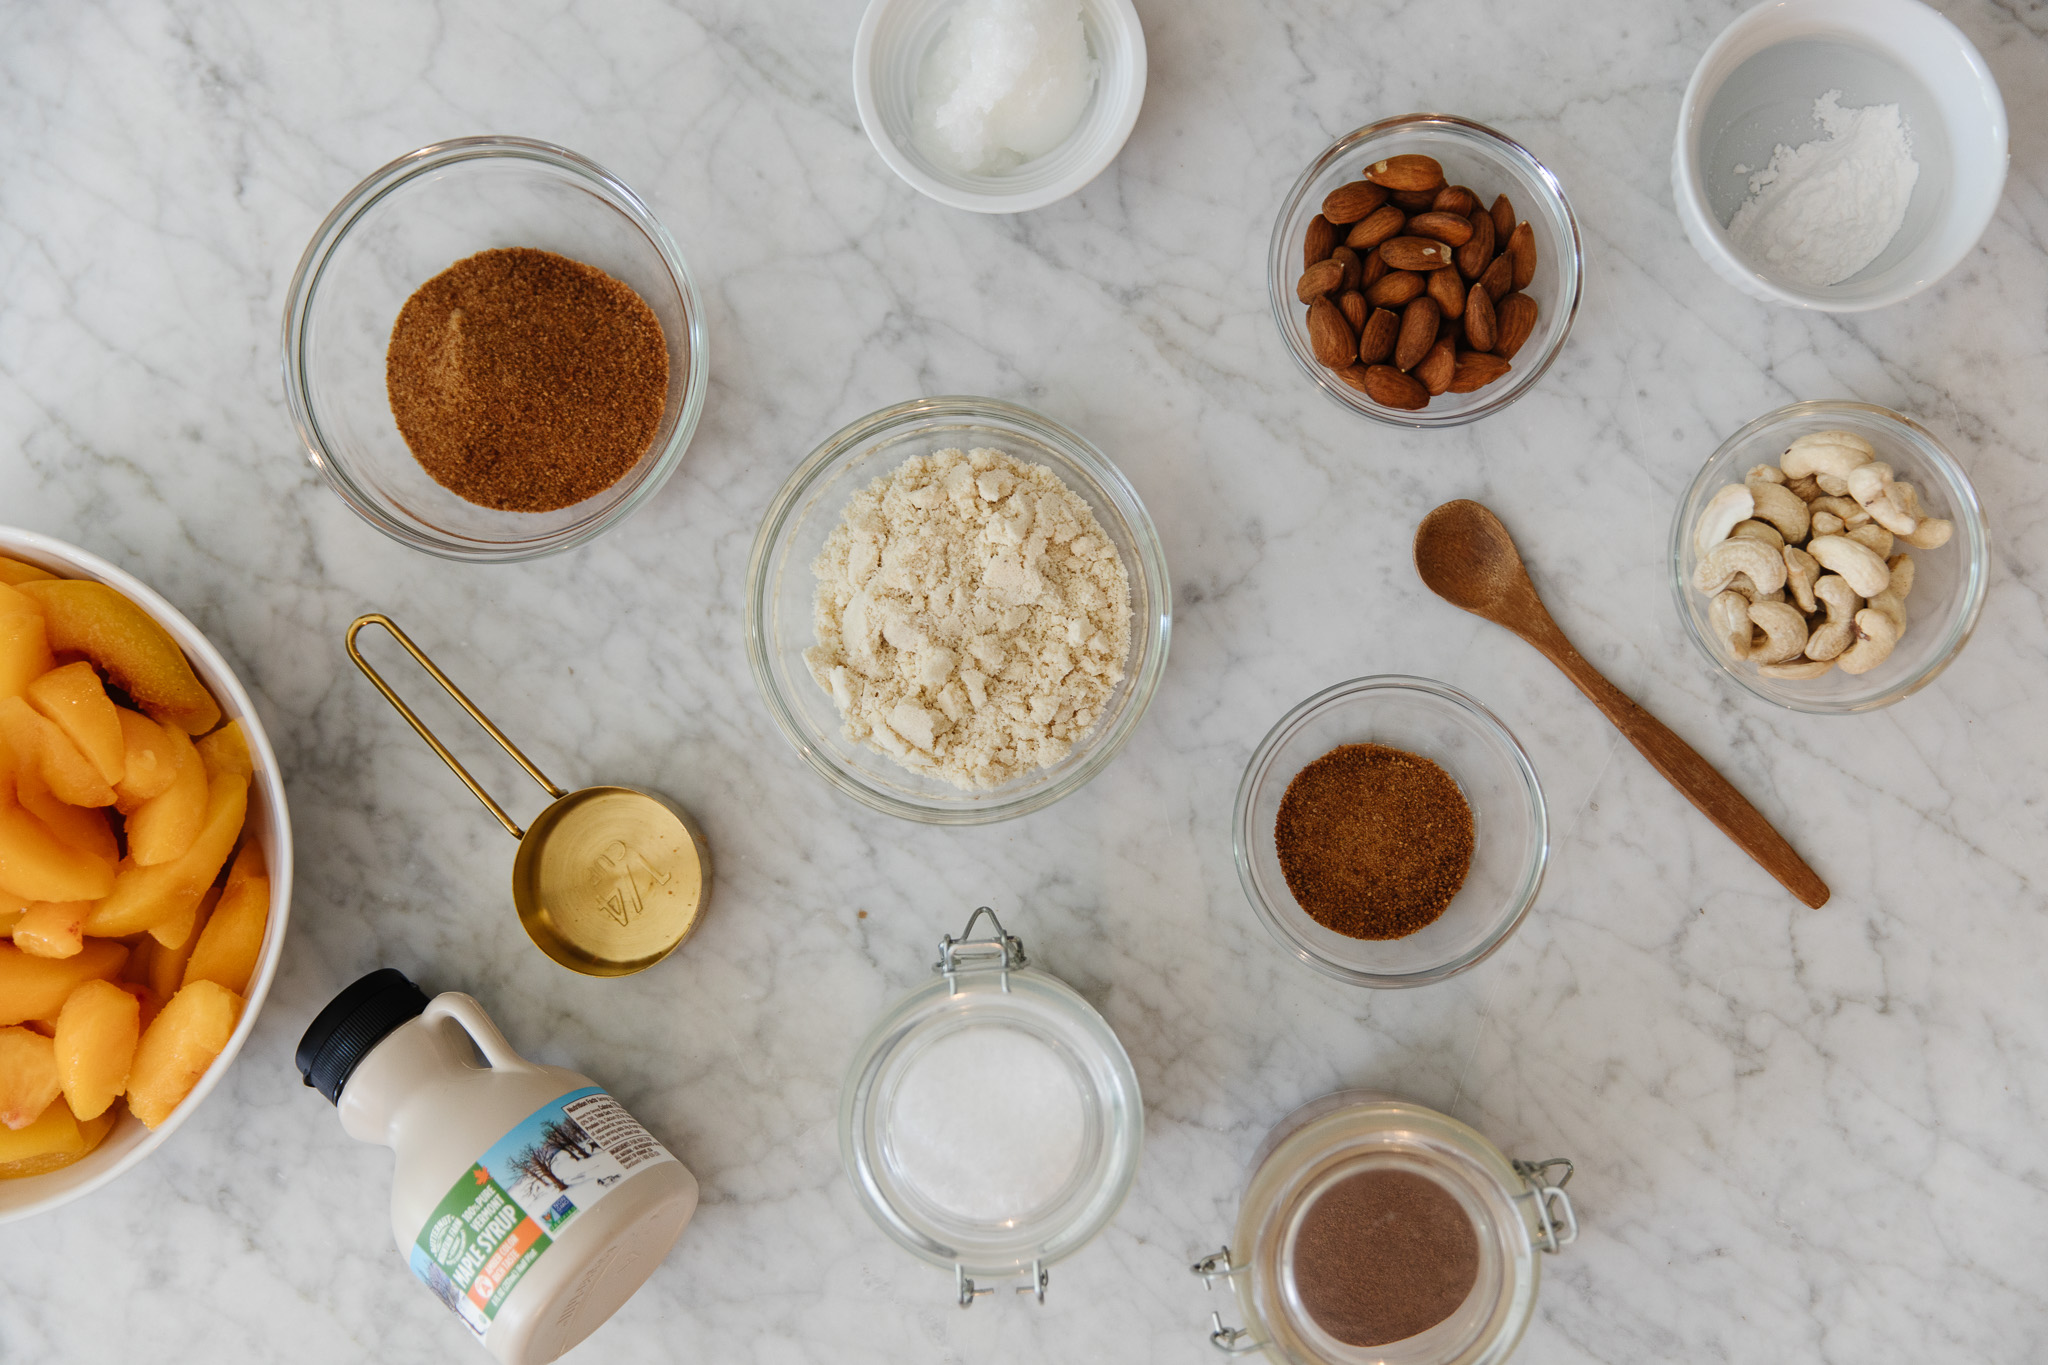
Our nut-based crisp topping is composed of raw almonds and cashews blitzed in a food processor until they're coarsely ground. I add almond flour, coconut sugar, and some coconut oil to the processor and blend until it's a crumble-like texture. The coconut oil brings together all the dry ingredients just like a butter would to get those different-size pieces. Plus it adds another slightly nutty component to the dish!
Finish the Peach Crisp
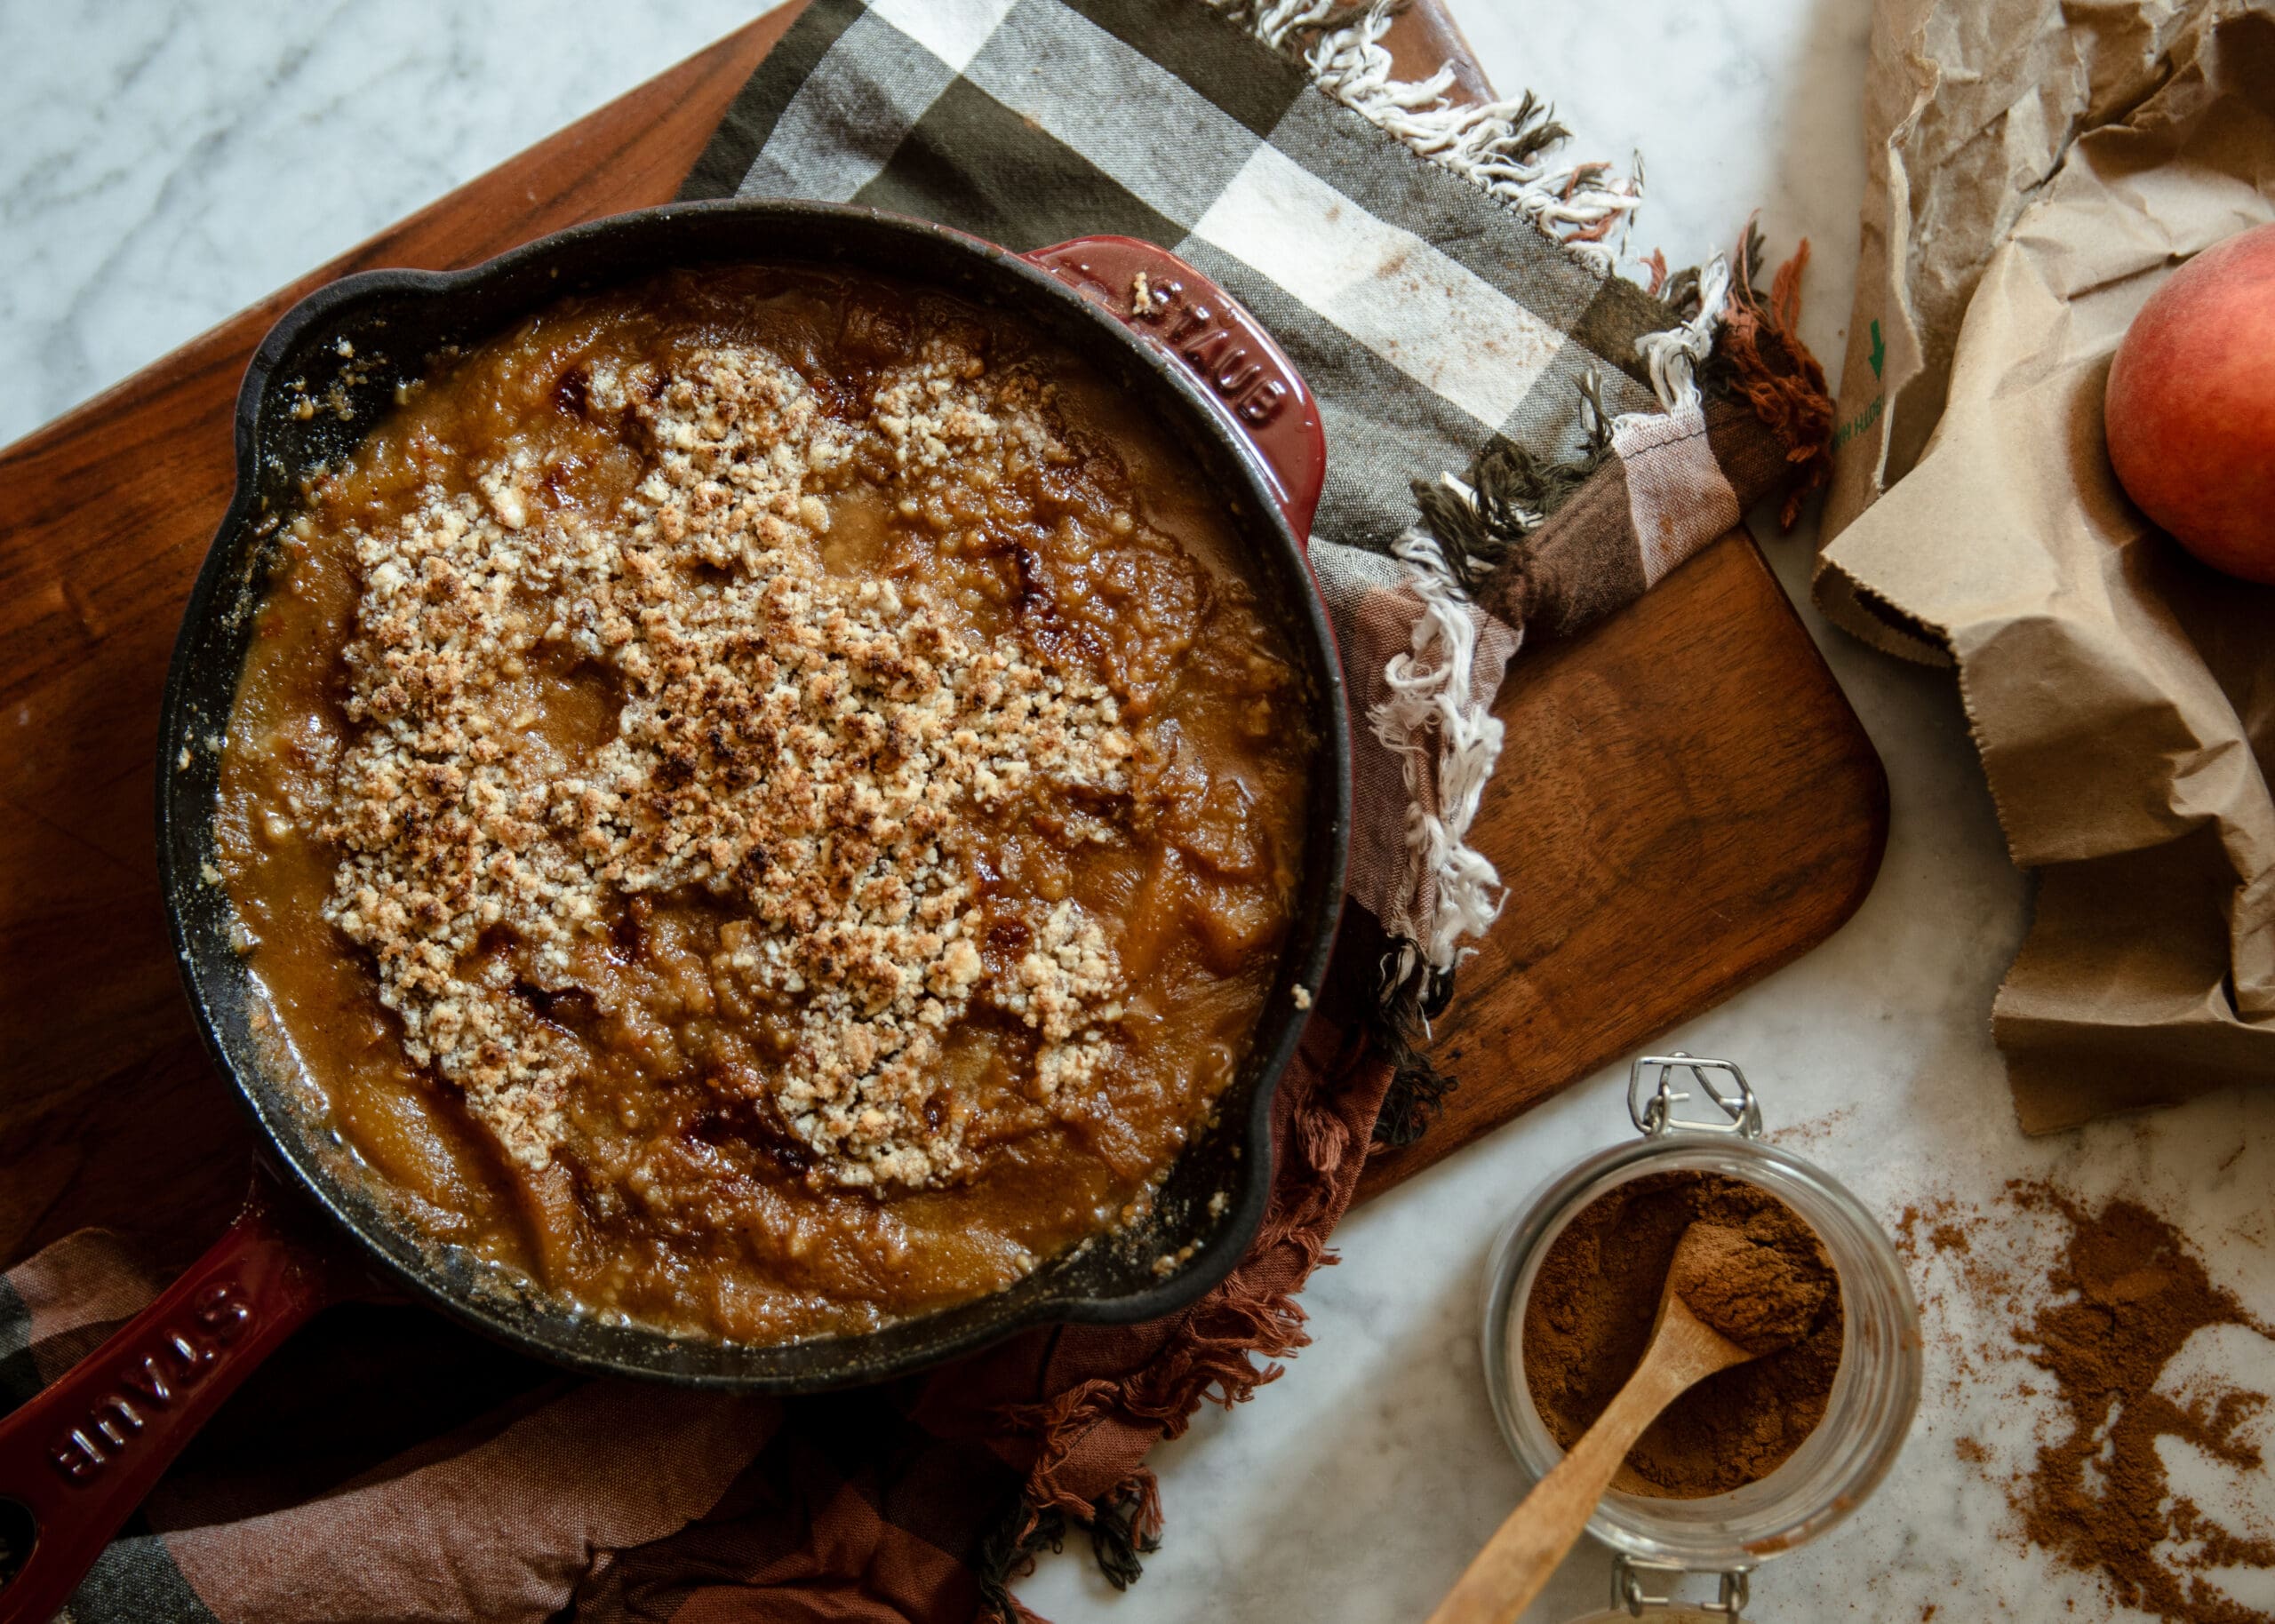
To thicken the peaches and syrup even more, I add a little slurry to the skillet made of tapioca starch (you can also use arrowroot starch if you prefer) and some water. This will help it thicken up even more in the oven. I put the crumble overtop of the peaches to almost cover the whole dish, and then put it in a 400-degree oven on convection setting for 8 minutes. At the very end, I turn the heat to broil and cook for another 2-3 minutes to really toast the nuts at the end.
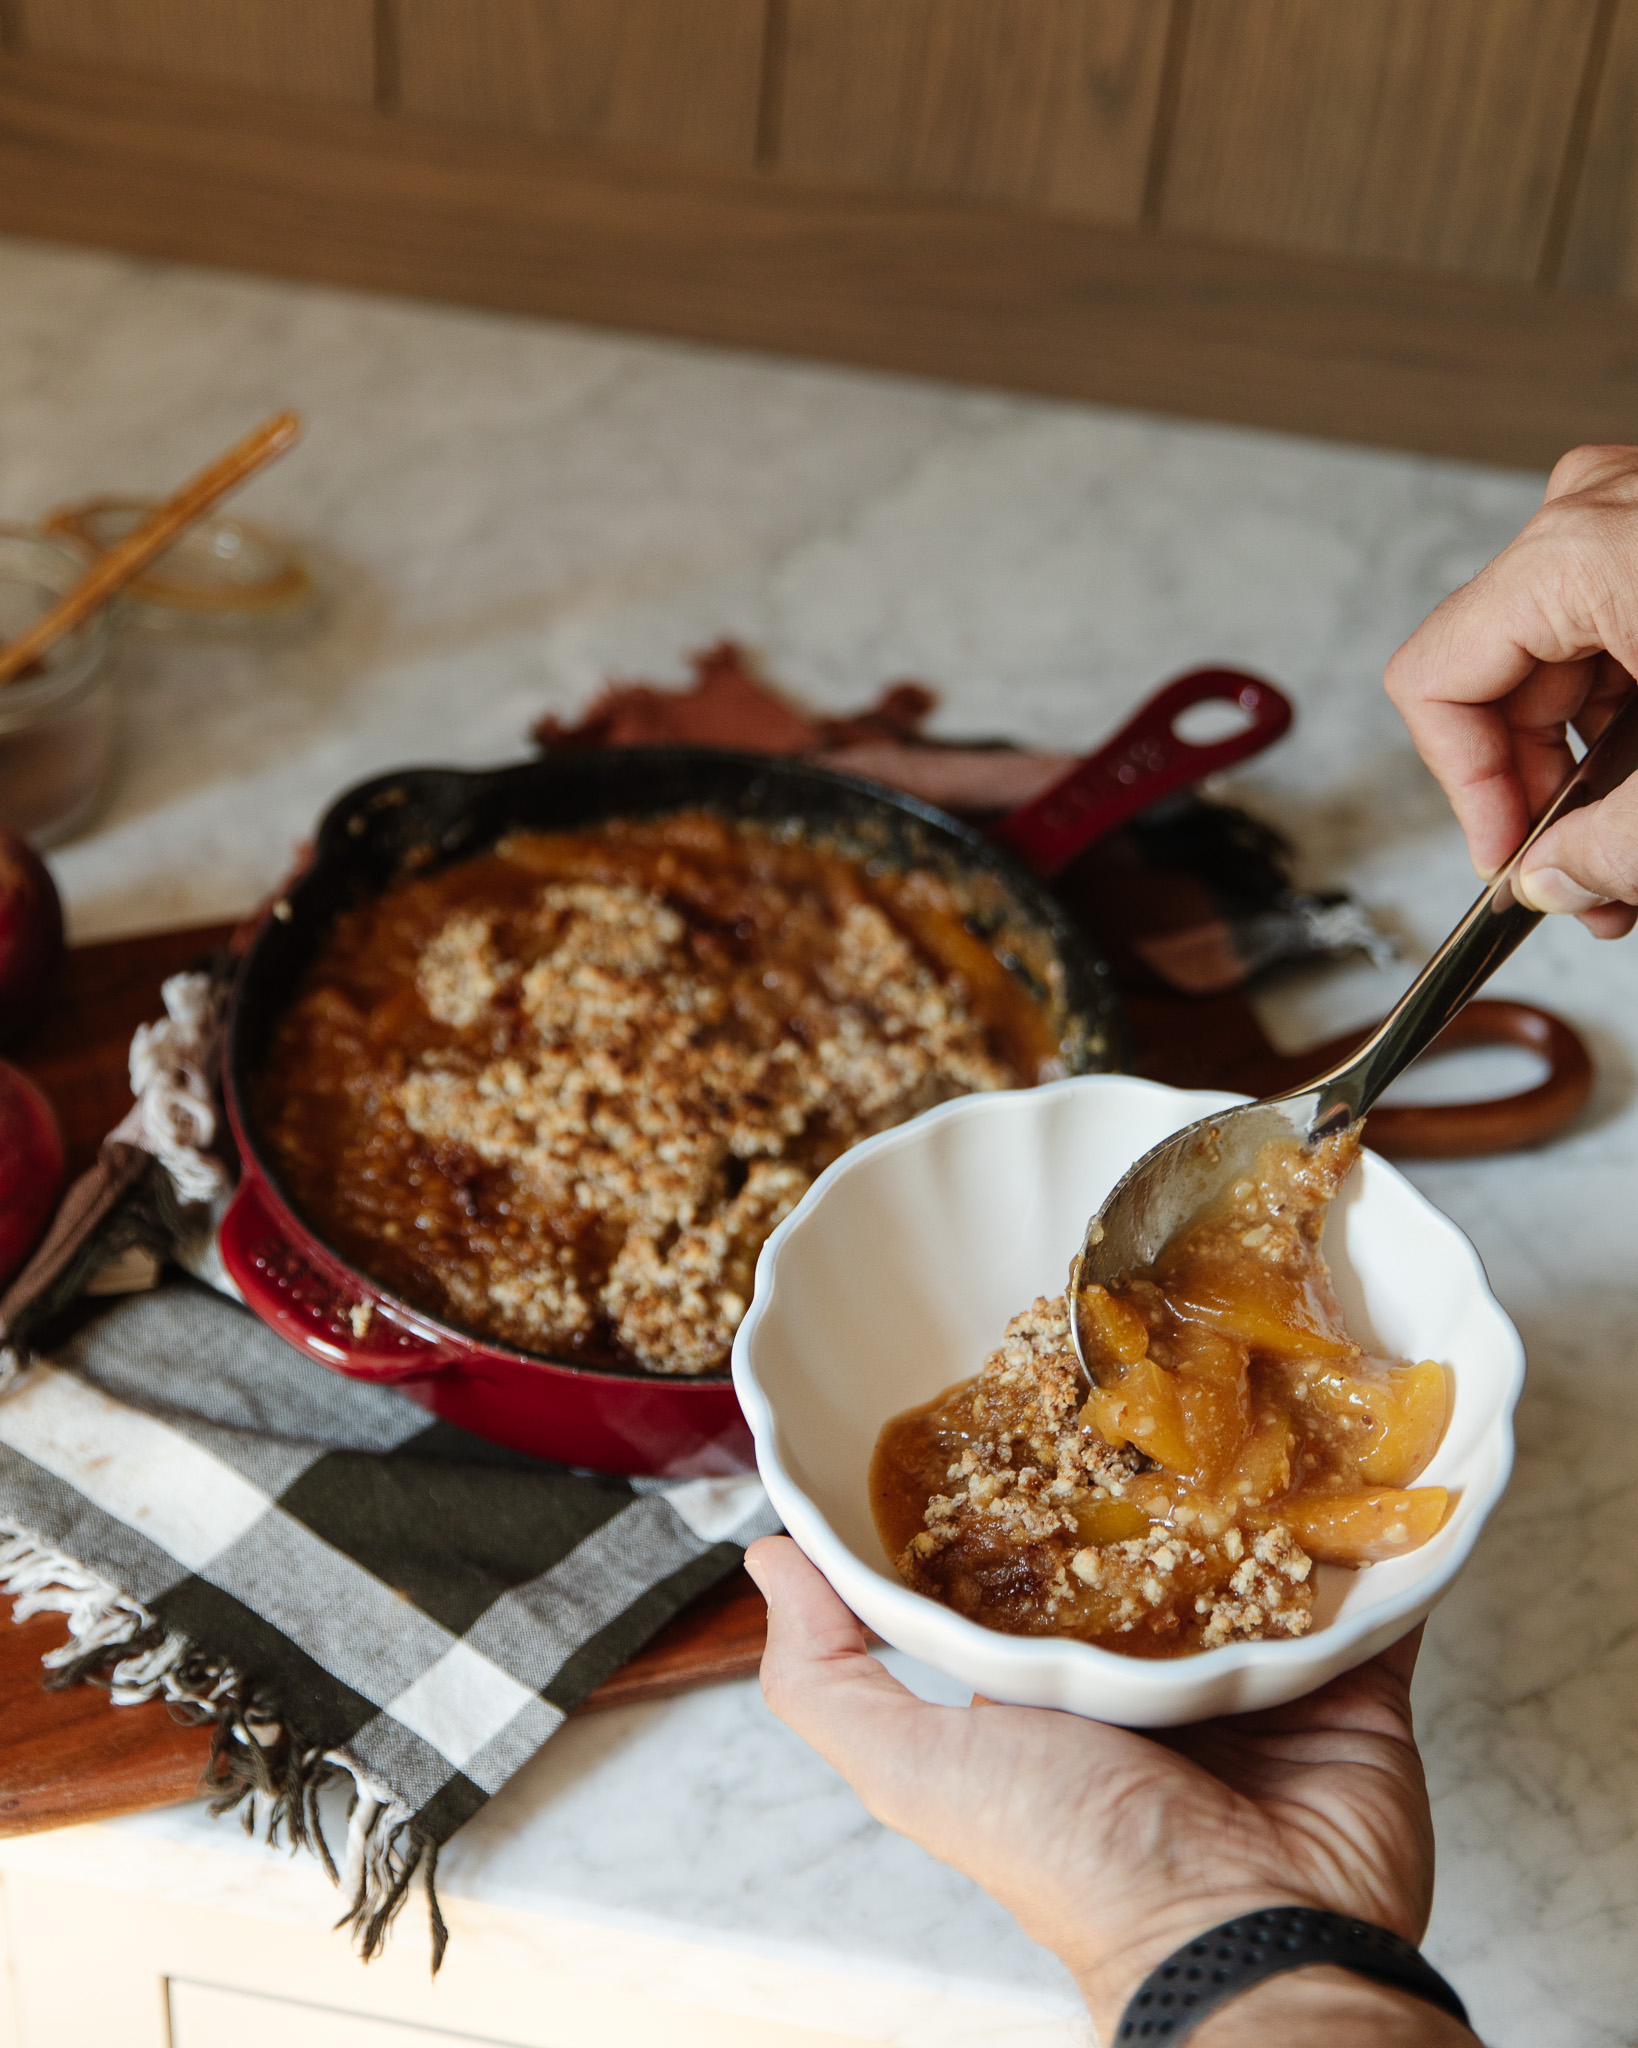
The smell is just incredible at this point, but you have to resist and let the dessert rest for 30 minutes so it can thicken even more. It's wonderful served on its own or alongside a dairy-free whipped topping or ice cream.
This spiced peach crumble is like fall in a bowl: it's so warm and comforting. The nut-based streusel topping crisps up beautifully and adds a wonderful texture. It's a super-easy dessert with minimal ingredients that are very friendly to a lot of food restrictive diets. I think you'll enjoy making this one up. Let me know what you think in the comments!
Spiced Peach Crumble
4
servings30
minutes40
minutesIngredients
- For the Peaches
2 lbs frozen peaches
2 pinches salt
2 tsp pumpkin pie spice
1 cup water
1/4 cup coconut or brown sugar
1/4 cup maple syrup
- To Thicken
1 1/2 tbsp cold water
2 tbsp tapioca starch
- Crumble
2/3 cup almond flour
1/3 cup roughly chopped almonds and/or cashews
1 tbsp coconut sugar
1/4 cup coconut oil
1 1/2 tsp pumpkin pie spice
1 pinch salt
Directions
- Cook the Peaches
- Preheat oven to 400. To a small cast iron pan with sides, add the peaches, salt, pumpkin pie spice, and water. Bring to a boil, reduce and simmer for 10-15 minutes until reduced. Add the coconut sugar and maple syrup and cook for another 10-15 minutes until liquid begins to thicken.
- Make the Crumble
- While the peaches cook, make the crumble by adding the almonds and cashews to a food processor and blitzing a few times to break them up roughly. Add the remaining ingredients and blitz in bursts until crumbs form.
- Bake & Serve
- Make the slurry by combing the water and tapioca starch. Turn the heat off the peaches and add the slurry, stirring to combine evenly. Top with the crumble and place in the oven to bake for 10-15 minutes, until the crumble is toasty and the liquid has thickened. Let cool for at least 20 minutes before serving.

Spiced Peach Crumble
4
servings30
minutes40
minutesIngredients
- Crumble
2/3 Cup Almond Flour
1/3 Cup Roughly Chopped Almonds
1/3 Cup Roughly Chopped Cashews
1 1/2 tsp Pumpkin Pie Spice
1 Pinch Salt
1 Tbsp Coconut Sugar
1/4 Cup Coconut Oil
- Peaches
2 lbs Frozen Peaches
2 Pinches Salt
2 tsp Pumpkin Pie Spice
1 Cup Water
1/4 Cup Coconut Sugar
1/4 Cup Coconut Oil
- Thicken
1 1/2 Tbsp Cold Water
2 Tbsp Tapioca Starch
Directions
- Cook the Peaches
Preheat oven to 400. To a small cast iron pan with sides, add the
peaches, salt, pumpkin pie spice, and water. Bring to a boil, reduce
and simmer for 10-15 minutes until reduced. Add the coconut sugar
and maple syrup and cook for another 10-15 minutes until liquid
begins to thicken. - Make the Crumble
While the peaches cook, make the crumble by adding the almonds
and cashews to a food processor and blitzing a few times to break
them up roughly. Add the remaining ingredients and blitz in bursts
until crumbs form. - Bake & Serve the Peaches
Make the slurry by combing the water and tapioca starch. Turn the
heat off the peaches and add the slurry, stirring to combine evenly.
Top with the crumble and place in the oven to bake for 10-15
minutes, until the crumble is toasty and the liquid has thickened.
Serve warm.
I'm even more excited to share today's recipe with you because it's more than just a dessert—it inspired a lip balm flavor! That's right, we just launched a collaboration with our friends at Poppy & Pout based on three fall desserts that I developed just for you. We love Poppy & Pout because they're just great people who created an all-natural lip balm company out of my home state of Idaho. If you want to snag the limited-edition collaboration, get your set here!
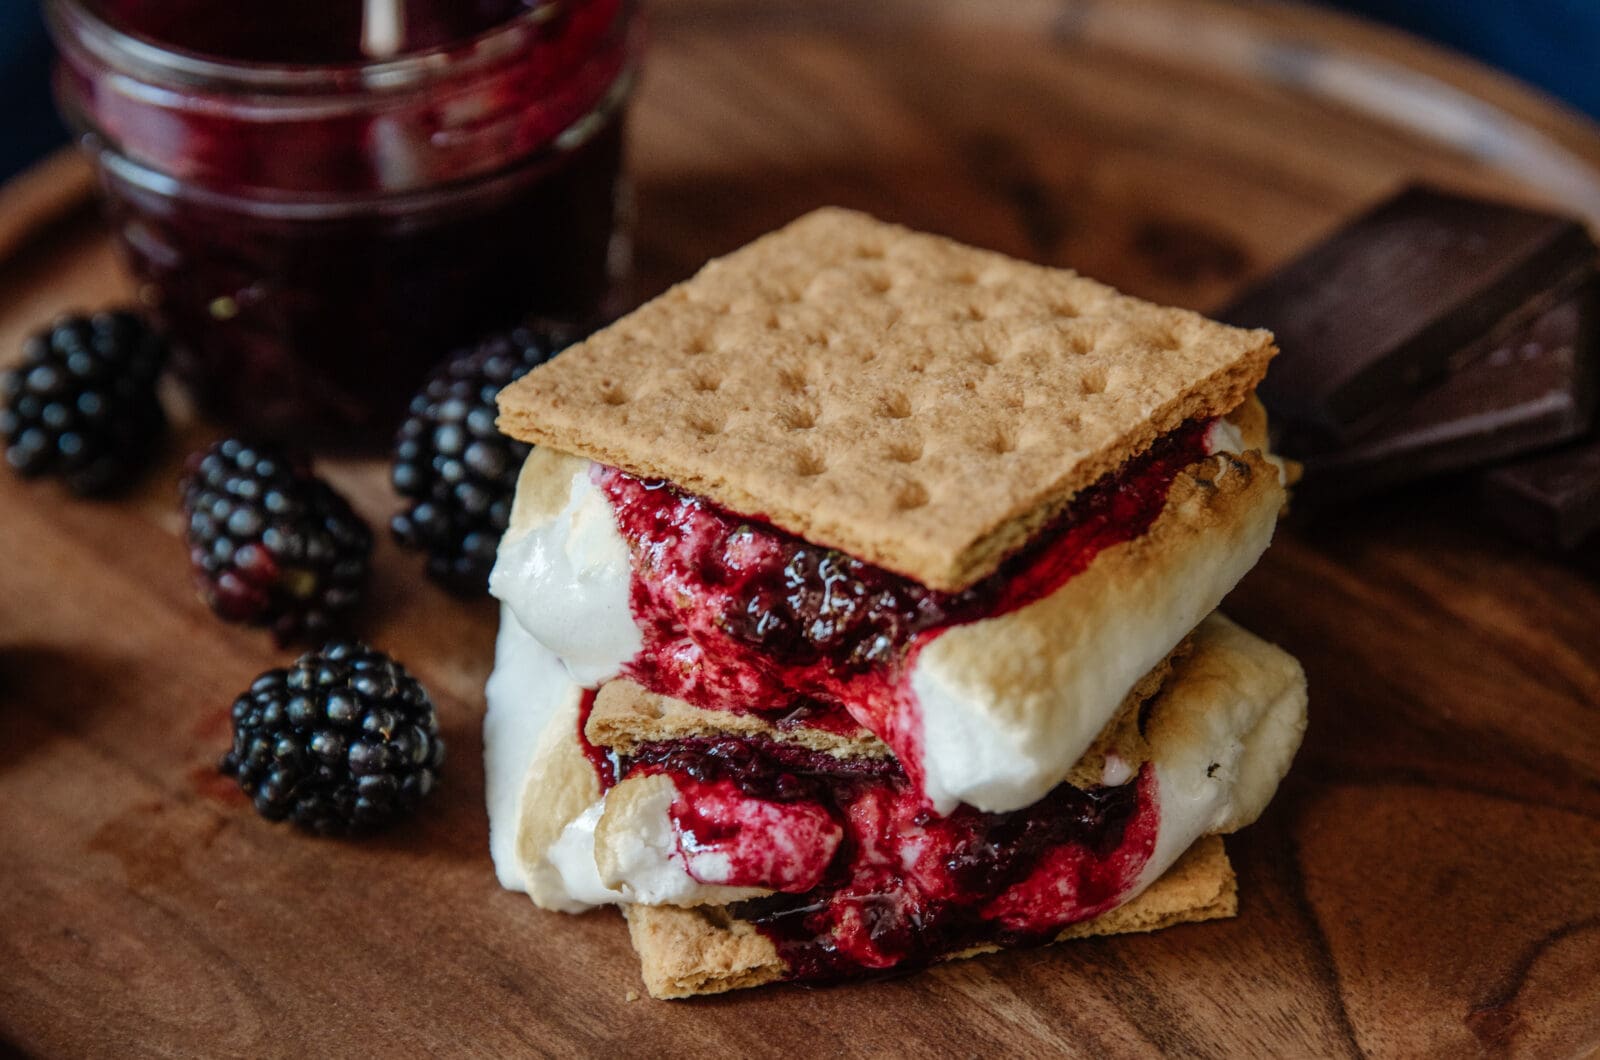
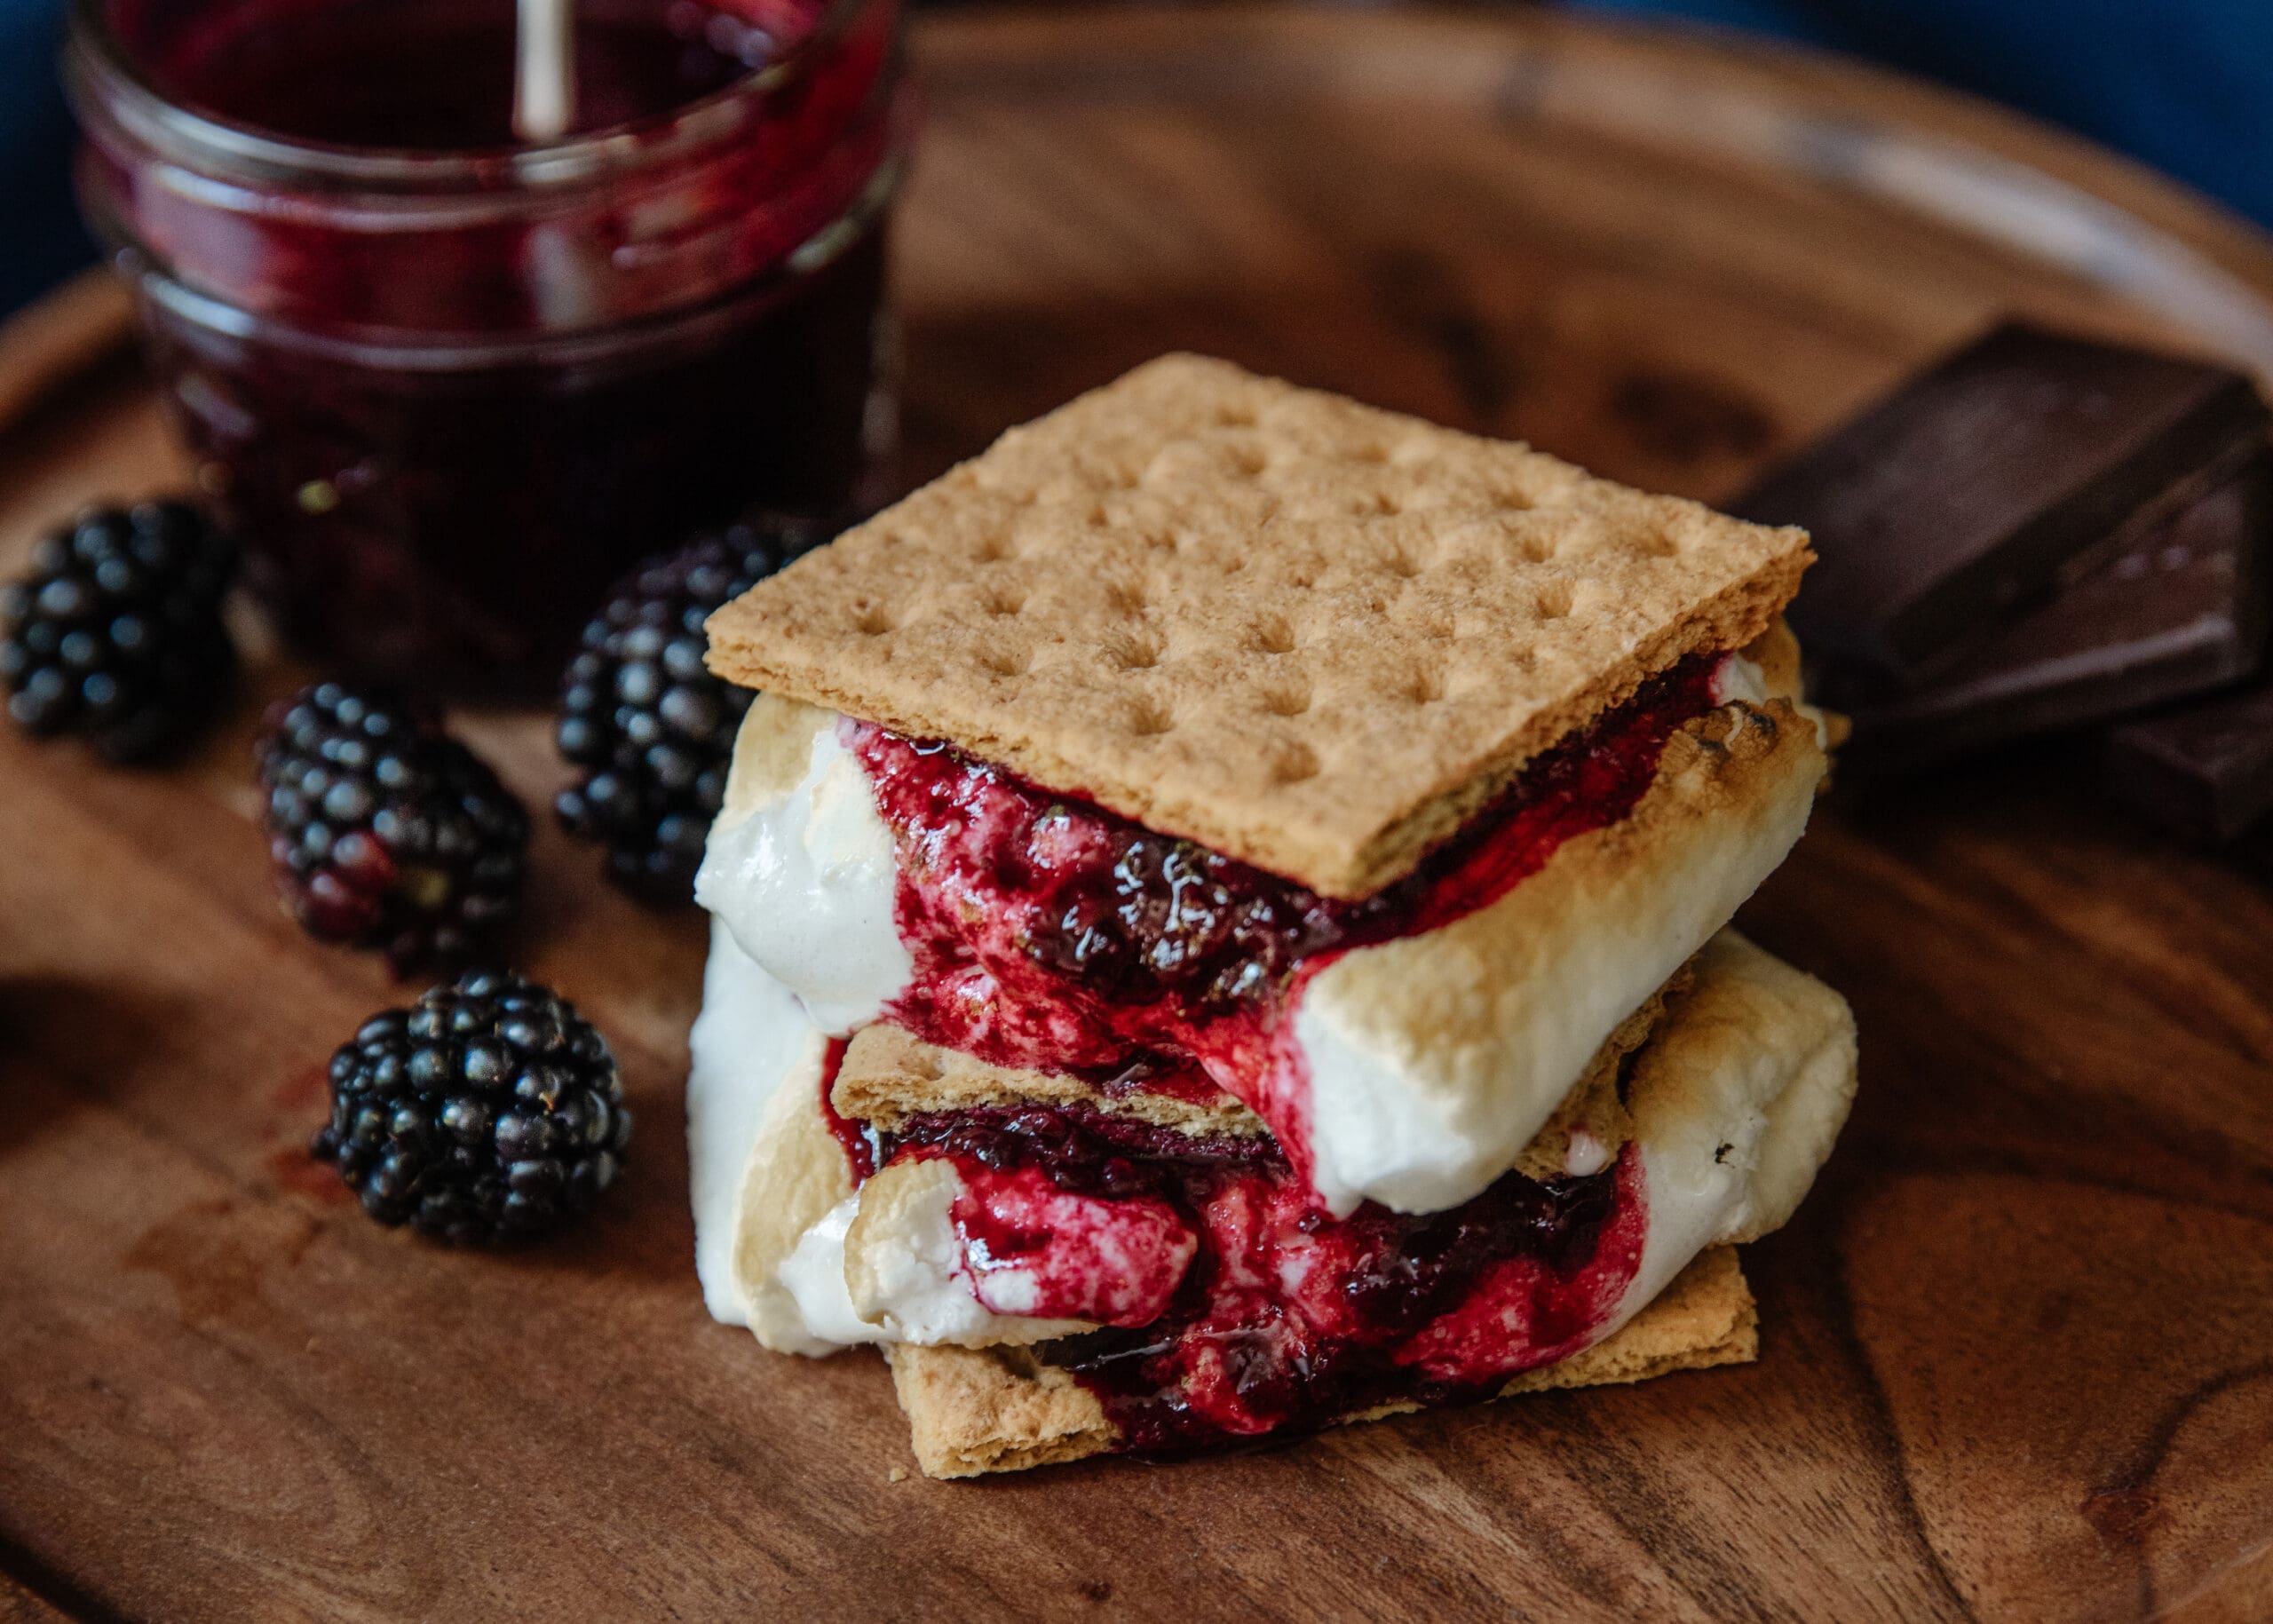
The alternative title for this recipes is "The Best S'more I've Ever Had in My Life." I'm not kidding, this takes the idea of a childhood classic and makes it unforgettable!
The recipe itself is very simple. If you have a gas cooktop, tabletop firepit, or campfire, you can make these s'mores. Since I'm making them in the house today, I'm using a gas burner, but for best effect, definitely go for the campfire. The blackberry jam travels well, so you have no excuse not to bring it along on your next outdoor (or even backyard) adventure!
Watch the Video for Blackberry Campfire S’mores
To see how I make these s'mores inside in under 7 minutes (excluding the overnight "chilling" period for the jam), check out the video!
Make the Refrigerator Blackberry Jam
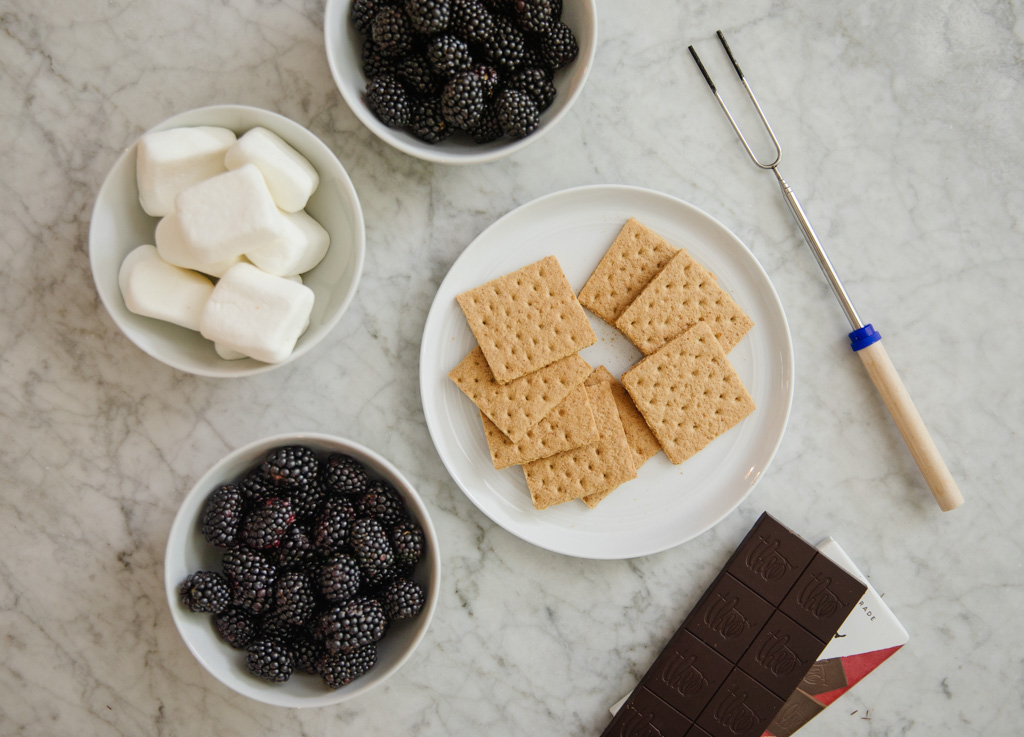
This jam is really easy—there's no pectin, gums, starches, fillers or other preservatives needed. There are just 3 ingredients: blackberries, water and honey. Since blackberries are pretty seedy, I take a two-step process to strain out some of the seeds and leave some in for a bit of texture. If you're really in a rush, you can just use store-bought blackberry jam, but this is really worth it for the flavor, since most shelf-stable jams use sugar and not honey!
We'll start with two cups of fresh or frozen blackberries in a medium-sized pot on the stove. I add water and bring to a simmer. Once the berries have softened a little bit, you can use a wooden spoon to press them against the sides of the pan to release more of the juices and aid in breaking them down. Once it appears that the berries are softened and are easy to press, pass them through a fine-mesh strainer into a heatproof bowl. Press the pulp on the top of the strainer with a ladle or spoon to release more of the juices until the residual pulp is pastelike.
Adding the juice back into the pot on simmer, I add a little bit of honey and reduce the mixture until it's almost syrupy. Then we'll add two more cups of blackberries. Let these cook until they've softened, and then let the mixture cool off the heat and add it to a jar to chill preferably overnight.
Roast the Marshmallows
You might be wondering, why does this part need any instruction, can't kids do this? Sure they can. But I do think there's a bit of a technique to making these that doesn't involve engulfing the marshmallow in flames.
The secret to a well-toasted marshmallow is distance—you want to warm it through first and then let it develop some browning, toasting color. if your roasting stick is too low, it will engulf the marshmallow in flames. And we're going for an artisanal toast not a char broil. (But if that's more your style, then by all means...)
Assemble the S'mores
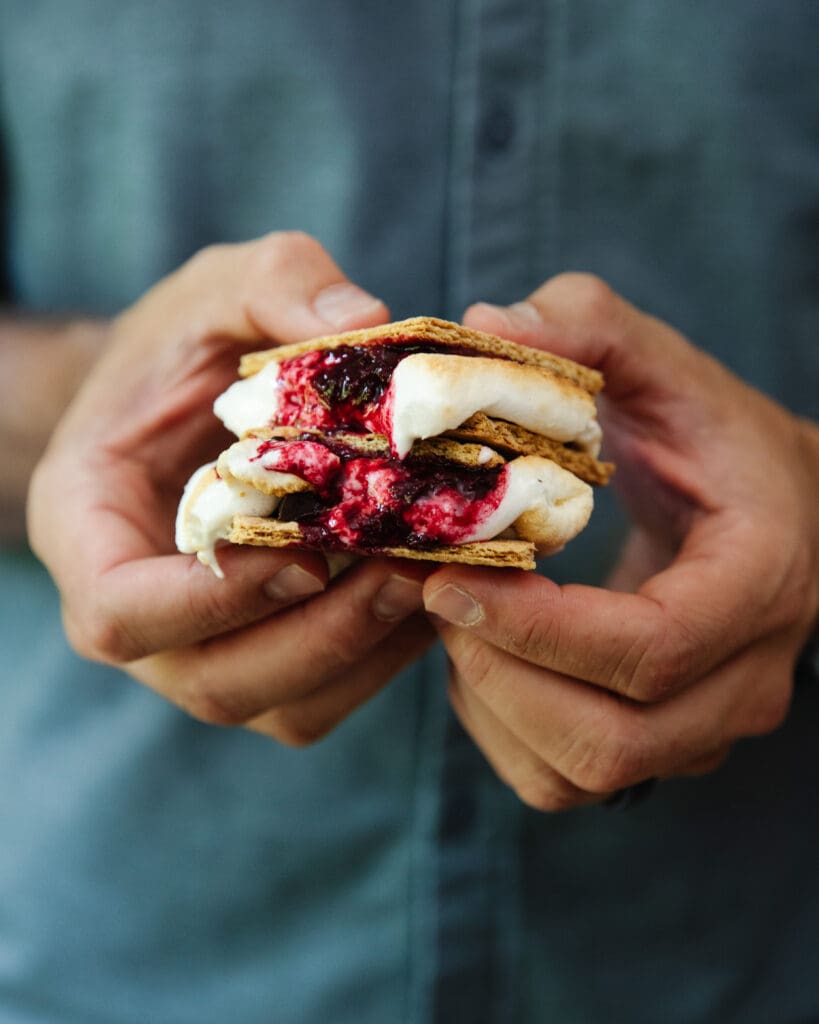
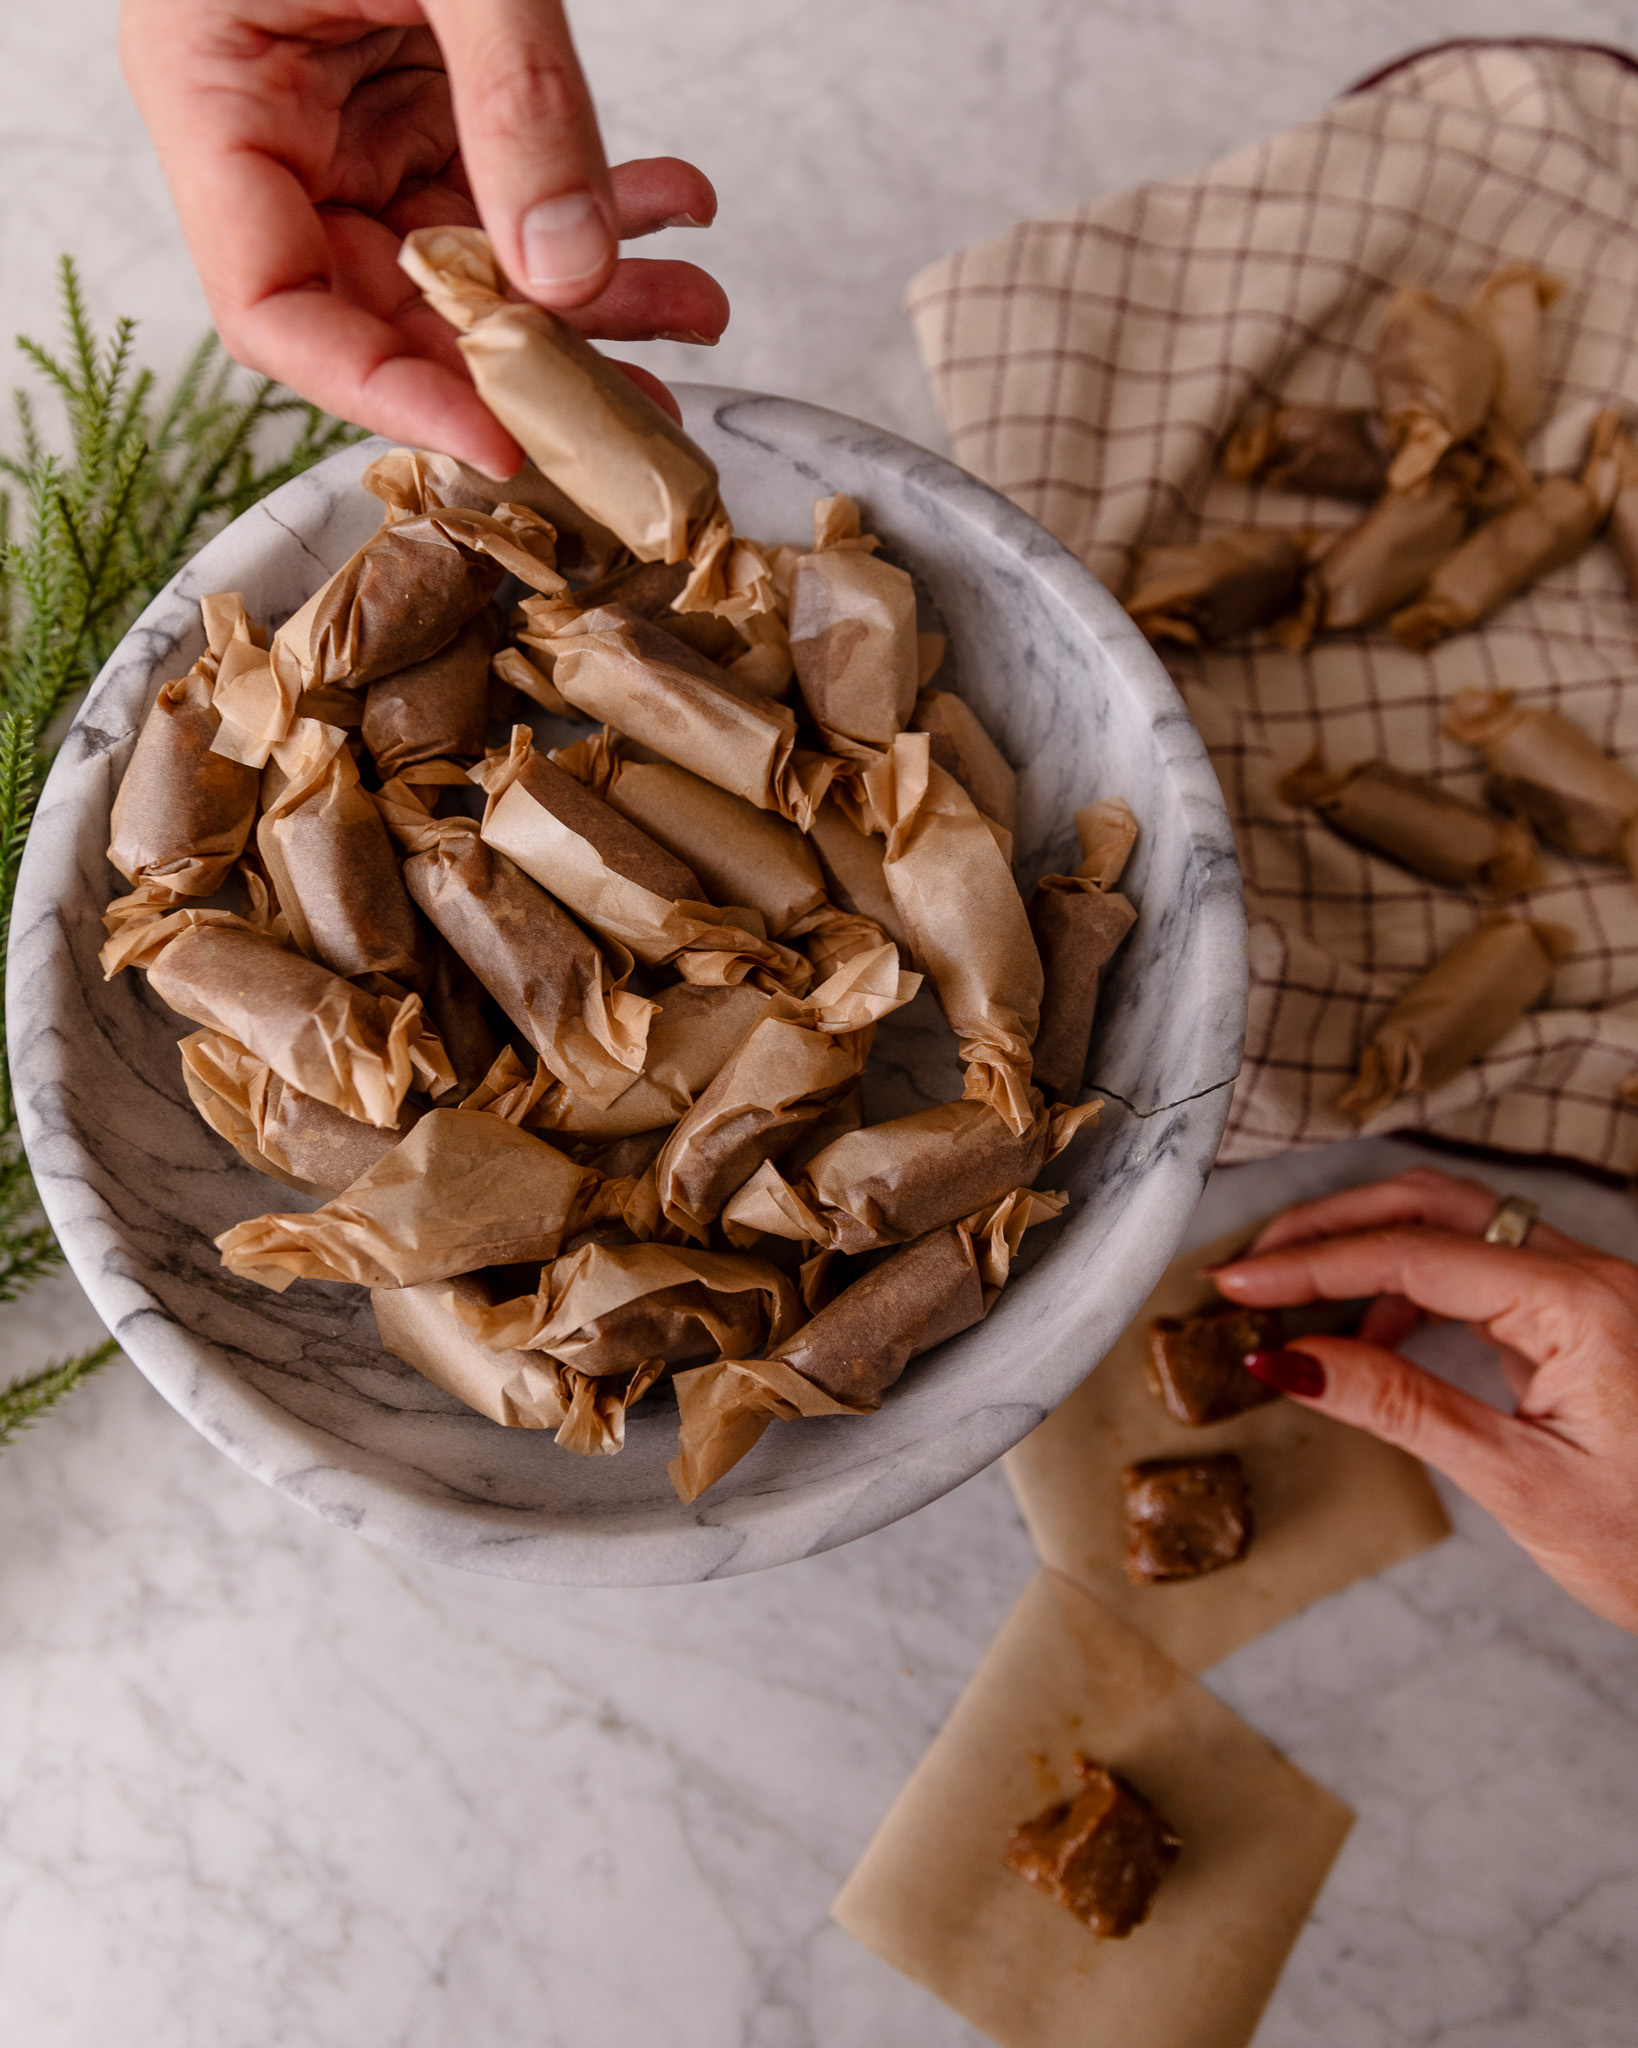
Once the marshmallow shifts a little bit on the roasting stick—a telltale sign that it's perfectly melted through, then I take it off the heat. We have some graham crackers ready to go, and I like to use a dark chocolate square on top, anywhere from 70-85% cacao for the richest flavor. Next goes the marshmallow, and finally a drizzle of the blackberry jam. Press it down, giving the s'more 30-60 seconds to soften the chocolate, and then dig in!
This is far more than an ordinary s’more. I can’t explain what that blackberry sauce does to a s’more. It’s magic. The joy is in the mess...it’s so good. I hope you love this twist on the classic s'more. And if you want more s'mores, check out 7 S'mores Combinations You Have to Try.
Be sure to check out the CLJ x Poppy & Pout Lip Balm Set and get your hands on the matching lip balm flavor before it's gone for the season!
Blackberry Campfire S’mores
6
servings30
minutes40
minutes300
kcalIngredients
12 squares graham cracker
6 squares dark chocolate
6 marshmallows (square are best imo)
- For the blackberry compote topping
4 cups fresh blackberries
1 1/2 cups water
1/4 cup honey
Directions
- Make the blackberry compote
- To a sauce pot, add 2 cups blackberries and 1 ½ cups water. Bring to a boil and reduce to a gentle boil. As the blackberries break down, smash them with the back of a wooden spoon. This process may take 10-15 minutes. Once the mix is tender, run it through a fine-mesh strainer, using the back of a ladle to press all of the liquid out of the pulp. Add the liquid back into the sauce pan (discard the pulp) and bring to a simmer, adding the remaining blackberries. Add the honey and simmer until the blackberries break down, again smashing with the back of a spoon. Place the mix in a jar with a lid in the fridge and let sit overnight.
- Make the S'mores
- Place one of the dark chocolate squares on a graham cracker. Toast a marshmallow to your liking, then place on top of the chocolate. Top with a spoonful of the blackberry compote followed by another graham cracker square. Enjoy!

Shop The CLJ x Poppy & Pout Trio
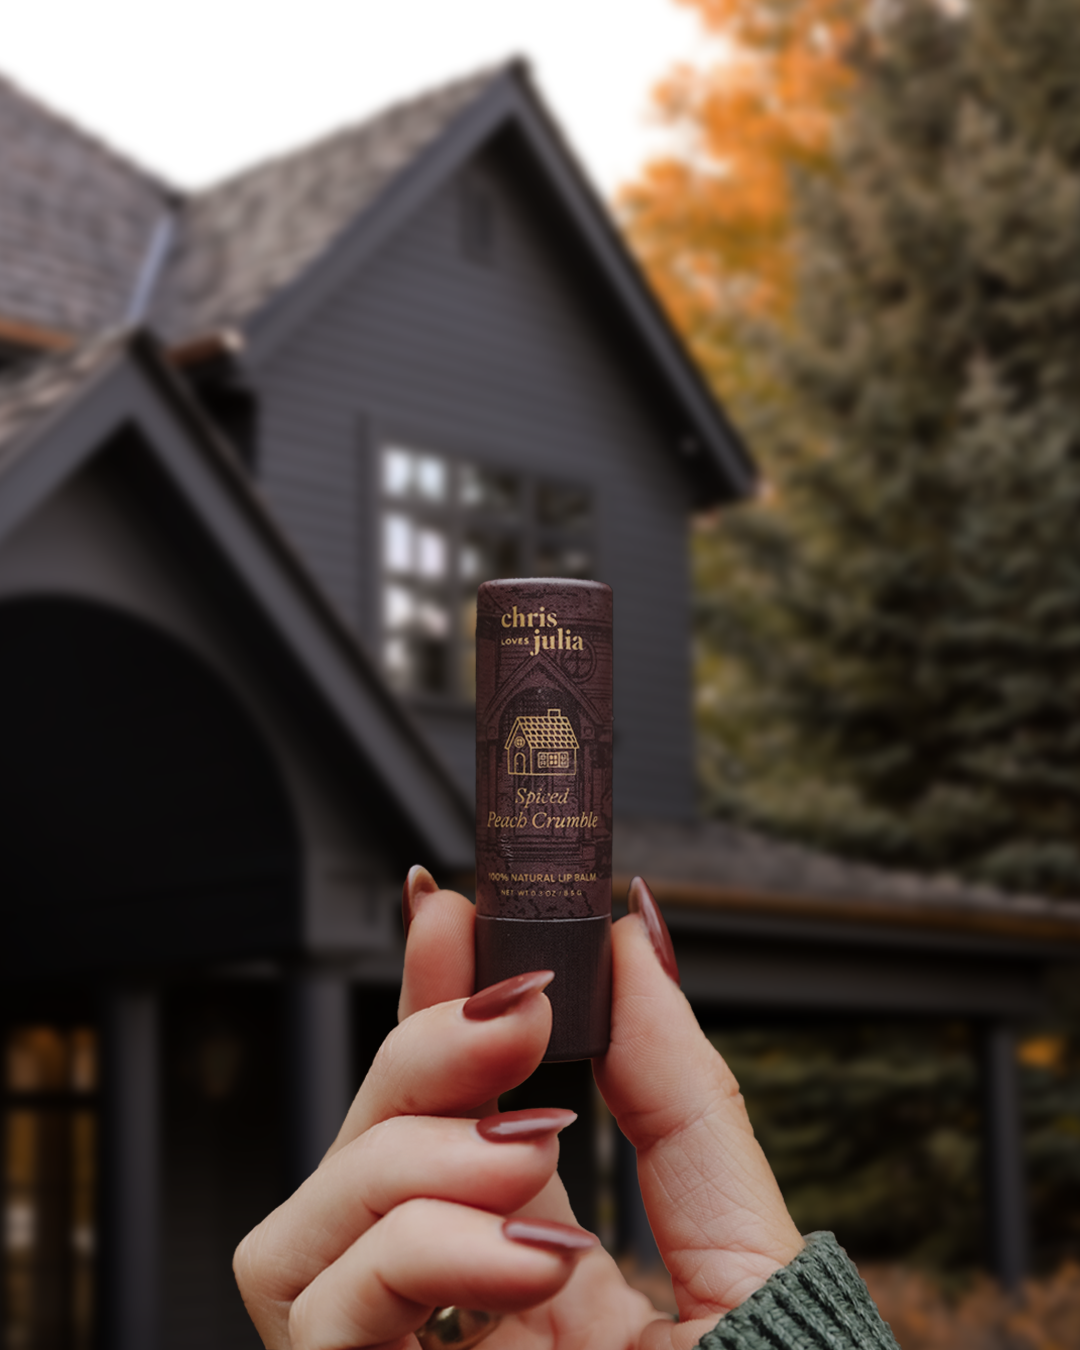
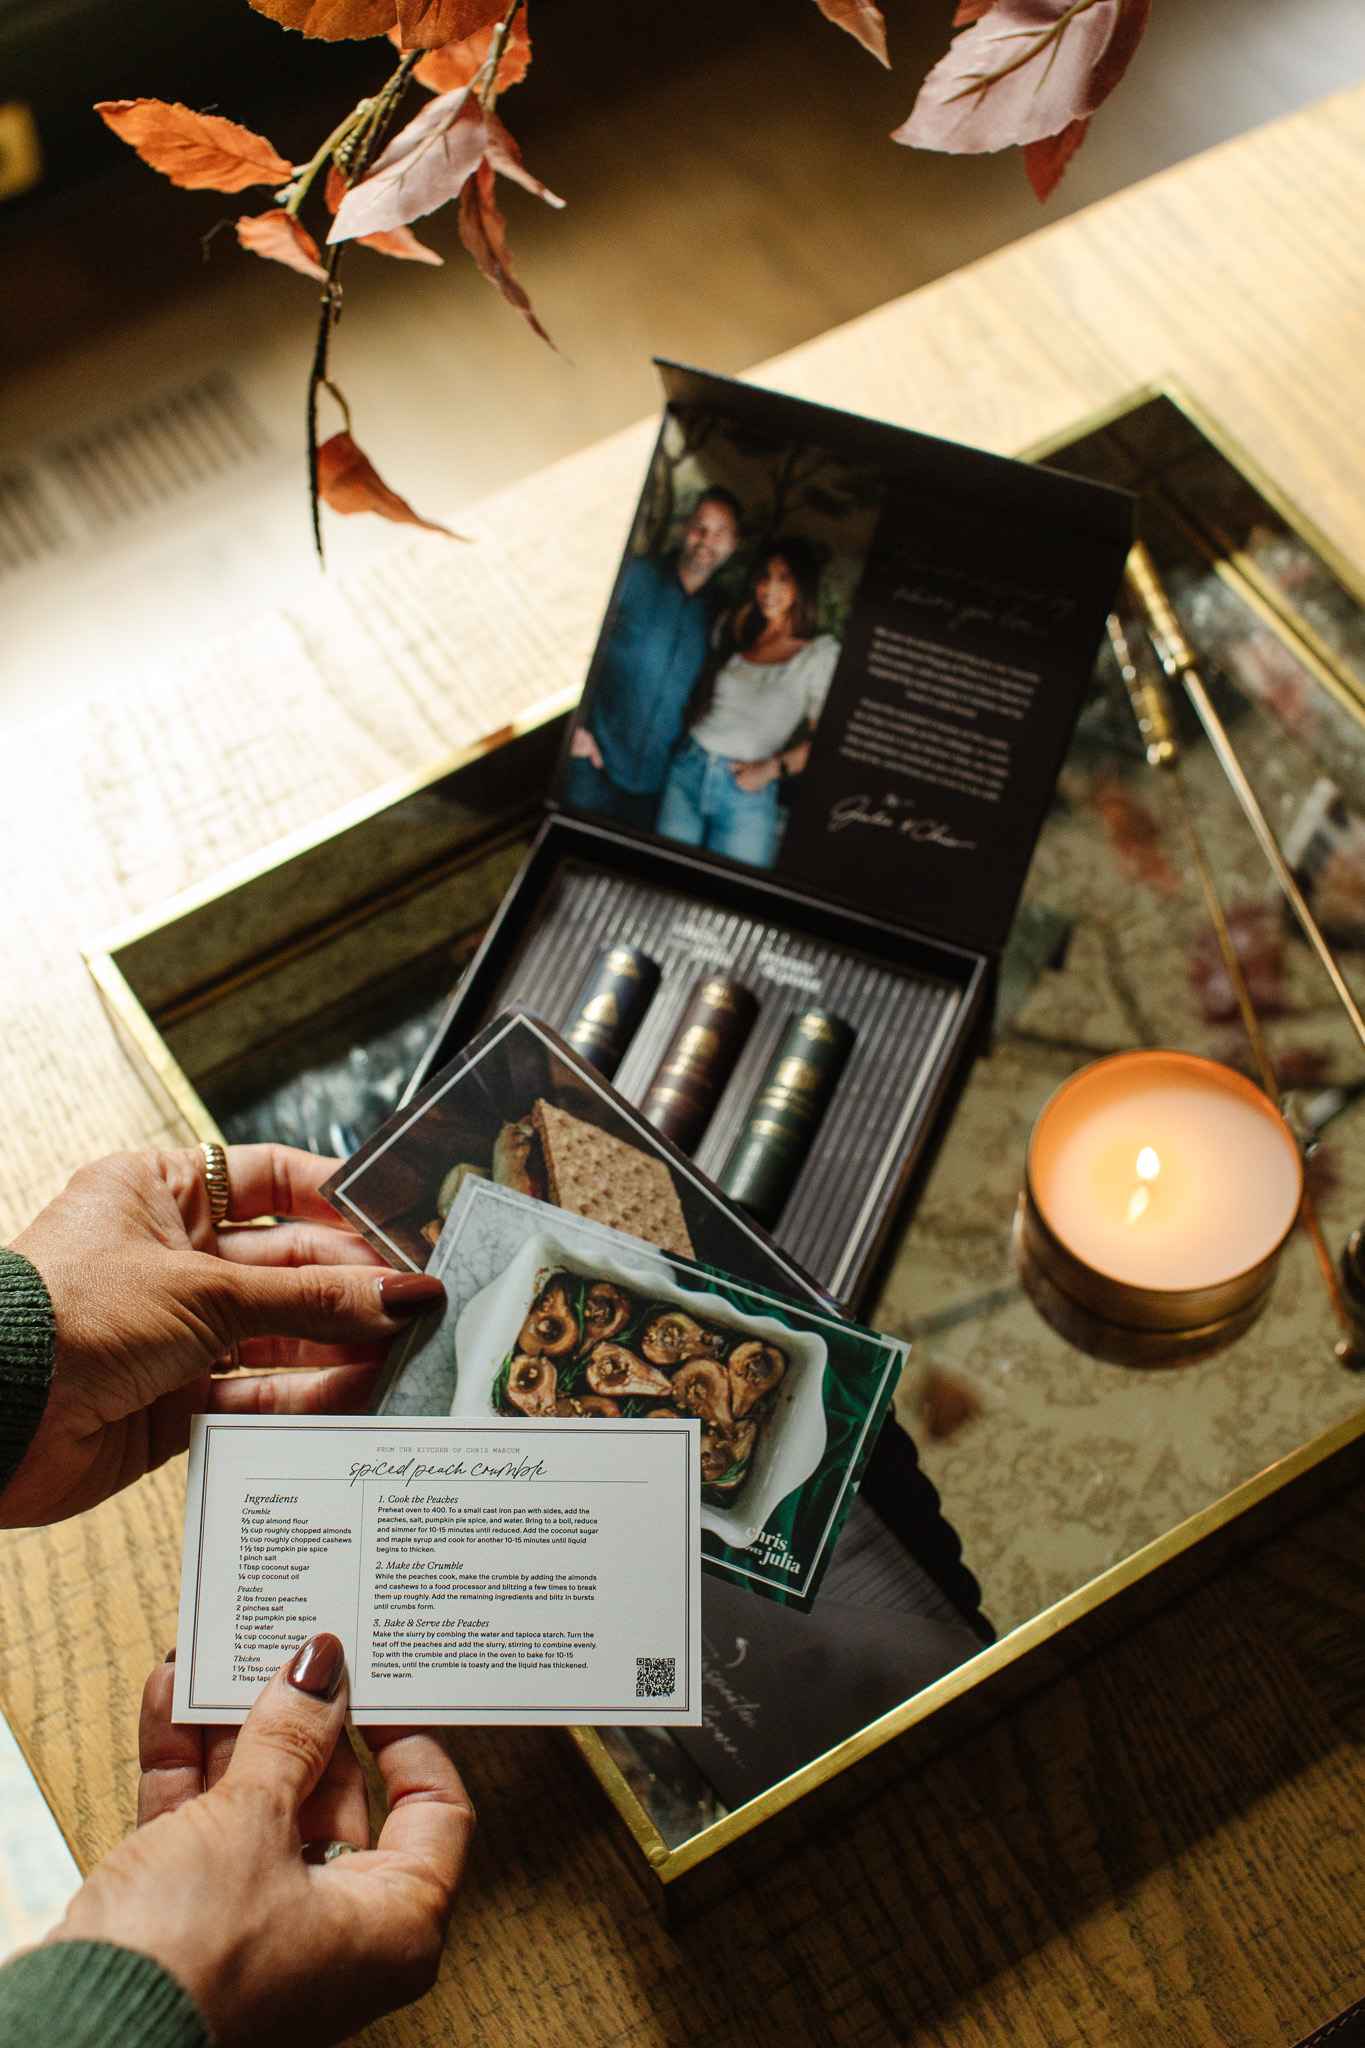
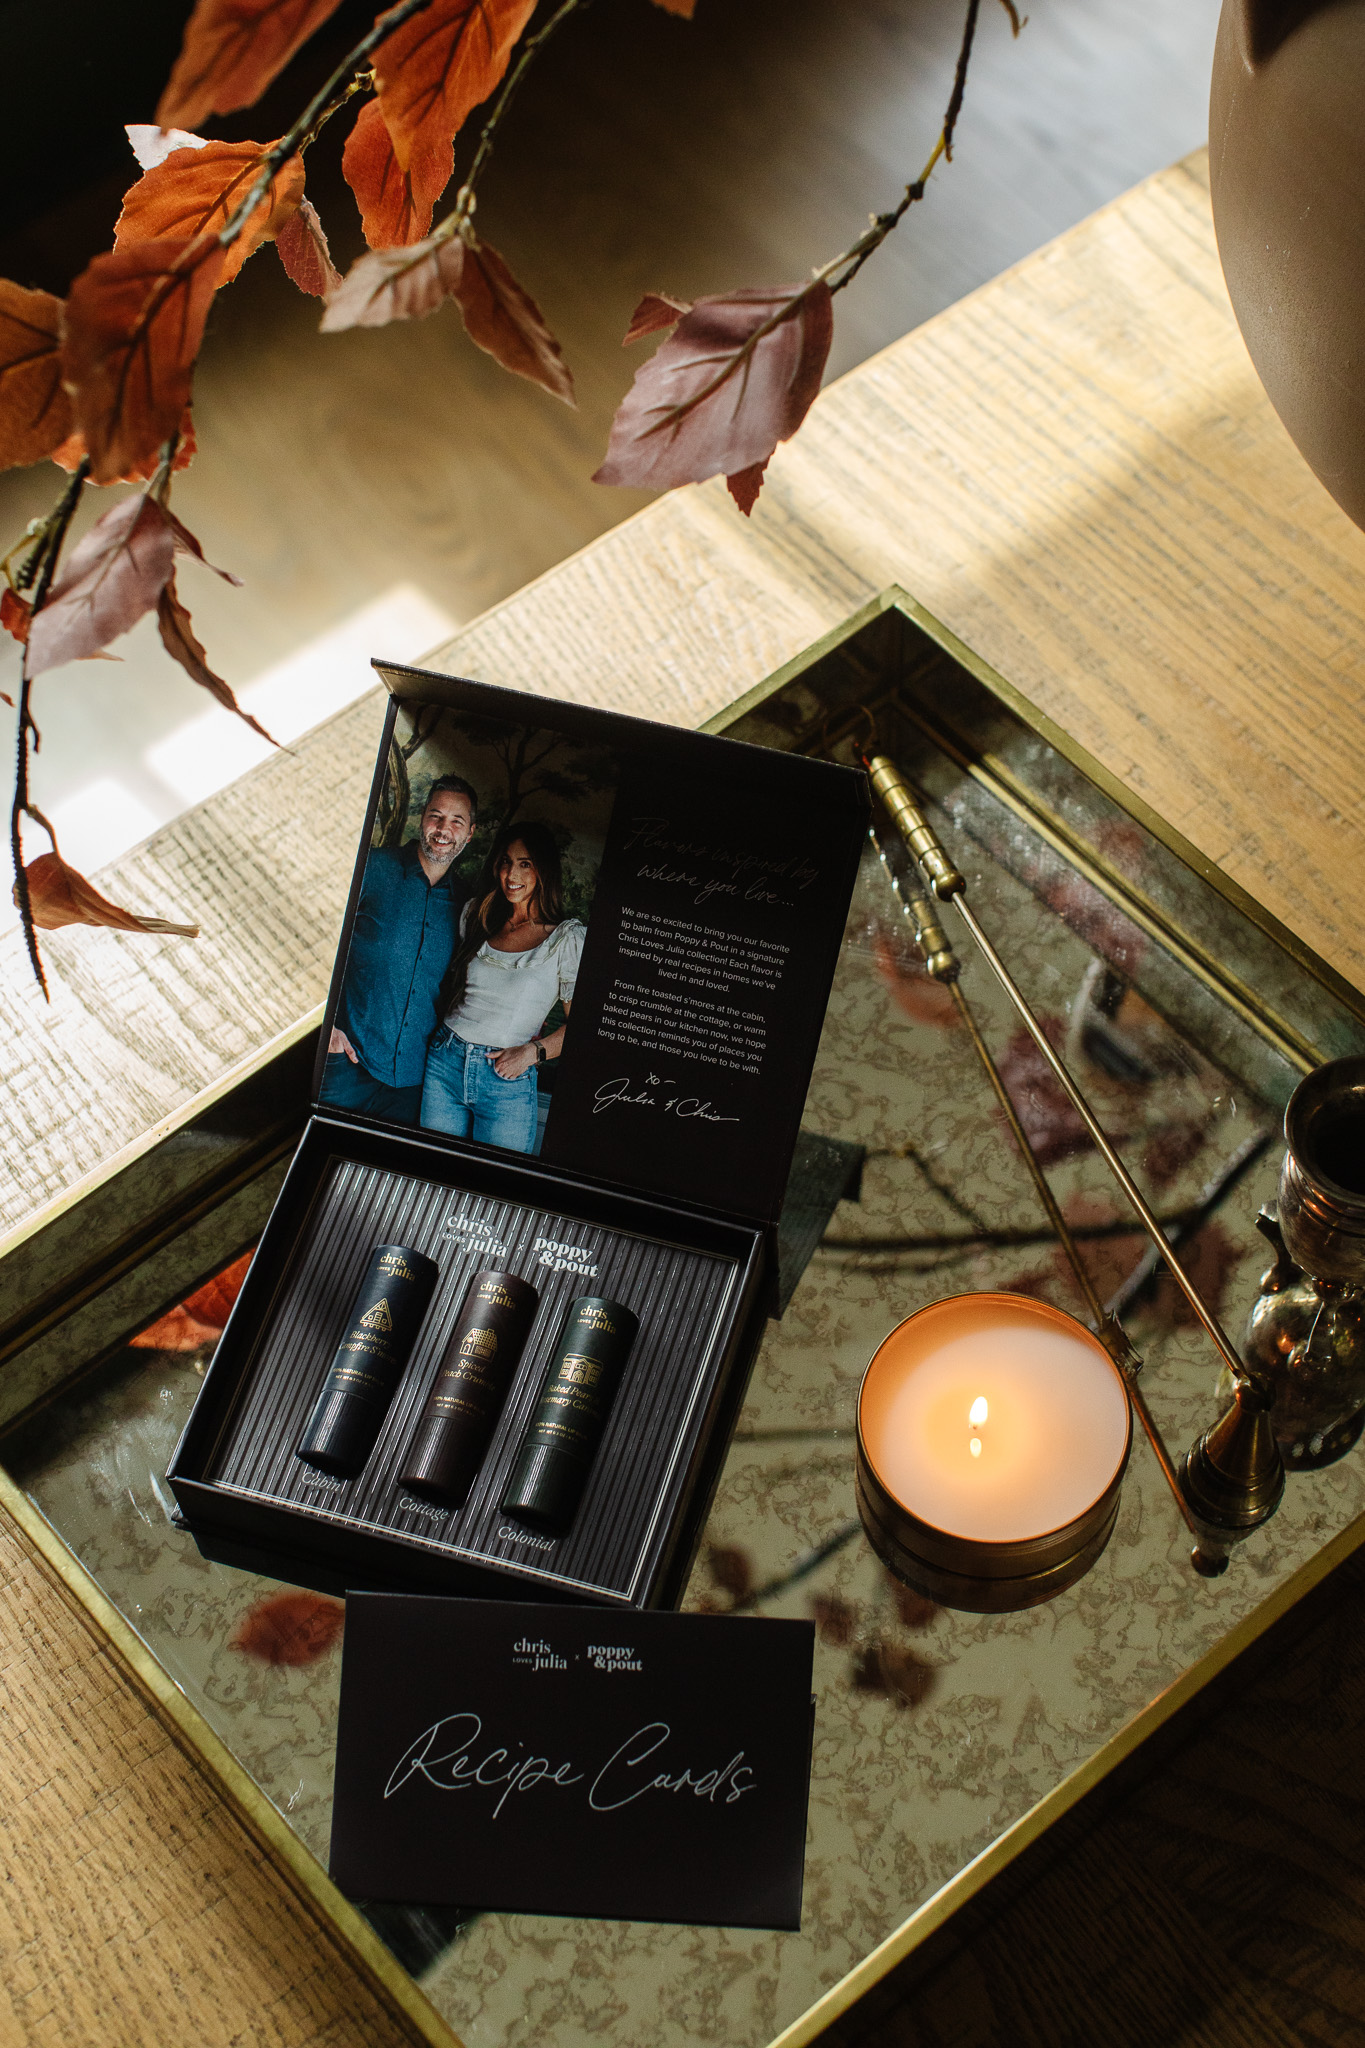
Today is the day!! You can shop our limited edition collaboration of lip balms with Poppy & Pout! Each set, comes with three 100% natural, clear balms inspired by where you live AND actual Chris Cooks recipes developed for each!! Every detail is dripping with the signature Chris Loves Julia aesthetic. We turned to three of our most distinguishable houses, our Modern Colonial, our A-Frame Cabin, and our Modern Cottage--and reimagined them as tubes (you gotta see the tone on tone--the wallpapers inside!) They felt like three really distinct vibes and types of architecture.

Then we went through the ideation process: "Could we create a recipe that goes with that scent?" That's where we brought Chris in to help develop recipes that would go together. And spoiler, he delivered! Each lip balm trio comes with recipe cards that match the flavors. And let me tell you, they smell incredible—both in the balm and in your kitchen.
For the packaging, we turned to signature CLJ colors and architectural iconography. It was a really fun process! Poppy & Pout is just one of the best at packaging. They care deeply about the details, and the little daily moments of joy. They perfectly encapsulate the CLJ aesthetic! The lip balm cardboard tubes are also recyclable after they're empty—so cool, right?!

The Three Fall Lip Balm Flavors
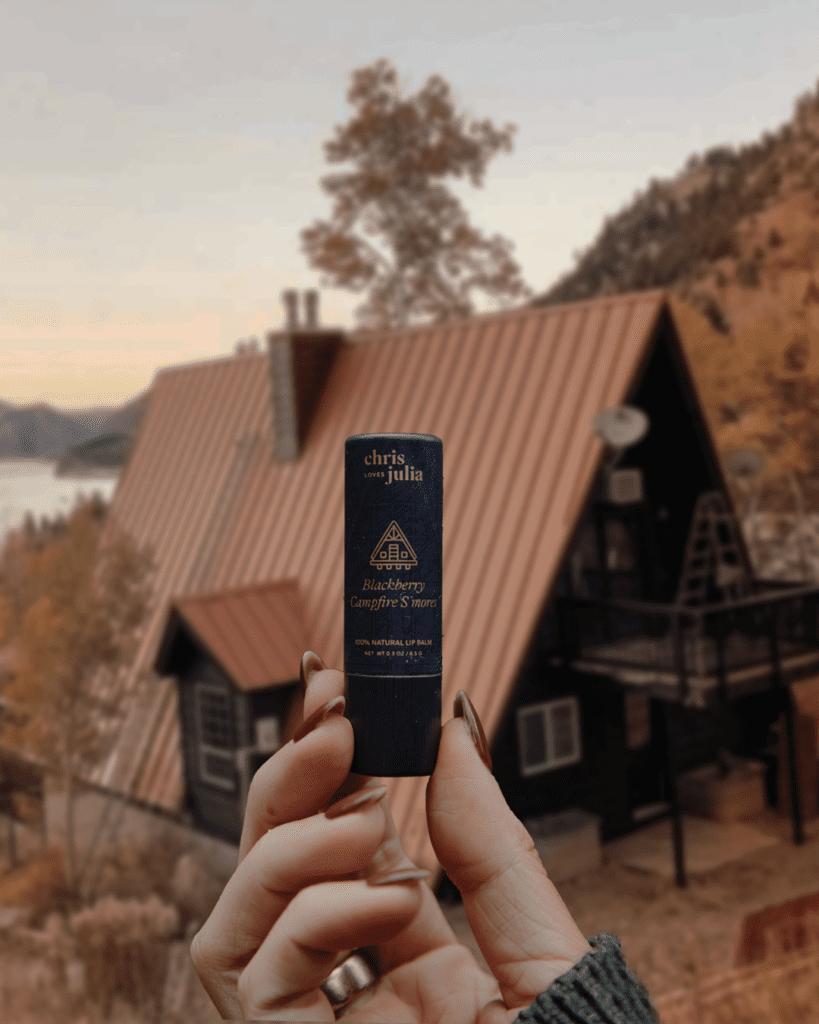
Blackberry Campfire S'mores

These are the best-smelling s'mores of all time, in our opinion. There's a sweet blackberry flavor here, paired with some graham cracker, marshmallow, and chocolate fudge. This lip balm really couldn't be closer to the real deal! The smoky blue packaging on this one is inspired by the blackberries in the s'mores and our A-frame cabin in the palisades of Idaho (we still miss it!).
Spiced Peach Crumble
This smells so toasty and is just fall in a bowl. It's warm, it's comforting. There are notes of cinnamon and clove—alongside some toasty pecan pie and graham cracker—but the fruitiness of the peach scent balances it all out. The rich chestnut packaging celebrates our last house, the Modern Cottage. And isn't a crumble so cottage-y?
Baked Pears & Rosemary Caramel
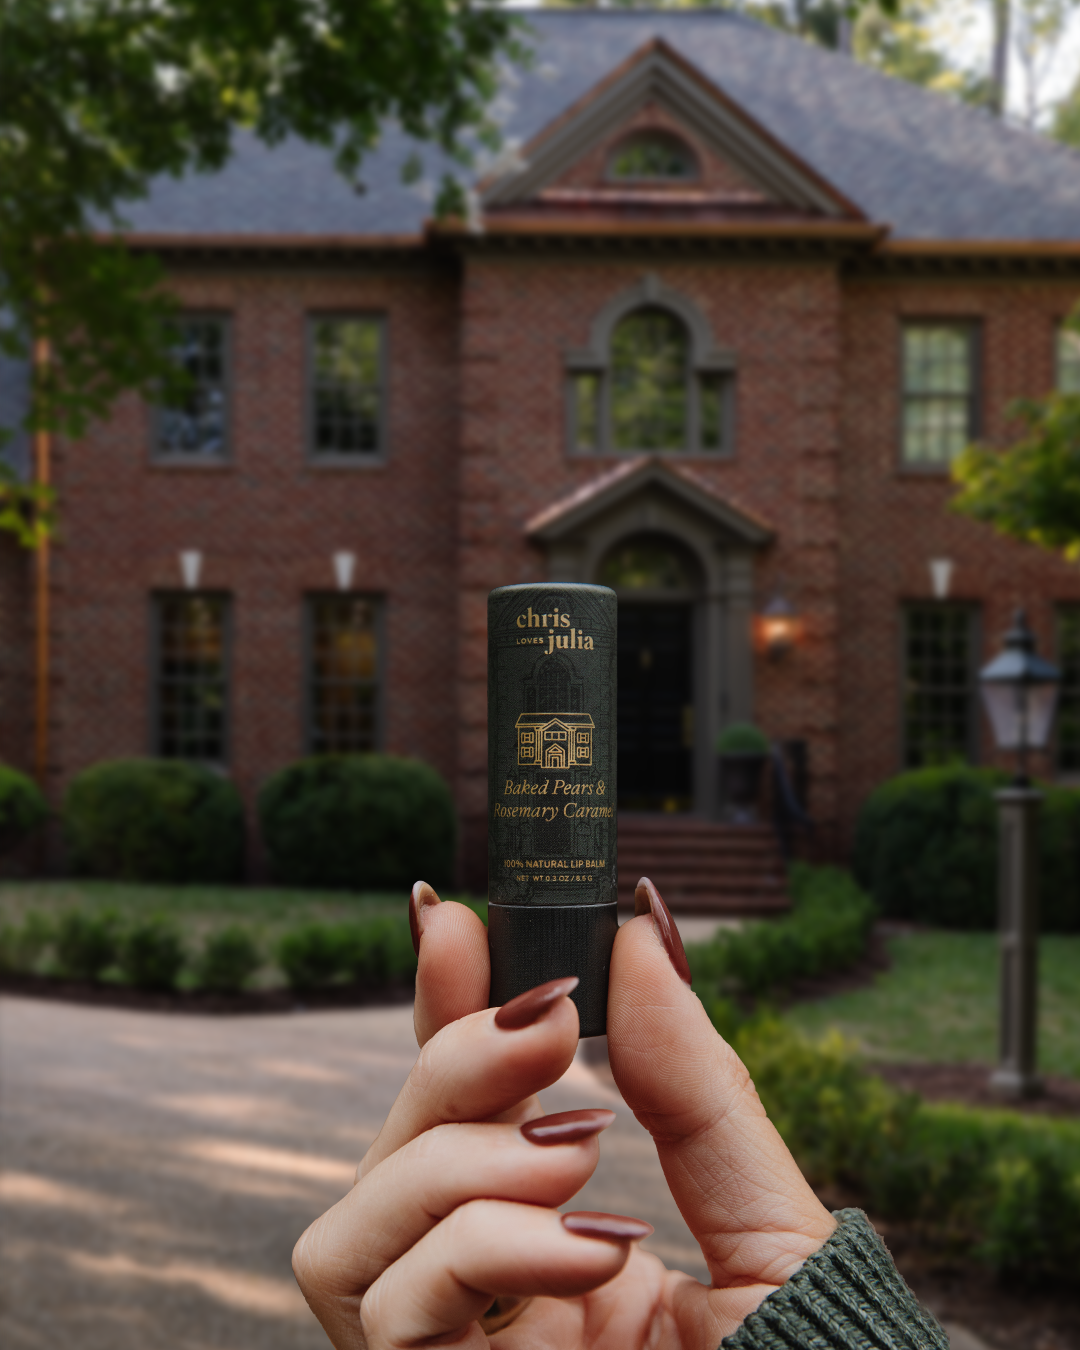
This is such an elegant flavor that's truly one-of-a-kind. It has undertones of pear, caramel cream, and pecan pie that really get at the warm sweetness of this dish. Just irresistible—I'll be savoring this one all season! The dusky green packaging on this one mixed with the gold foil feels so stately, like our Modern Colonial home.
Where to Buy the Lip Balm

You can get your hands on the CLJ x Poppy & Pout lip balm trio starting today at PoppyandPout.com! It's a limited edition set, so if you want to try it out, don't wait too long.
This is just such an exciting collaboration for us on so many levels. It's such a great giftable product for the holiday season (truly the packing is so beautiful, all you need is a ribbon, and at this price point you can treat yourself as well. We hope you love it as much as we do!


WE'RE CHRIS + JULIA


Portfolio

Projects


