This post is in partnership with Ornamental Moulding & Millwork, available at Lowe’s.
Moulding and millwork is one of those things that not a lot of people get excited about, but if you’ve ever walked into a space and thought, “Wow, this is really nice!” It’s likely the millwork that’s making you think that. It’s the difference between walking into a box with furniture and walking into a space that has been intentionally created.

As we were coming to a close with the Fullmer Kitchen a few months ago, we could tell that, despite all the work we had done, there was still an underlying “box with furniture” vibe we needed to shake. So we reached out to our friends at Ornamental and shared our thoughts, and together we decided that adding some faux beams to the ceiling would help break up the bare-ness, and the architectural element we felt the space needed.
How to Install Faux Wood Beams
1. Mark your mounting path and the joists along it
You want your beams to mount into the joists in your ceiling. Run a chalk line exactly where you want your beams installed. Using a stud finder, locate a joist in your ceiling along your chalk line and mark its location. Standard spacing for ceiling joists is 24 or 16 inches. Measure in either direction of your first joist 24 or 16 inches and check with a stud finder. Whichever of the two distances (24 or 16) sets off the stud finder, should be your distance between each. Mark the locations along the entire space you plan to install the beams.

Note that, due to individual circumstances in every home, your joist spacing may vary. Measuring saves you from dragging a stud finder all over the place, but always test your marked joist locations. Once you think you have one, carefully drill a small pilot hole into your mark just to make sure you hit a joist.
2. Install the mounting boards
Hold your mounting boards (included with each beam) parallel to the chalk line and mark on it the points where the joists line up. Screw 2.5in wood screws into those marks, then hold the mounting boards in place (lining up the groove in the back of the board with the chalk line) and drive the screws into the joists. Setting the screws into the board before lifting the board up for mounting will save your arms some work.


Step 3. Attach the faux beams
The Ornamental beams from Lowe’s come perfectly fitted to the mounting boards. Simply slip them over top and, using the included mounting hardware and predrilled mounting holes, screw the beam into the mounting board.

For long stretches, Ornamental also offers separate mounting brackets (optional) to cover the gaps in your beams. The brackets also work well to cover points where you may have had to cut the beams to compensate for uneven ceilings.

We filmed the entire installation process as well, and you can watch it right here:


One of the things we love most about these beams is that they’re made from real wood – not plastic foam like so many others are. This means you can leave it as-is for a natural look, or finish it with any stain you want.

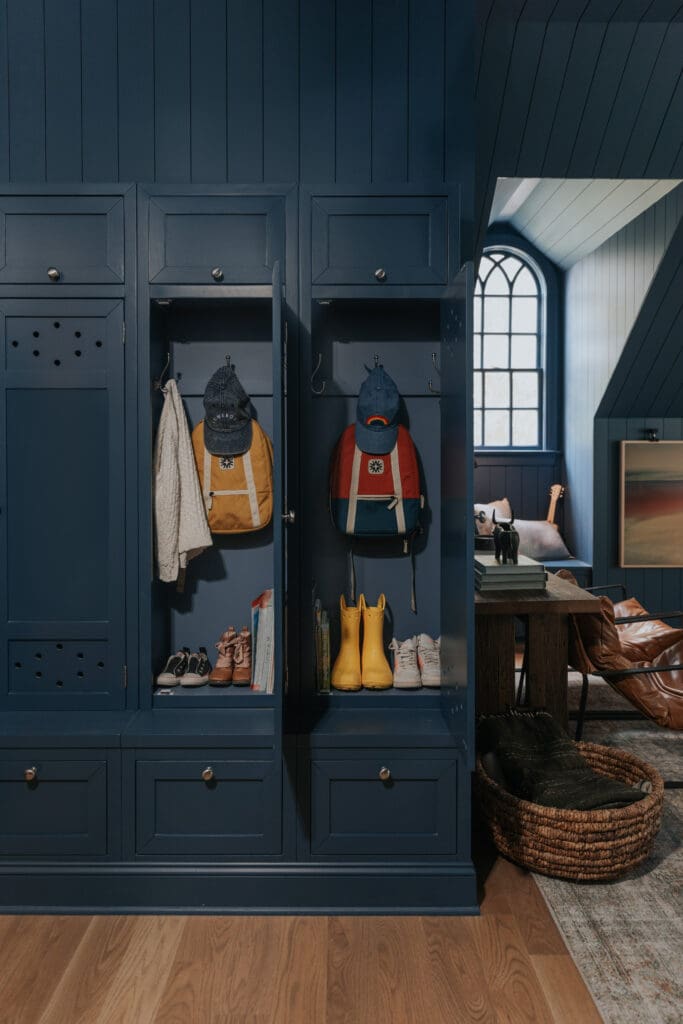
We also worked with Empire Moulding & Millwork (a sister company to Ornamental) to cover the over-textured walls with shiplap in the adjoining entryway, and we love how complete it all feels.


We’ve worked with Ornamental Moulding & Millwork many times, and obviously our situation is unique because not everyone works directly with a manufacturer. But anytime we do work with them we always make sure the product we use is widely available. And since these beams are distributed through Lowe’s, almost everyone in the U.S. can pick them up in store or have them delivered right to their home. Which room in your house could use this?

Find all the sources for this project listed right here.


We love these!!! It has made a normal room very cozy. I am so glad we made the decision to install these. I will forget that we added them until something will catch my eye & as I look up & it reminds me how awesome these are. We love the wood! We did not paint ours…we kept with the rustic, natural look & we love the brackets. That is just an added bonus to the look!
I’m SO glad you posted that last image. It’s a great (needed) angle to really see the whole space come together. Love it!
Have you though of adding a crown molding in the entry? The tops of the shiplap feel slightly unfinished, though might feel different in person. What are your thoughts about finishing?
There’s no where else in their house that has Crown I think.
Hi! Thanks always for the great content. This is a weird-ish question on an old-ish post, but hoping you might still see it! If you happen to know, what is the length of the Fullmer kitchen from wall to wall (to me, length = the wall with the black framed windows). Trying to get a sense of scale vs our space (and potential space if we take a wall out). Many thanks!
Where is the best place to order beams in Orange County, CA
How do you decide where to place your faux wood beams? What are the “rules” of designing with the wood beams? It looks amazing and I loved watching the process.
on the third is always a great idea!