This tutorial is part of a paid partnership with Walmart. Disclaimer: Changing out a light in a bedroom is a quick and (often) simple project that can make all the difference. That said, working with electrical is never something to take lightly. There are many possible issues you could run into while swapping out a light, and handling any of them even the slightest bit incorrectly could cause harm to you, others, and severe damage to your home. While we will show the basic steps to hooking up a basic fixture in a standard wiring situation, each homeowner must be wise with their own projects. Contact a professional if you have any doubts or questions about the wires and connections in your specific situation, and always observe manufacturer guidelines for your fixture.
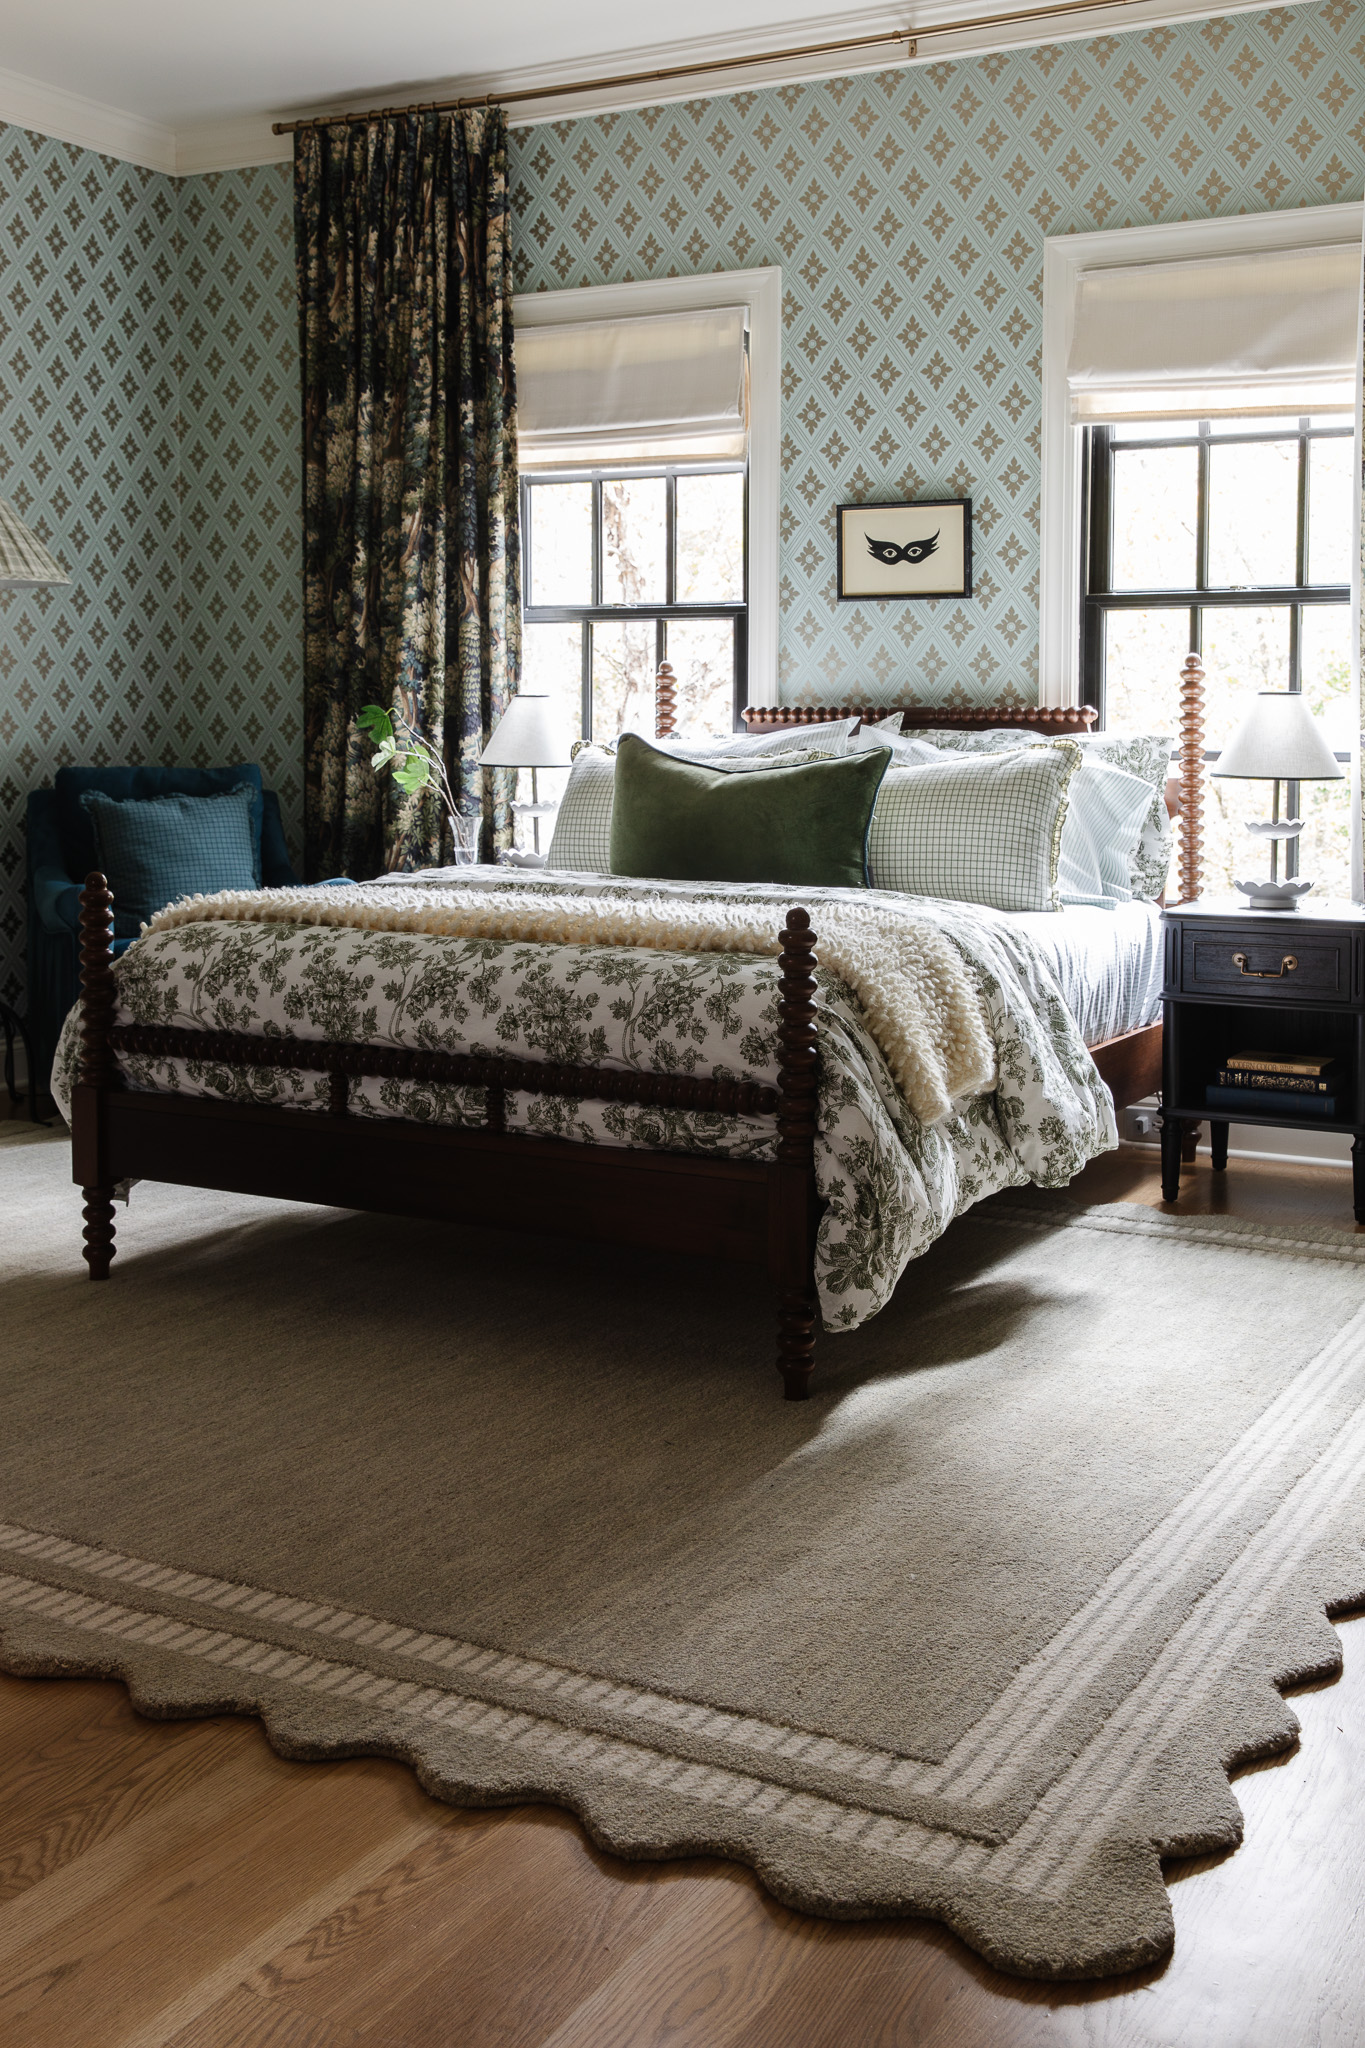
Greta's room is one of my favorites in the house, and she loves having a "domain" to call her own. Even still, this room feels disjointed from the rest of the house because it is tucked back through the hallways, has an aggressive-patterned carpet that isn't represented anywhere else in the home, and leans dark with the lighting. It's also the only room in the house with standard 8ft ceilings so her current fixture, which hangs down nearly two feet, cuts heavily into the visual space of the room.

Jules and I hit our heads on this thing every time we go in here it seems, so it was time to swap it out with this stylish flush mount we got from Walmart (we rounded up a bunch of favorites at the end of the post because they can be hard to track down). The light swap was so easy, we wanted to show you how it's done!
1. Turn off power to the circuit first, then remove the old light.
Some people might make the case that, so long as the light switch is turned off, you don't need to turn off the circuit breaker. That's not necessarily true. There will be times where you have hot wires connecting through your junction box for the light that carry power to other parts of the house, and these can give you a nasty jolt. So definitely turn the power off to the light you're working on, just to be safe.

2. Remove the mounting harness and install the new one if needed.
New light fixtures almost always come with a mounting harness (called a crossbar) for your light. There are a few different kinds - some are round discs with holes and slots in it, some are straight bars with a couple holes and slots, and some are straight with a recess. If the fixture you're removing had the same crossbar as what came with your new light, feel free to leave the old crossbar in place so long as it is still in good condition.

There may also be times where the wires for your fixture need to be fed through the crossbar before it is attached to the junction box. This should be outlined in the instructions for your fixture if it is required.
3. Prep the light fixture
Look at the wiring of your new fixture and ensure you understand how it is going to attach. Once your arms are up there holding the light, you don't want to be fiddling with it any longer than necessary, especially if you have a heavy fixture you're installing.

Some fixtures will have the wire coating cut so you can easily pull it off, like ours did. Others will require wire strippers. Ensure the wire is stripped about 1/2 in from the end.

If there are multiple sets of black and white wires that will be controlled by the same switch, twist all of the white wires together and all of the black wires together.
4. Connect the fixture to the wires in the junction box
Before installing, make sure your box contains a ground wire (usually plain copper with no coating, or green plastic coating). If not, connect the ground wire to the green screw on your mounting crossbar. If a ground wire is available in the junction box, use a wire nut to connect the ground wire from the fixture to the ground wire in the junction box.

Repeat this with the other wires, connecting the black wires from the fixture to the black wires in the junction box, and the white wires in the fixture to the white wires in the junction box. Twist the wire nuts until they won't twist anymore.

Once you have the wires connected, carefully push them up into the junction box. Make sure the wire connectors are tight and do not become loose when you do this, or you'll have a poor connection that could make your fixture not work. Loose connections are also a fire hazard.
5. Secure the fixture to the mounting crossbar
Secure the fixture to the mounting crossbar. This is unique to every fixture and the type of crossbar it comes with, so follow the manufacturer guidelines.

6. Put in the light bulbs and install the shade
Once you put the light bulbs in and before you put the shade on, you'll want to restore power to your room and test out the light. If the light does not come on (and you are sure the bulbs themselves work) remove the fixture and check your connections to ensure they did not come loose when pushing the wires into the junction box. If all connections are correct and the fixture still will not work, have an electrician come and test the fixture for faults.

Assuming the lights do work when you test them, install the shade or glass cover and admire your new light! Or break out the paint and brush to touch up the ceiling from the previous fixture, if your situation is like ours.

Isn't that flush mount light simple and stunning?? It comes in a few finishes and two sizes--we got the 15" warm brass and the finish is so gorgeous in person. We linked the polished nickel one below (#2) along with 14 other beautiful flush mount fixtures from Walmart! They have a new DIY initiative (and landing page!) and we're here. for. it.

1 | 2 | 3 | 4 | 5 | 6 | 7 | 8 | 9 | 10 | 11 | 12 | 13 | 14 | 15
We were deciding between 2 and 11 for Greta's room and clearly went with 2, but I'm excited to swap out a few other lights around our home with these. Majorly swooning over 10, 4 and 6 too. Hard to pick a favorite but would love to hear yours!!
Leave a Reply

WE'RE CHRIS + JULIA

Portfolio

Projects


I've never bought a light fixture from Wal mart. Just wondering ...how is the quality?
It varies! But so far we've been super happy!
Would love to know what they are. My husbands neeeeeeds a pair now ! :)
Are those crocs he's wearing ?
Hahahahaha NO
Would love to know what they are , would you mind sourcing them ?
Super helpful tutorial, thank you! We just bought a house that has brand new fixtures throughout, 3 of them are not our taste at all. Any recommendations or suggestions on how to resell them somehow? Is there some secret Poshmark but for light fixtures, for example? :)
We always sell ours on facebook marketplace!
I have #1 in our entrance (but from another retailer) and it's fantastic quality, especially at that price point!
When I change fixtures, I also like to wrap electrical tape around the wire nuts to keep things secure juuuust in case!
http://bedknobsandbaubles.com/
Excellent tutorial!
Until you realize a former owner had affixed their light fixture to wires (no junction box). AND you realize they ran exposed electrical around studs (hidden behind cabinets). Then you end up removing a hunk of drywall to properly route to wire and add a junction box so you can finally hang your fixture :D
You've got one really expensive one in that group...:)
LOL
Can I convert a can light to a flush mount? I know there are “lots” but do they work and trustworthy?
Yay! So we what do we do if we have a light to hang with extra links bc it’s a pendant and we want to make kt slightly shorter? Do I cut it orrrr what?
Great choice! Is it a faux-pas to pick a different finish on the light fixture compared to other elements in the room, like a brushed nickel curtain rod and brushed nickel hinges or should they match?
Mix FOR SURE. You really want your space to feel collected instead of purchased all at once. So I normally aim for repeating a metal at least twice in a space.
Thank you! You don't know how long I've been struggling with that question! lol
Literally snapping up 14 now. Was looking at something similar but more expensive elsewhere. What great prices and I never would have though Walmart for fixtures like these!
This is a timely and super helpful post, thank you! I’m curious your thoughts on matching material/fixture color on light fixtures throughout a home. For example, we have those “boob lights” in both kitchen and hallway (close together). I’m looking to switch them out to something less “boobish” ???? and deciding if I should do same fixture for both areas for consistency? Our house is on the smaller side. Thx!!
I think it's NICE to match them in close proximity. Thinking of adding another one in our daughter's bathroom!
The recessed lighting in our kitchen is dingy and we never turn them on. Can I replace them with a small flush mount? What do you suggest?
Thanks for this! I'd have to say this is definitely one of the most detailed how-to's for changing a light fixture that I've seen! I always get a little squeamish with the wires, even with the power off!
This post is so helpful, but funnily enough exactly one week too late for us! We just installed that exact fixture in our soon-to-be nursery, and, living in an old home (1940s), struggled with what to do with the ground wire. We ended up deciding to coil it up with the end covered per some googling, but knowing it should’ve just wound to the provided green screw is so helpful to know (and I wish we would’ve last week)! Thanks for the step by step!
I really like No. 9 and I really like those prices!
perfectly timed post! We need a new flush mount light for our hallway and these are some great options!
How do you decide how many bulbs you need in a light fixture for a room? I struggle to understand how a light I see online us going to translate to a room in terms of scale--both in size and amount of light. Any tips?
I generally save one bulb fixtures for small spaces like small powder rooms.